
Affordable makeover for a little girl's bedroom
For an affordable bedroom makeover for a little girl there are plenty of tips and tricks that you can use to decorate a trendy and colourful bedroom.
decoratingcents.blogspot.co.za
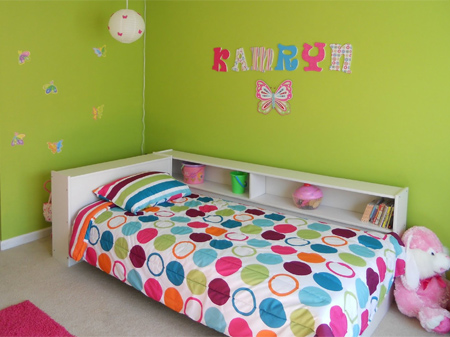
The secret to keeping any bedroom makeover affordable is to plan a design in advance. Knowing what you need and what you don't need will stop you from overbuying, or buying items that aren't really necessary. Andrea and her family recently moved into a larger home that offer more space and she took on the challenge to decorate the bedroom on a budget.
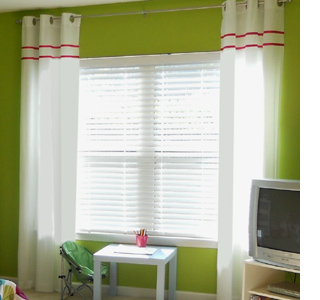
Dress up plain white curtains with a strip of ribbon sewn on, or attached using iron-on webbing. You can use the iron-on webbing method to add applique designs using fabric or trim the top or bottom of curtains with a plain or patterned fabric.
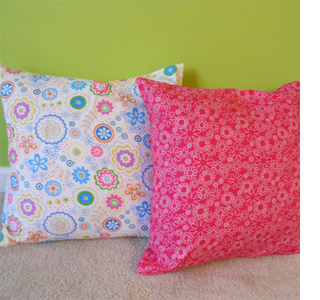
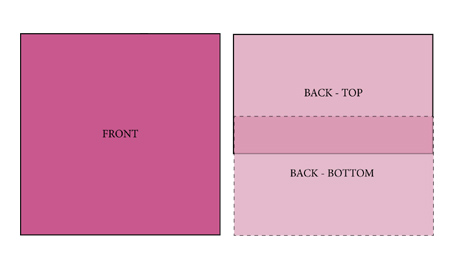
Buy cushion inners from your local fabric store and make custom cushions that match perfectly with the colour and decor in a room. To make your own cushions, cut a front and 2 back flaps. The back flaps are slightly longer than the front so that they can overlap at the back.
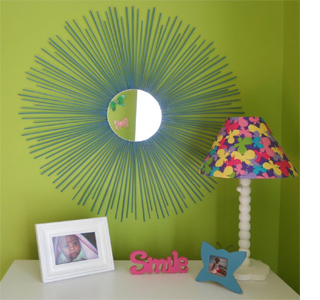
A sunburst mirror is easy to make using pine skewers, straws, or even rolled paper tubes. Have a small piece of mirror cut to size. Most home decor stores offer a selection of inexpensive accessories that can be used to add a splash of colour to any room.
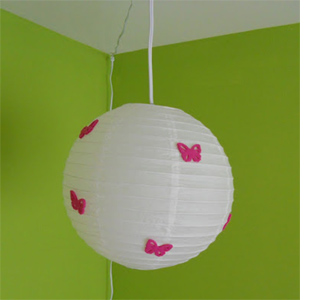
Paper lanterns are in inexpensive way to add decorative lighting to a little girl's room. You can add embellishments to match the decor in the room. Mount to the ceiling by using a cup hook screwed into a ceiling beam.
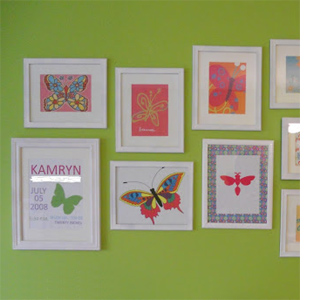
Use your PC printer to print out colourful art that can be popped into simple frames to create a feature or gallery wall. Most home decor stores offer a variety of frames, or you can make your own picture frames with a little DIY savvy.
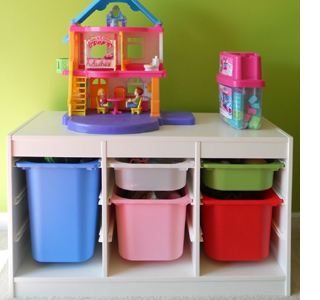
Make a storage caddy for inexpensive plastic bins to store toys. A simple frame made out of pine, plywood or SupaWood. Use pine or plywood if you want a stained finish and SupaWood is you are going to paint.
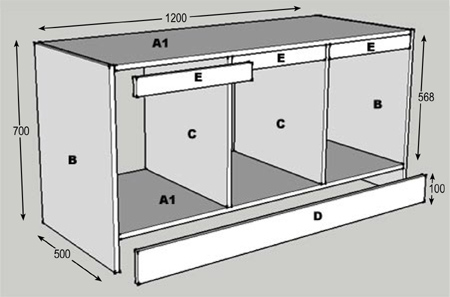
YOU WILL NEED:
2 of 500 x 1200mm board - A1/2 top and base
2 of 500 x 700mm SupaWood - B sides
2 of 500 x 568mm SupaWood - C dividers
1 of 100 x 1200mm SupaWood - D apron
3 of 50 x 390mm SupaWood - E dividers
Use aluminium U-tube to create sliders for the plastic bins. Glue this onto the cabinet with epoxy glue.