
Tufted headboard with a unique twist
Julie and Chris at do or diy wanted a headboard above their bed and decided to make a diamond tufted headboard. But this is a tufted headboard with a twist. Read on to find out more.

Everyone has different methods for making a diamond tufted headboard, some easy and some not so simple. This project shows a completely new method for making a diamond tufted headboard, and one that definitely makes this project easier for a beginner DIY enthusiast that wants to make a tufted headboard.
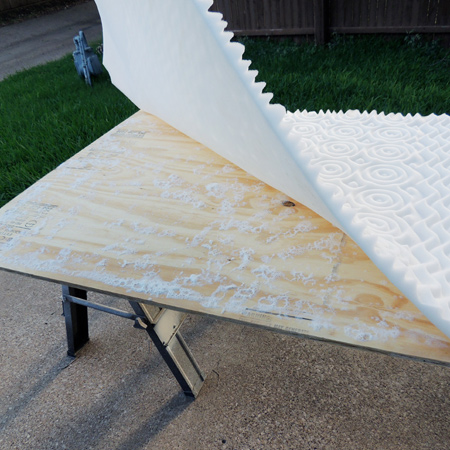
As you would with any upholstered headboard, you need a sheet of board (particleboard or plywood are best) and a sheet of thin foam. The foam is cut to fit the size of the board. Below you will find a list of standard sizes for a headboard for different bed sizes:
The height of the headboard should allow for it to be mounted just below the level of the mattress, and to the height required.
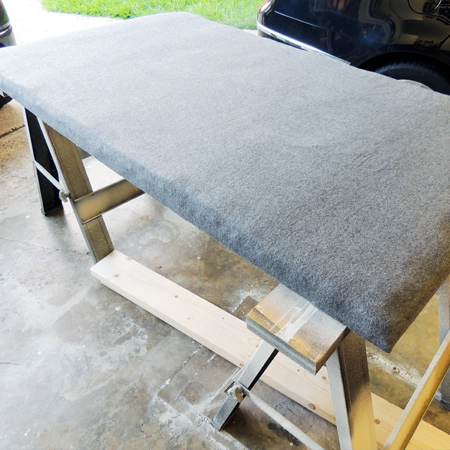
Over the top of the foam you would normally add a layer of batting to soften the edges of the board and add extra comfort over the foam. For this project a thin blanket was stapled to the back of the headboard - the blanket worked out cheaper than buying batting!
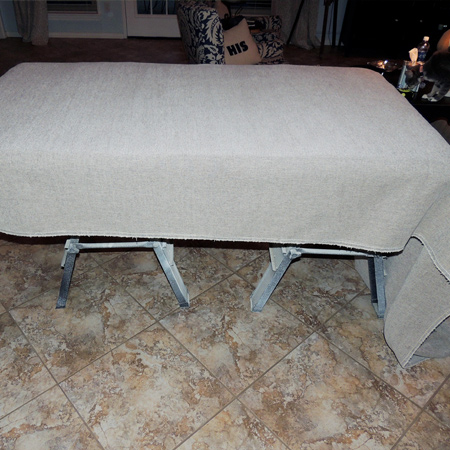
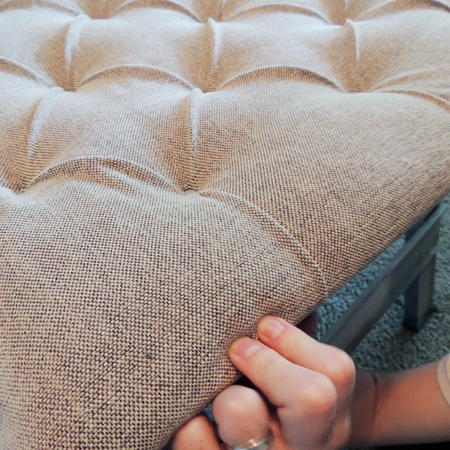
The headboard was placed on a couple of workbenches and the upholstery fabric placed over the top and plenty of fabric allowed on all sides to allow for loose fabric when doing the tufting (diamond pattern).
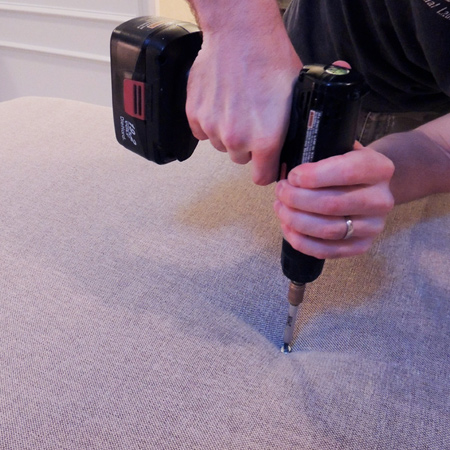
What makes this project different from other more complicated tufting methods is that screws and washers were used to create the diamond pattern rather than drilling holes through the board and cutting holes in the foam.
Starting in the centre of the headboard the washers and screws were drilled in place. Although for this project the spacing was done by eye, it is recommended that you measure out the pattern and mark with chalk for a more accurate design layout.
Keep the fabric fairly loose so that you have excess for creating the diamond pattern.
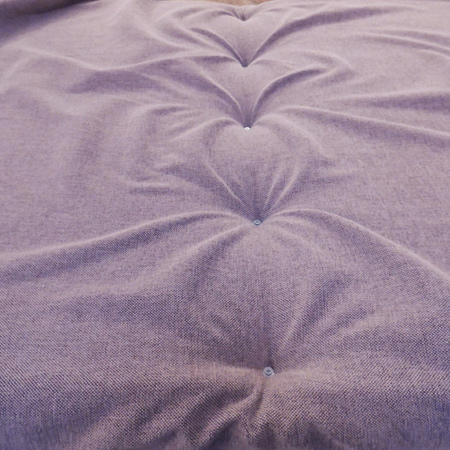
As you work from the centre out, pleat the fabric between the screws to create a neat diamond pattern. The blanket underneath helps to hold the pleats in shape.

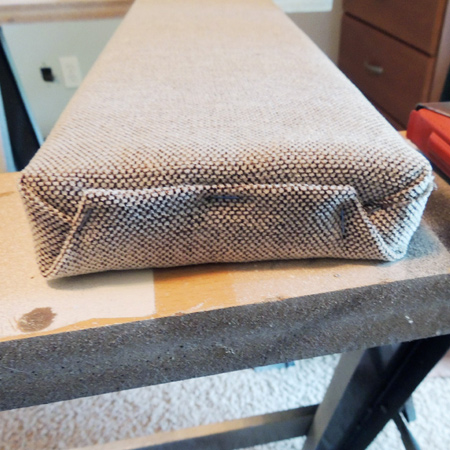
Once you have drilled in all the washers and screws, and pleated the fabric, fold over around the edges to the back and secure with staples to the back of the board.
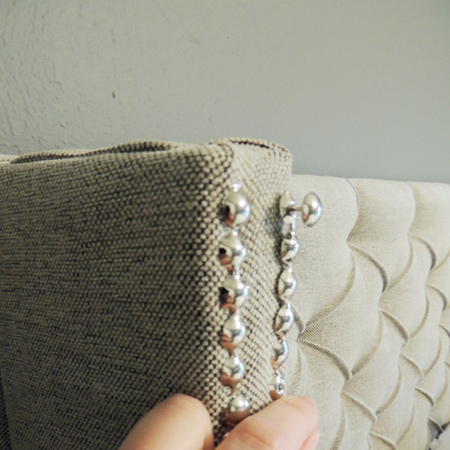
For the side panels of the headboard, these were wrapped with batting and fabric and stapled at the top and bottom to secure. I noticed in this project that it didn't leave a very neat finish and I would suggest that you fold neatly to avoid having folded corners on the top.
Secure the panels to the side of the headboard at the back. You have use pocketholes through the headboard to do this, or use steel braces to hold the side panels in place.
To finish off upholstery strips were attached down the front of the side panels. I would also add some strips to the top of the side panels as well - to hide the folded fabric.
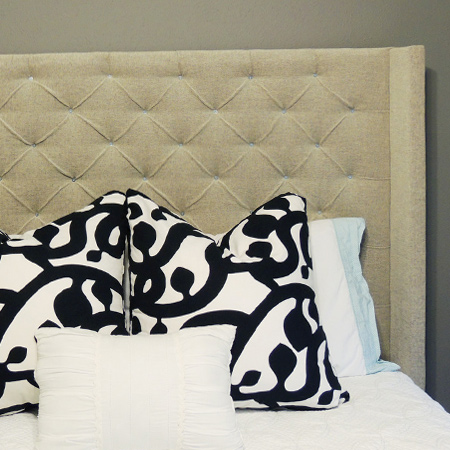
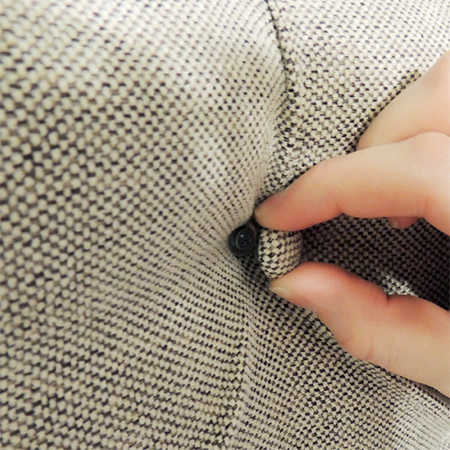
The upholstery buttons were covered with matching fabric and a hot glue gun used to attach these to the headboard. The glue will stick well to the screws and washers, but should they ever pop off you can glue them back on again.
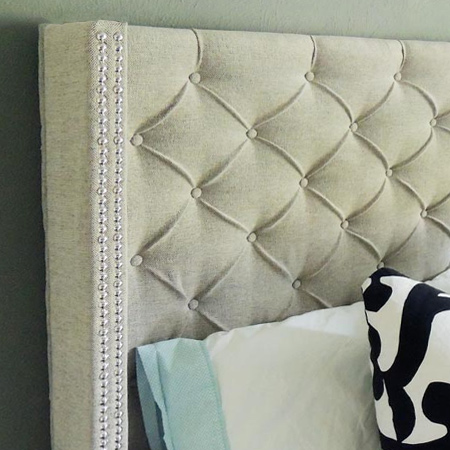
The finished diamond tufted headboard.
