
Quick Project: A Swinging Bedside Shelf
Bring back childhood memories of fun with this swinging bedside shelf that will hang next to your bed.
04/09/2019
Bring back childhood memories with this 'swinging' bedside shelf for all your bedside accessories.
YOU WILL NEED:
PAR pine board, approx. 600 x 250mm
Thick rope, approx. 6 metres length
2 Anchoring hooks and nylon plugs to fit
TOOLS:
Bosch combi drill - with hammer function
Jigsaw, table saw or handsaw
Sander plus 120-grit and 180-grit sanding pads
20mm Spade, Forstner or MAD bit
Tape measure and pencil
Use a Combi Drill that not only drills into timber and board but walls as well.

HERE'S HOW:
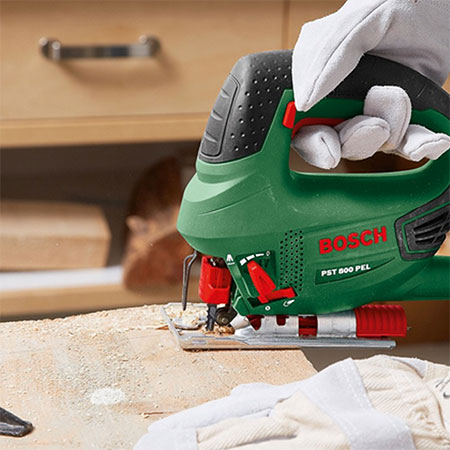
1. If not already done, cut the PAR pine to the required size for the shelf. This one is 600 x 250mm. You can use a jigsaw, table saw or handsaw to cut the shelf to size.
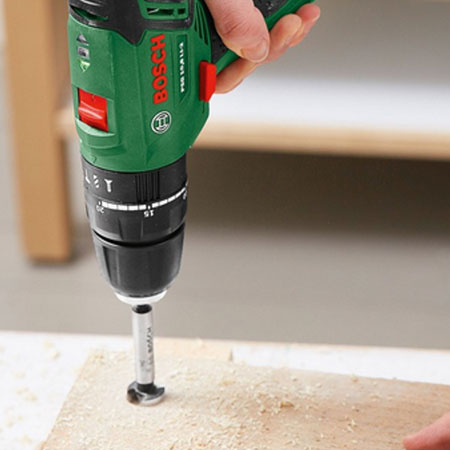
2. Next you need to drill [4] holes in the corners of your shelf. Make a mark at 50mm away from the edges. Drill the 20mm holes with a spade, Forstner or MAD bit.
GOOD TO KNOW: To prevent chipping and ripping at the base of the hole, place your board on a piece of scrap wood and clamp firmly to your work bench.
3. Sand the entire board with a 120-grit sanding pad and then with a 180-grit sanding pad for a smooth finish. Sanding will also remove any irregularities. Wipe clean once you're done.
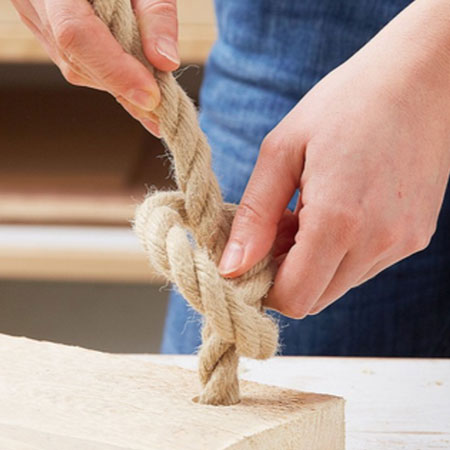
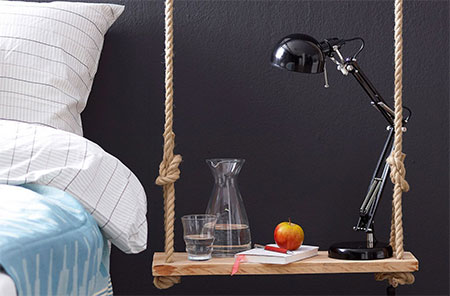
4. Measure the height from the ceiling to where you want your bedside swing to hang - allowing for extra length to create the handle and the knots- cut [2] pieces of rope to length. Thread one piece through one of the holes and knot it to the underside of the nightstand. The other end of the rope should be threaded through the second hole on the same side of the board and knotted - see main image above for how the knots should look.
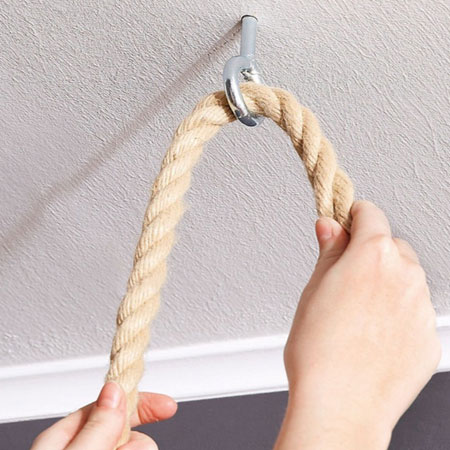
5. Having already cut the rope to length, you now need to drill into a ceiling beam to hang. Drill holes into the ceiling beam and insert the wall plug and eye hook. Now you can thread the rope through the eye hook and knot securely.
all about diy