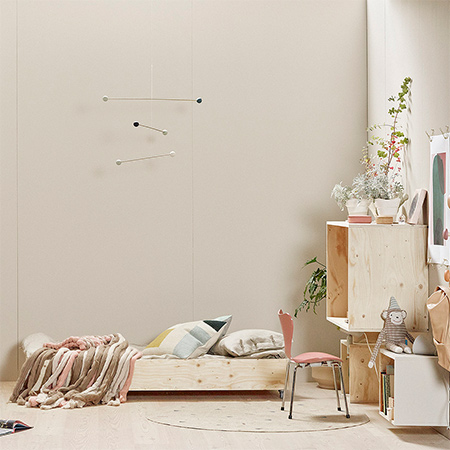
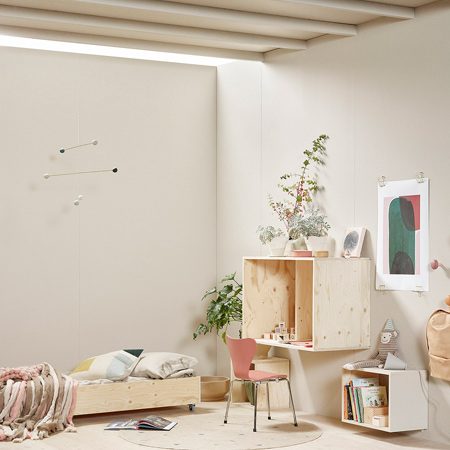
Use pine for DIY furniture for a child's bedroom
Use laminated pine shelving and pine planks to make a child's single bed or a couple of storage shelves and cubbies.
mundadaa.blogspot.co.za
Laminated pine is an easy and affordable way to make furniture, and you can have everything cut to size at Builders for easy assembly. Shop for pine that has the least amount of knots and no bowing or warping.
Once assembled, sand the finished project with 180/240-grit sandpaper and wipe down before finishing. You have the option to seal, stain and stain, paint or whitewash the finished bed. See our Decorating section for tips on finishing options and how to.
You will find instructions below for making the pine bed and you can quite easily knock up additional furniture to match.
YOU WILL NEED:
2 of 20 x 250 x 1940mm pine - front/back
2 of 20 x 250 x 980mm pine - sides
4 of 22 x 44 x 940mm pine - base supports*
1 of 16 x 940 x 1900mm BisonBord - base
12 of angle brackets + 16mm screws
4 of castors with brake + 16mm screws
Wood glue
Wood filler
4 x 50mm screws [8]
3.5 x 30mm screws [8]
Screw cap covers [8]
TOOLS:
Drill / Driver plus assorted bits
Orbital Sander plus 120- + 240-grit sanding pads
Tape measure and pencil
*For added support you can add more base supports
Have all your timber and board cut to size at Builders for easy assembly.
HERE'S HOW:

1. Assemble the frame (front, back and sides) around the base. Screw the front/back sections to the sizes with 50mm screws. To make it easier to disassemble the bed if you move, cover the screw heads with screw cap covers. You can buy these in a variety of colours, so choose a colour that matches the finish if you plan on applying stain or paint. Sand smooth.
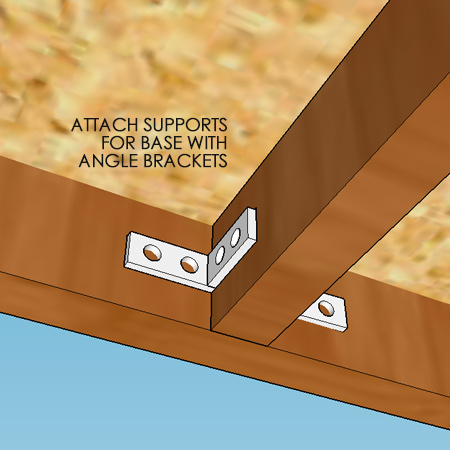
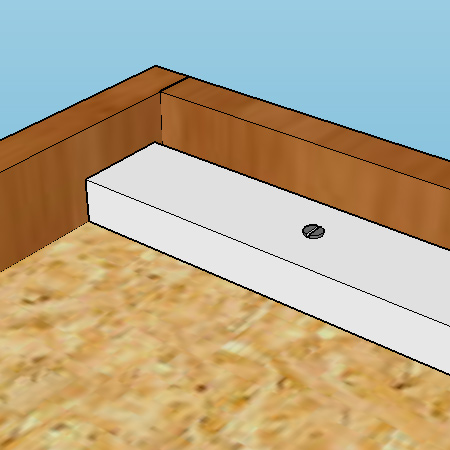
2. Place a support at either end - about 100mm in from each end [below] and screw to the base with [4] 30mm screws along the length and then add a steel angle bracket at end end - fastened to the support and bed frame.
3. Place the remaining two supports 500mm in from both ends [above] and secure these supports underneath the base with steel angle brackets and 16mm screws.
GOOD TO KNOW: Add more supports to a child's bed if mom or dad like to read bedtime stories while lying on the bed.
4. Use 16mm screws to attach castor wheels to the base - on the end supports.