
Replace mirror doors with panel doors
Not everyone loves mirror doors, so here's how to replace mirror doors with stylish panel doors.
13/10/2018
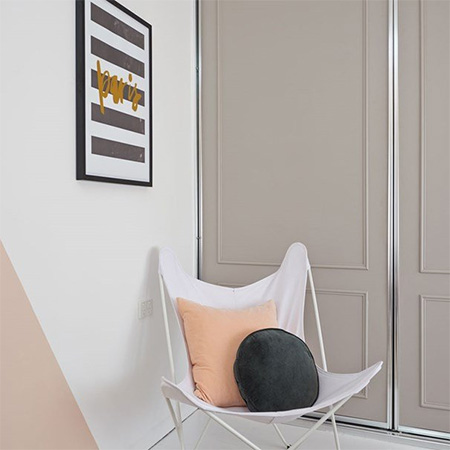
Mirror doors might be great for making a small bedroom look larger, but not everyone likes them. If you're tired of those mirror doors, we show you how to replace them with stylish panel doors.
YOU WILL NEED:
3mm plywood or SupaWood, cut to the size of each door
Pine moulding, enough for all the doors
Pattex No More Nails adhesive
Wood filler
Masking tape
180-grit sandpaper
Acrylic primer and paint, washable, in your choice of colour
TOOLS:
Mitre saw or mitre box and backsaw
Jigsaw
Paintbrushes, paint tray and foam paint rollers
Straightedge
Tape measure and pencil
HERE'S HOW:
GOOD TO KNOW: Before you take the doors off the track, measure the clearance between the doors when you open and close. There should be enough space to allow for the thickness of the plywood (3mm) and the height of the moulding. You may need to select a thinner moulding if there isn't enough space.
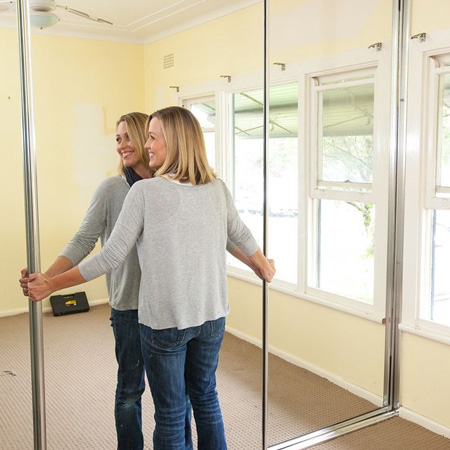
1. Carefully remove the mirror doors from their tracks. Do this one at a time and make a note of which door goes where.
GOOD TO KNOW: Most doors can be lifted off the track by lifting the horizontal edges to the top and angling the bottom of the door outwards. Put the doors in a safe place and wipe down the doors and frames with a damp cloth and mild dishwashing liquid. Dry thoroughly. This is also a good time to use a vacuum cleaner to remove debris from the tracks.
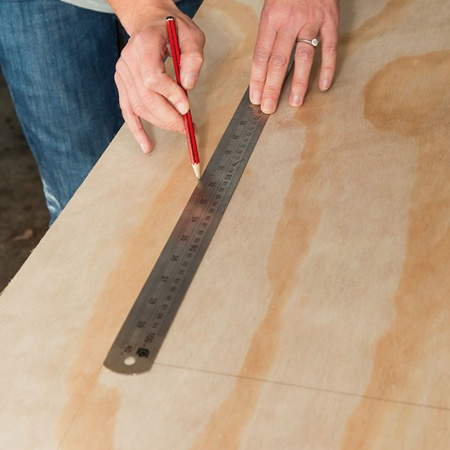
2. Measure the mirrored face of each of the doors and transfer these measurements to a piece of plywood. Use a jigsaw to cut the plywood to size (or measure in advance and have the plywood cut to size at Builders Warehouse). Sand the cut edges and surface before wiping away all the dust.
3. Determine the size and position of the rectangle panels for the face of each door. The ones shown in this project have an external measurement of 840 x 1600mm (top) and 840 x 500mm (bottom). Use a mitre saw or mitre box and backsaw to cut the moulding with 45º corners. Sand the cut edges and wipe clean.
4. Measure and mark the plywood to indicate the locations for mounting the moulding.
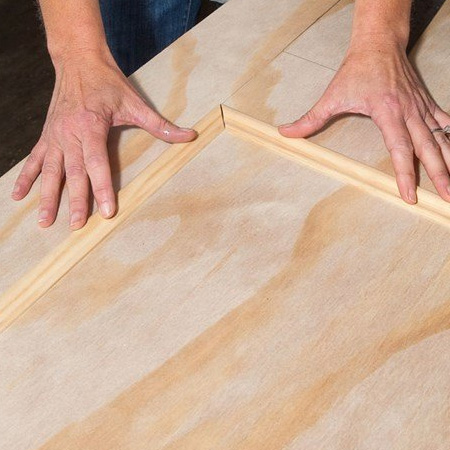
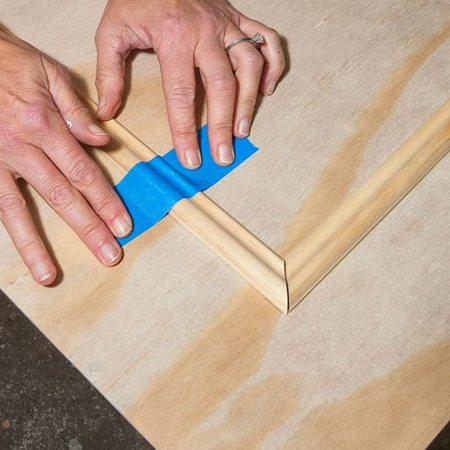
5. Working with one section at a time, apply Pattex No More Nails to back of moulding and press each length in position on the plywood face. Ensure that the corners are square or apply a small amount of wood filler to fill any gaps. Let the wood filler dry and then sand smooth. Use strips of masking tape to hold moulding in place until dry.
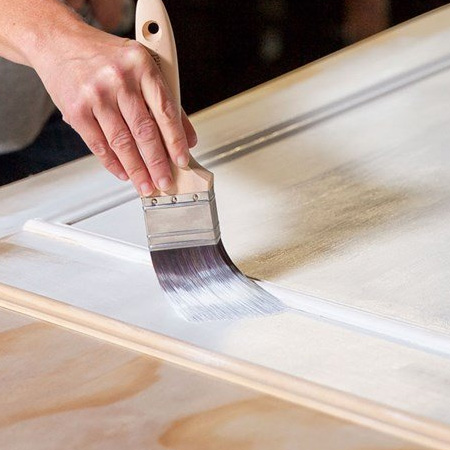
6. Use a paintbrush and foam roller to apply primer to the front face and edges of all panels. Leave to dry.
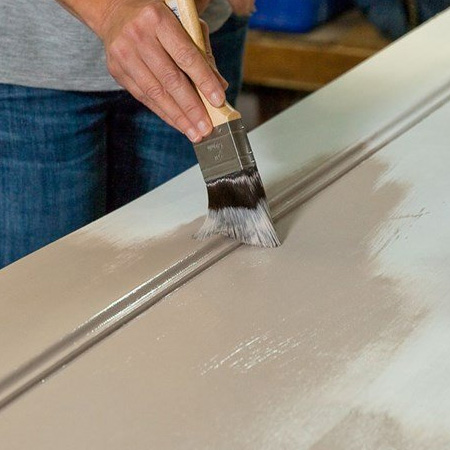
7. Use a paintbrush and foam roller to apply two coats of acrylic paint in your choice of colour to the front face and edges of all panels. Let each coat dry before applying the next coat.
8. Once the paint is completely dry, apply beads of Pattex No More Nails to the back of each of the doors and press onto the glass panels.
GOOD TO KNOW: Place something heavy on the doors to weigh down until the adhesive sets.
9. Working one door at a time, carefully place each panelled door onto the tracks in the reverse to their removal.