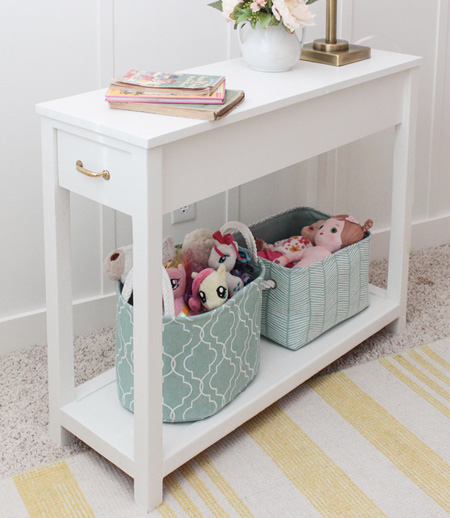
DIY Nightstand for a Small Bedroom
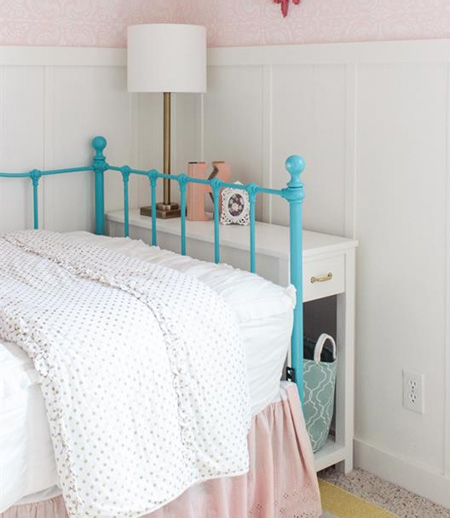
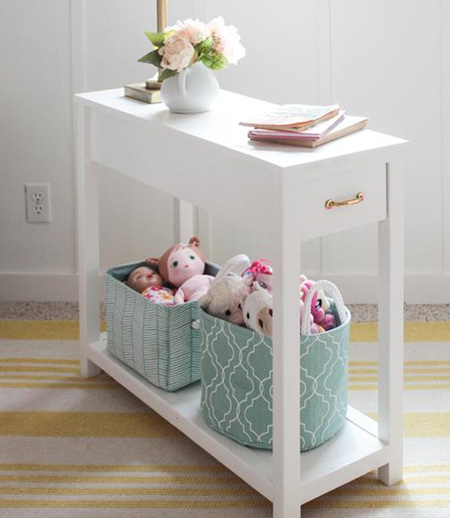
The compact design for the nightstand or bedside table makes it perfect for next to a day bed, or in a small bedroom with limited floor space.
03/092017
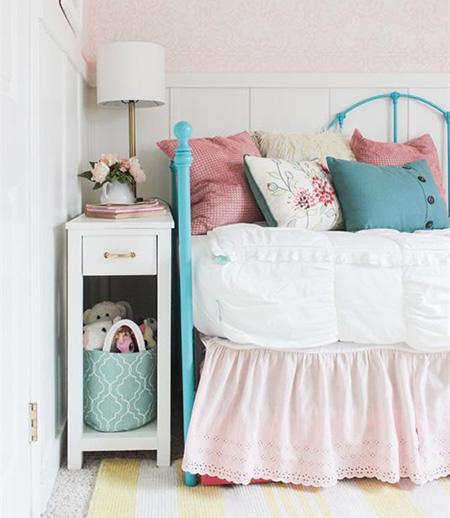
Designed by shades of blue interiors and featured on www.BuildSomething.com, this compact nightstand or bedside table fits nicely alongside a day bed, but is also perfect for a small bedroom with limited floor space. It's tall enough to provide bedside storage at one end of a day bed, or fit behind a headboard or footboard.
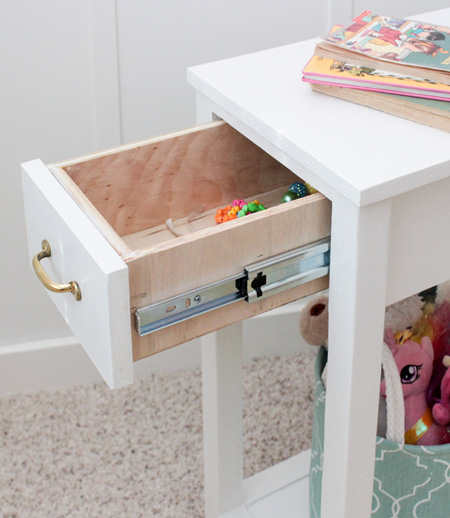
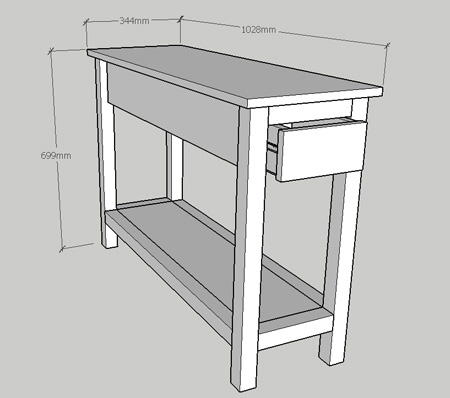
The design for the nightstand features a drawer at the front, on ball bearing drawer sliders, because every bedroom needs that extra bit of storage.
The nightstand is made using pine that you can buy at your local Builders or timber merchant, or modify the dimensions to make out of SupaWood (MDF). Both options can be painted to match existing bedroom furniture.
YOU WILL NEED:
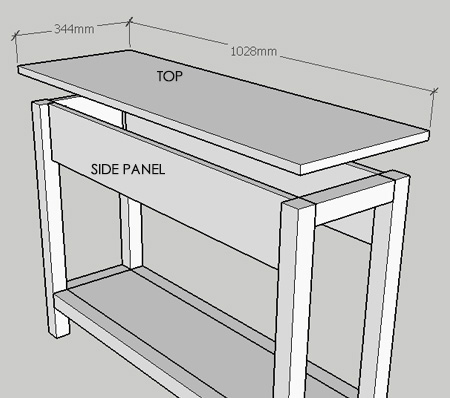
1 of 344 x 1028mm pine - top
4 of 44 x 44 x 680mm pine - legs
2 of 44 x 44 x 900mm pine - shelf sides
2 of 44 x 44 x 216mm pine - bottom frame
1 of 44 x 44 x 216mm pine - top frame, front
1 of 19 x 152 x 216mm pine - top frame, back
2 of 19 x 152 x 900mm pine - side panels
1 of 19 x 216 x 900mm pine - shelf panel
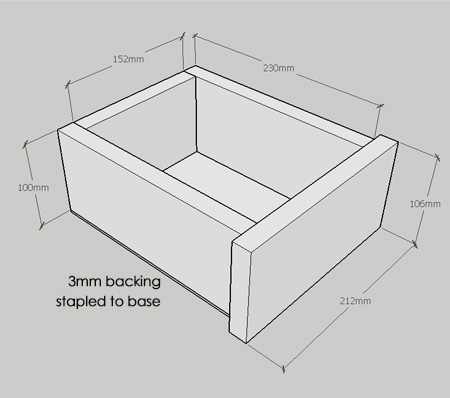
1 of 106 x 212mm pine - drawer front
2 of 100 x 230mm pine - drawer sides
1 of 100 x 152mm pine - drawer back
1 of 190 x 230mm 3mm masonite or hardboard for drawer base
32mm coarse-thread pockethole screws
Wood glue
Knob or handle, and screws
300mm ballbearing drawer runners [pair]
Steel angle brackets [8] and 16mm screws
TOOLS:
Drill / Driver plus assorted bits
Kreg Pockethole Jig Kit
Orbital Sander plus 120- and 240-grit sanding pads
Bosch Tacker, Heavy-duty stapler or panels pins and hammer
Tape measure and pencil
OPTIONAL:
Kreg Cabinet Hardware Jig
Kreg Drawer Slide Jig
Have everything cut to size at your local Builders Warehouse for easy assembly.
HERE'S HOW:
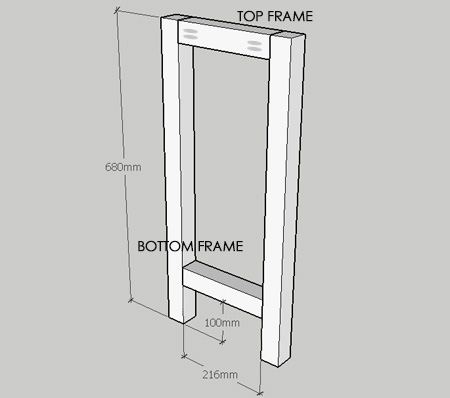
1. For the front leg assembly, drill pocketholes in the top and bottom frames and attach to the legs with wood glue and screws. The bottom frame is mounted 100mm up from the base of each leg.
GOOD TO KNOW: Drill the pocketholes so as to be almost invisible once the project is assembled (behind / underneath).
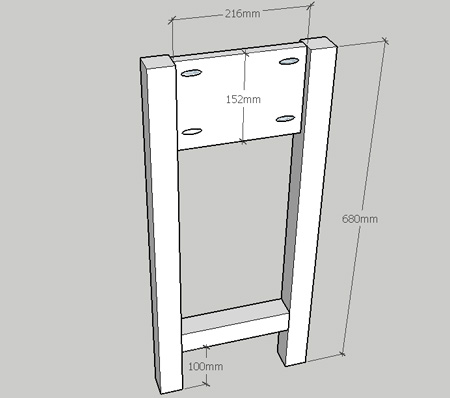
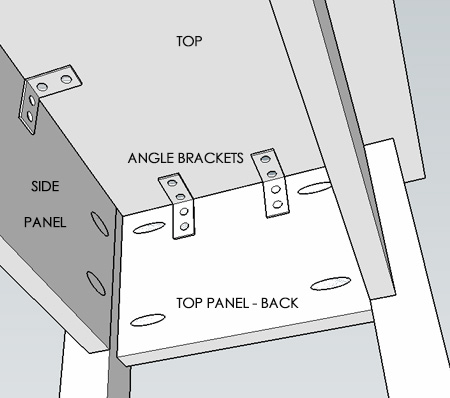
2. Repeat previous step for the back leg assembly, adding the larger top panel as shown above.
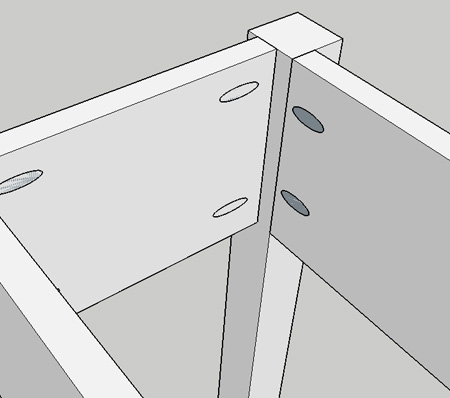
3. Drill pocketholes in the side panels and secure to the legs with wood glue and screws. Both side panels are flush with the back of the legs, as shown above.
GOOD TO KNOW: When drilling the pocketholes in the side panels, move the position of the holes slightly. You don't want the screws to conflict with those of the top frames.
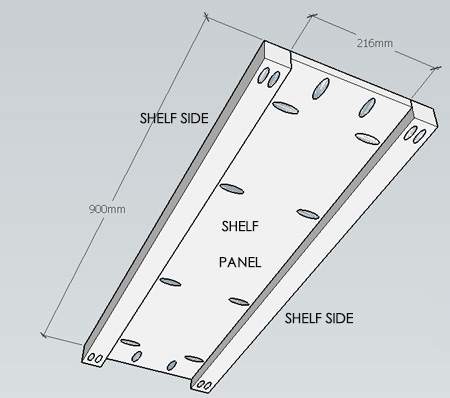
4. To assemble the shelf, drill pocketholes on the underside of the shelf panel. Drill pocketholes along the sides - for attaching to the shelf sides, and the bottom edge - for attaching to the front / back bottom frames.
5. Attach the shelf sides to the shelf panel with wood glue and screws and then insert into position and secure to the leg assemblies.
6. The top overhangs the frame by 20mm all round. Use steel angle brackets and 16mm screws to the secure the top to the frame - see below.
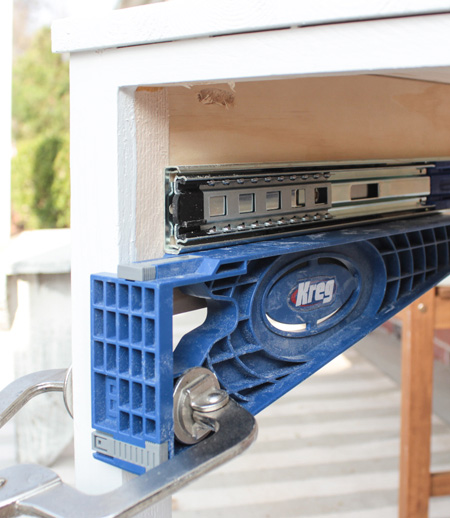
7. Make it easy to install drawer sliders with the Kreg Drawer Slide Jig. Find details here on using a Kreg Drawer Slide Jig.
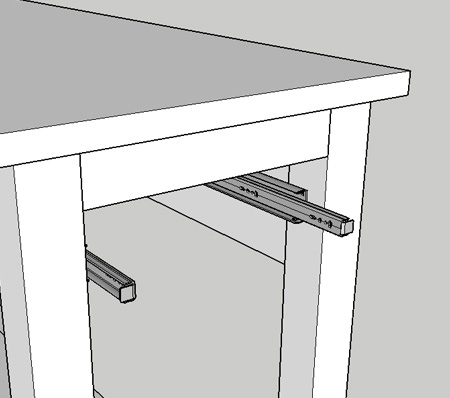
If you don't have a Kreg Drawer Slide Jig, find instructions here for mounting ballbearing drawer sliders.
8. Assemble the drawer using wood glue. The sides are mounted flush with the drawer front. Clamp everything and leave overnight. Use a heavy-duty stapler to attach the base, or panel pins and a hammer.
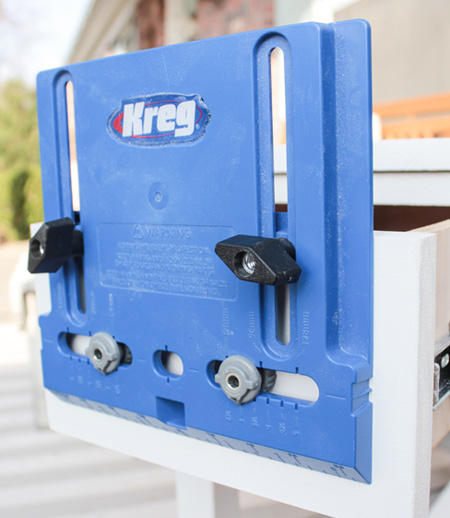
9. Use a Kreg Cabinet Hardware Jig to attach your choice of handle or knob to the drawer front.
FINISHING
Chalk paint is a very popular choice for finishing all types of furniture, and it comes in trendy pastel shades that are perfect for a bedroom. Find tips here for applying Rust-Oleum Chalked paint.
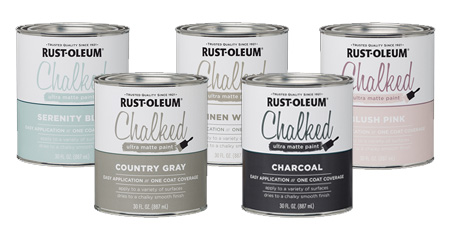
View the full range of Rust-Oleum products at Builders Warehouse stores countrywide.
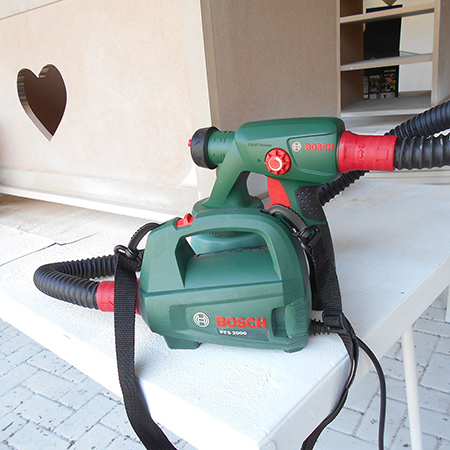
If you want a professional finish for all your painting projects, the Bosch PFS 2000 is definitely a worthwhile investment. It's easy to use and gives a brush stroke free finish that finishes off perfectly.