Add Storage to a Bedroom with this Wall-Mounted Shelf
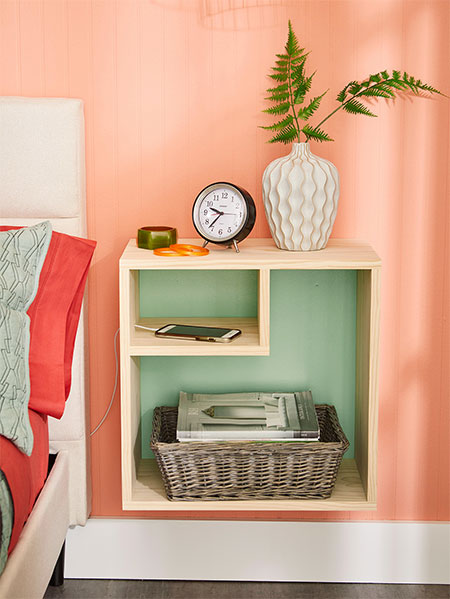
Every bedroom needs some form of bedside storage, and this wall-mounted shelf unit provides that, plus it is wall-mounted to take up less floor space.
22/03/2020
I have wall-mounted shelves on both sides of my bed that was installed about 5 or 6 years ago, and that I have found to be extremely handy, plus the fact that it is wall-mounted means it is easy to clean around and doesn't intrude on the space. Only recently I've decided that I want to increase the size of the shelf and I will share this project with you once completed.
This wall-mounted bedside shelf is ideal for keeping all your nighttime essentials close at hand, and you can add a door if you prefer to keep things hidden out of sight.
Making this wall-mounted shelf unit should only take an hour tops if you have all the pieces cut to size at your local Builders or timber merchant.
YOU WILL NEED:
Sheet of 19mm Plywood cut to the following sizes:
- 2 of 286 x 508mm - top and bottom
- 2 of 286 x 470mm - sides
- 1 of 286 x 274mm - shelf base
- 1 of 286 x 152mm - shelf side
1 of 508 x 508mm masonite, hardboard or 3mm plywood - cut to fit
Wood glue
32mm coarse-thread pocket-hole screws
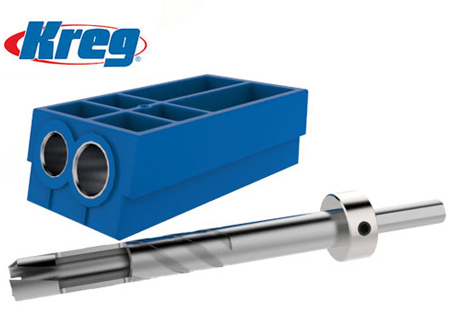
Kreg wood plugs
Paint, stain or varnish to finish
TOOLS:
Drill / Driver plus assorted bits
Pocket hole jig and clamps
Orbital sander plus 180 / 240-grit sanding pads
Pneumatic stapler, Bosch Tacker or heavy-duty stapler
Tape measure and pencil
HERE'S HOW:
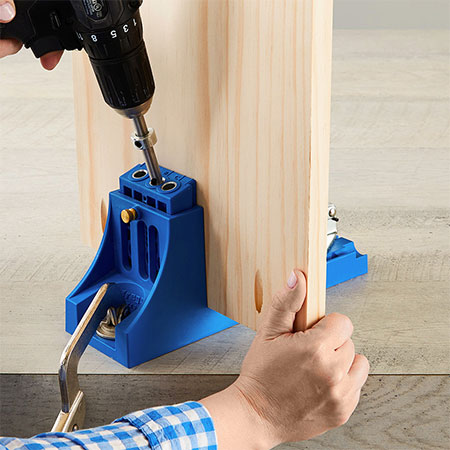
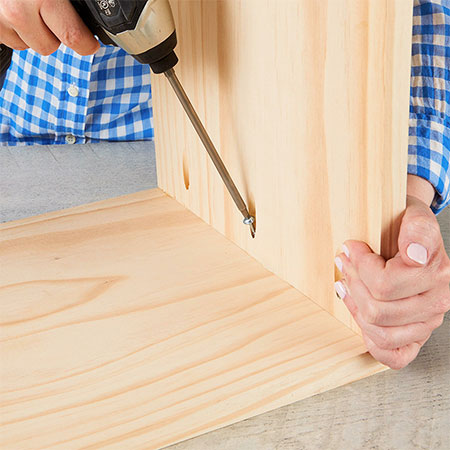
1. Set up your pocket-hole jig for 19mm thick material. This means setting the depth setting on the jig itself and also setting the correct drilling depth for the unique drill bit. You will drill pocket-holes in the top and bottom of the sides, as well as the side of the inside shelf. Drill a total of 2 pocket-holes per edge - see above and also Step 4 below.
GOOD TO KNOW: Before assembling all the pieces, take the time to sand nice and smooth. It's far easier to sand before you assemble.
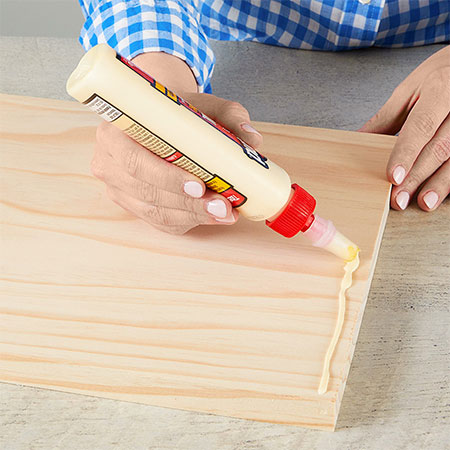
2. Apply a bead of wood glue along one side of the top piece.
3. With the pocket-holes facing inwards, secure the side piece to the top. Repeat this process to join the remaining side piece to the top, and also to secure the bottom piece to the sides.
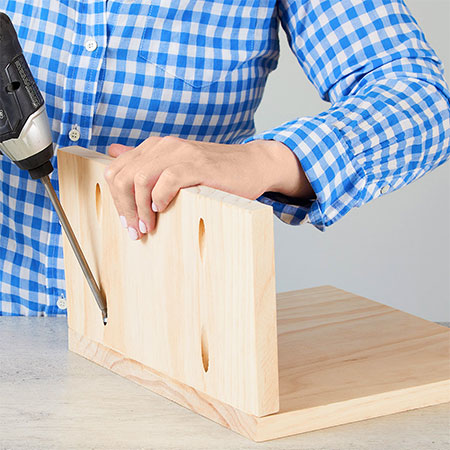
4. Secure the shelf side to the shelf base - as shown below. Apply a bead of wood glue to the edge of the base before securing the side piece with pocket-hole screws.
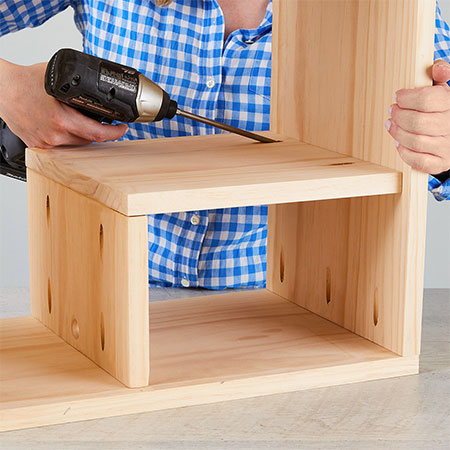
5. Now you can secure the shelf inside the main frame using wood glue and pocket-hole screws.
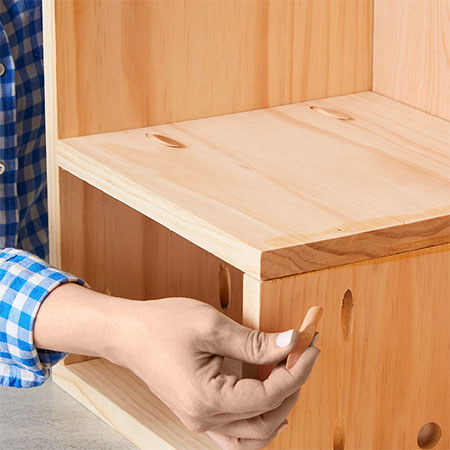
6. Cut the backing board to fit and secure with a pneumatic nailer, Bosch Tacker or heavy-duty stapler.
GOOD TO KNOW: Before painting, sealing or applying varnish, use wood plugs to fill in all the drilled pocket-holes. These can then be sanded smooth and the finish applied.
better homes and gardens magazine
If you plan on using a Kreg Pocket-Hole Jig for lots of projects, it's a good idea to invest in a Kreg Plug Cutter. This handy tool lets you cut your own wooden plugs - using the same material used for the project - to hide all the plug holes.