Kiddies Clothes or Dress-Up Rack
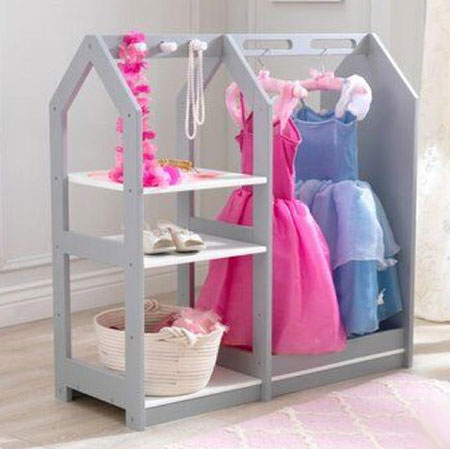
If you're looking for ideas to decorate a little girl's bedroom, why not make this kiddies clothes or dress-up rack.
24/07/2019
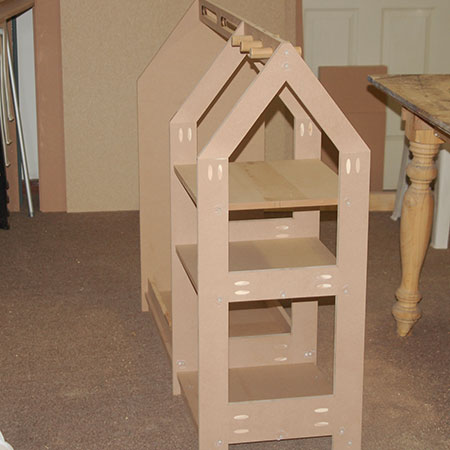
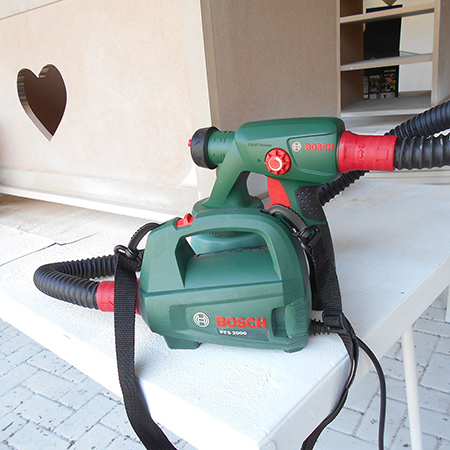
This clothes rack or dress-up rack is a wonderful project for a little girl's room. The rack is made using 16mm SupaWood which is then sanded and painted using a Bosch PFS spray system.
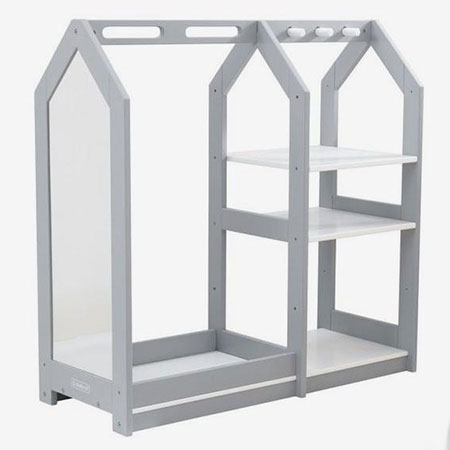
The design of the top rail allows for hangers to be used in the larger section, and round dowel hangers for dress-up or accessories in the smaller section.
As an optional detail to the clothes or dress-up rack, you can have a mirror cut to size at a local glass & mirror supplier to fit the closed end of the rack.
YOU WILL NEED:
All pieces 16mm SupaWood unless otherwise specified
1 of 400 x 1000mm - solid side
1 of 70 x 1068mm - top rail
4 of 70 x 750mm - frame sides
2 of 250 x 400mm - angled top sides
4 of 70 x 260mm - frame cross pieces
3 of 380 x 400mm - shelves/base, short
1 of 380 x 652mm - base, long
4 of 50 x 652mm - top/bottom aprons, long
2 of 50 x 400mm , aprons, short
Wood glue
Wood filler
We used a Bosch PFS 2000 and Plascon Polvin for all our painted furniture projects. Apply a total of 5 coats, sanding between the 2nd and 3rd coats with a random orbit sander and 240-grit sanding pads and then by hand using 800-grit after the final coat and before applying 2 coats of clear acrylic sealer.
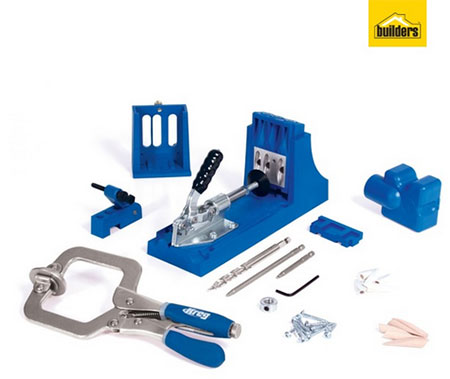
TOOLS:
Drill / Driver
25mm spade bit
Countersink bit
Jigsaw
Kreg pocket hole jig and plugs
32mm Coarse-thread pocket hole screws
3.5 x 40mm screws
Orbital sander plus 120- and 240-grit sanding pads
Tape measure and pencil
Not responsible for errors or omissions
HERE'S HOW:
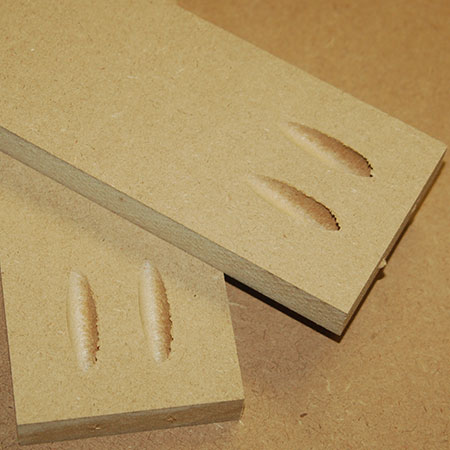
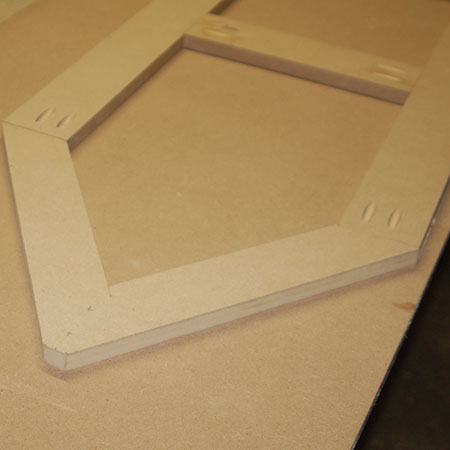
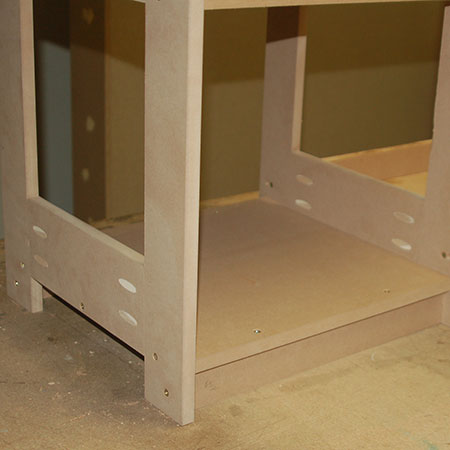
1. All joints are done using a Kreg pocket hole jig. The pocket holes are later filled with wood glue and plus to make the joints almost invisible.
You can see how the side sections are assembled using pocket holes and 32mm coarse-thread screws.
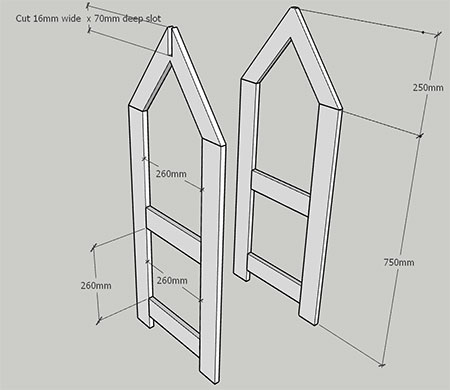
2. The top of the side sections need to be cut out of a single piece to fit on top of the side frames.
3. On the centre frame, cut out a slot 16mm wide x 70mm deep with a jigsaw. This allows the top rail to fit snugly.
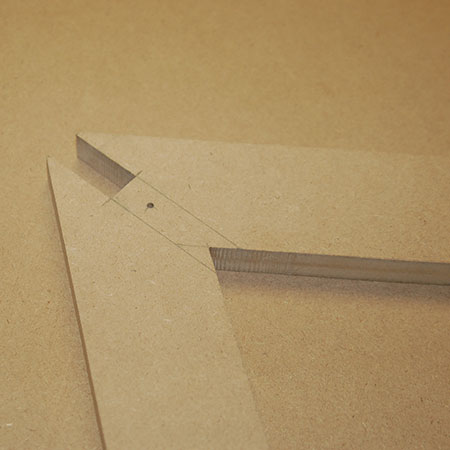
DIAGRAM: Top Rail
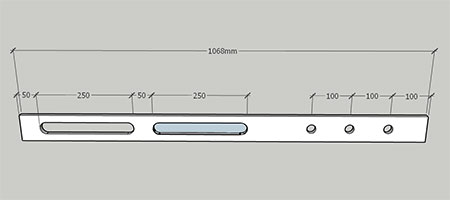
4. The top rail needs to have cut outs for the hangers and dowels down the centre. Use the diagram above to measure out. Drill 10mm holes with your drill to insert the jigsaw blade to cut out these. The hangers slots are first drilled with a spade bit at the ends and then with a jigsaw to finish off.
The top rail is mounted on the inside of the two end pieces, and fits into the slot of the centre piece. Secure to the ends via countersunk pilot holes and 40mm screws.
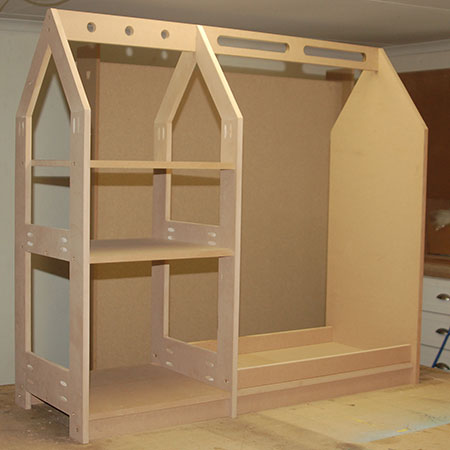
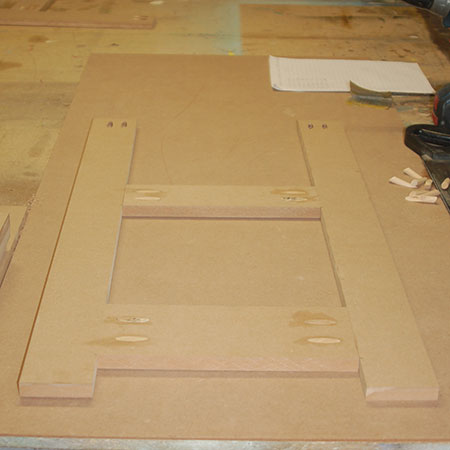
DIAGRAM: Base Assembly
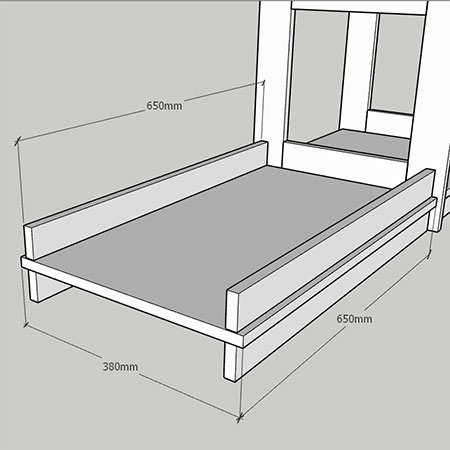
5. Assemble the base sections using the diagram above. The top and bottom rails are 10mm in from the edge of the base section to allow an overlap. Only the larger base section has a top rail on both sides.
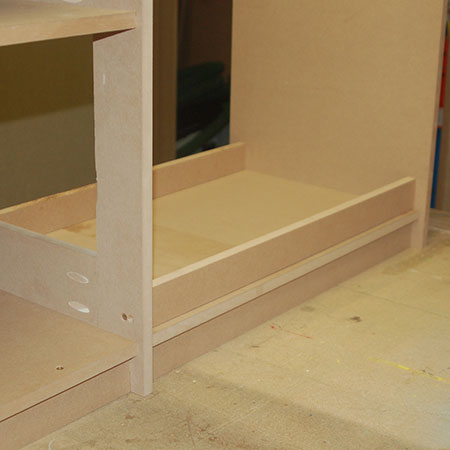
Here you can see how to mount the smaller base section and aprons. Note: You can use pocket holes to mount these pieces, or you can drill countersunk pilot holes through the base to secure the aprons with 40mm screws.
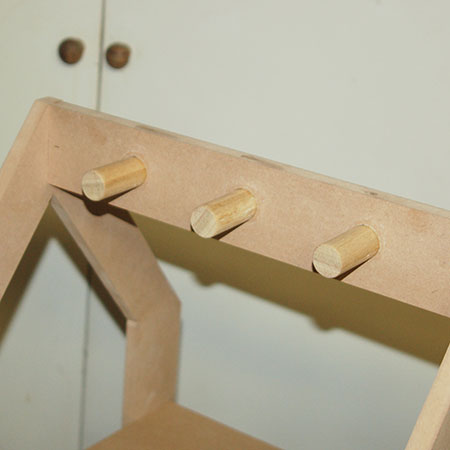
6. Cut 25mm dowels to the required length and insert into the cut out holes.
FINISHING
To finish off, fill all screw holes with wood filler, allow to dry and then sand smooth. Sand the entire assembled piece to prepare for painting. Pay particular attention to the raw edges, as these should be sanded with fine grit sandpaper until smooth. This will reduce the amount of paint required along these edges.