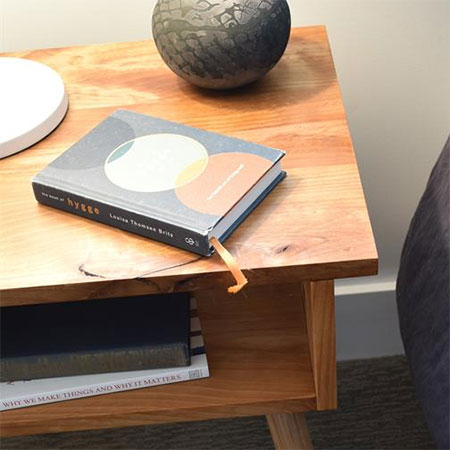
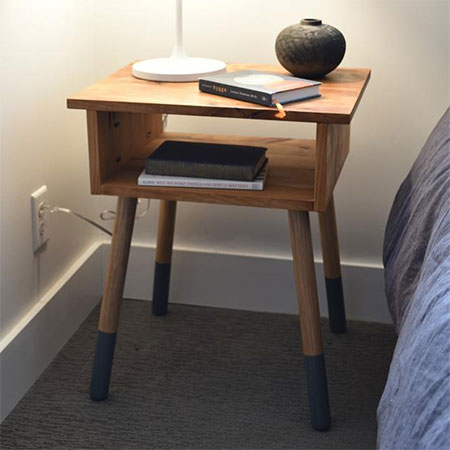
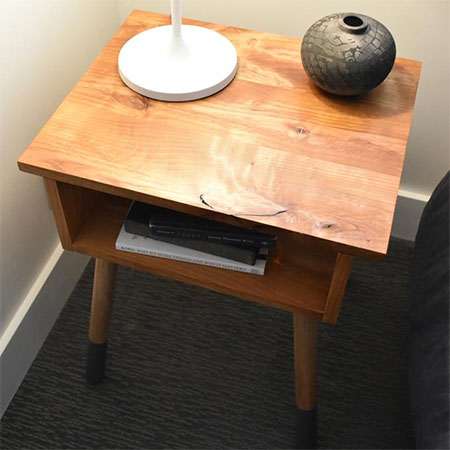
Rustic Bedside Table that's Easy to Make
You always need storage at the side of the bed, and this DIY bedside table is affordable to make and easy to assemble.
10/01/2020
build something
Add essential storage to your bedroom with this rustic bedside table. It's easy to assemble and won't cost that much if you use readily available pine that you can buy at any Builders store. Finish the bedside table with your choice of wood stain to match your decor or furniture that's already in the room.
While pine is an affordable option for making this rustic bedside table, there are also other wood species that you could use. Meranti and Saligna are not too expensive and offer a more permanent design option, or go for Oak or Teak for a piece that will last a lifetime.
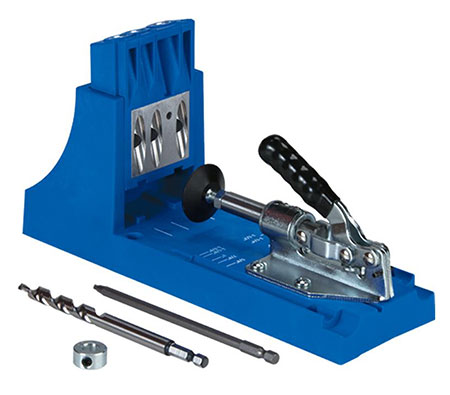
You will need a Kreg pocket-hole jig for this project if you want invisible joints, but alternatively, you can join together with butt joints.
YOU WILL NEED:
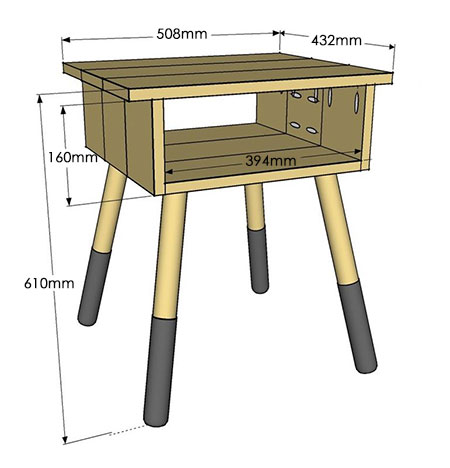
3 of 19/22 x 144 x 508mm pine or other - top
3 of 19/22 x 144 x 394mm pine or other - shelf
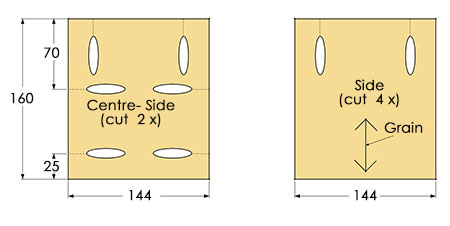
6 of 19/22 x 144 x 160mm pine or other - sides
Ready-made legs, or make your legs using Meranti dowels
32mm pocket-hole screws
Wood glue
TOOLS:
Drill / Driver plus assorted bits
Kreg pocket-hole jig
Orbital sander plus 120- and 240-grit sanding pads
Clamps [2]
Tape measure and pencil
HERE'S HOW:
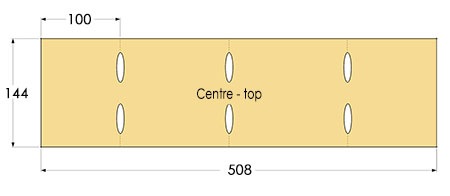
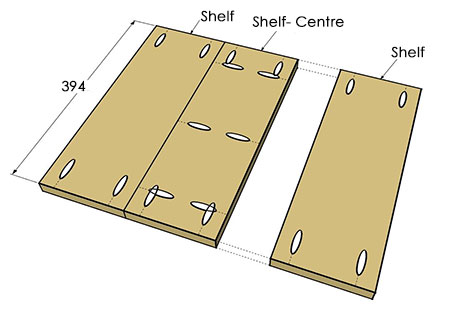
1. With all the pieces already cut to size at Builders, assembly is quick and easy. Set the pocket-hole jig for 19mm-thick material and drill pocket holes in the locations as shown above and below.
2. To join these pieces together, apply a bead of glue down the Sides and clamp together before using screws to join.
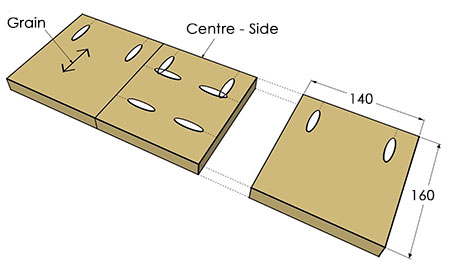
3. Repeat the process in Step 2 above for the top and the Shelf, as shown below.
4. Sand the Sides, Top and Shelf for a smooth finish.
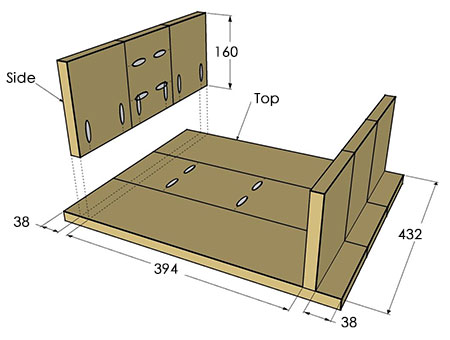
5. Secure the Sides to the Top with wood glue and pocket-hole screws. Note the distance of the Sides from the edge of the Top section. Do make sure that all edges are flush or sand smooth once assembled.
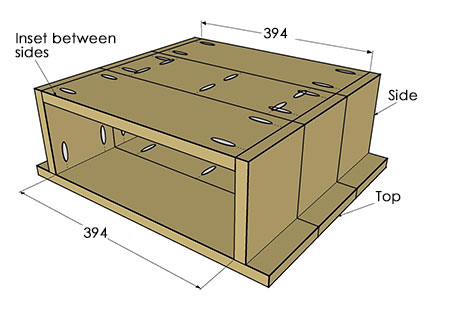
6. Place the Shelf section between the Sides and secure with pocket-hole screws.
FINISHING
Do additional sanding to smooth all the edges and wipe clean before applying oil, sealer, varnish or paint.
Secure the legs onto the base of the assembly, either using ready-made legs with brackets or making your legs using pine dowels.