Making a frame for a Dressing Mirror
This project is not just about framing a dressing mirror, but about using my kop to work everything out!
12/11/2018
I have an old mirror that has been lying around for ages. The edges are chipped and I decided to use this to make a dressing mirror, by making the frame for the mirror to cover up the chips and broken edges.
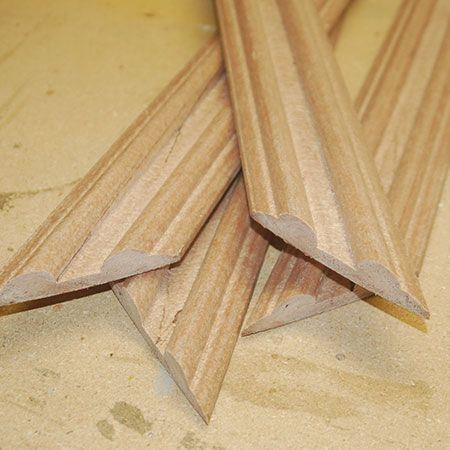
I sent my son to Builders to buy some Meranti moulding (dado rail) and he came back with something that was supposed to look like meranti, but wasn't. He bought an Isolite Romantic Dado Rail, not noticing the Isolite part. Although, having seen what he brought home I have no idea how he couldn't know it wasn't meranti!
Anyways, I decided to see if I could use this to make the frame for the mirror, especially considering it was cheap when compared to real meranti. The only problem was that the frame was a bit on the thin side and I would need to put on my thinking cap to work out how to join the frame together.

Above is the mirror that I have, and you can see it isn't in great condition. However, it has a lovely bevelled surround and I just needed to make the frame slightly smaller to cover up the damage.
I cut all the sections to size for the frame. When cutting I noticed that you have to make quick cuts on the mitre saw because the Isolite melts as you cut. Not that bad, it was easy to peel off the melted bits. All the corner angles were cut at 45-degrees on my mitre saw.
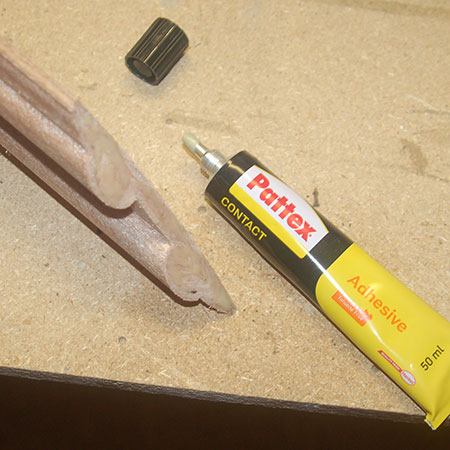
The sections are too thin to join using pocket holes or a biscuit joiner, and the material too hard to use picture framing 'v' pins.
With nothing to lose I used contact adhesive to join the frame corners together. It's important to apply the contact adhesives to both edges, leave for about and hour before pressing the corners together and holding for about 5 minutes.
After pressing the corners together I left these overnight.
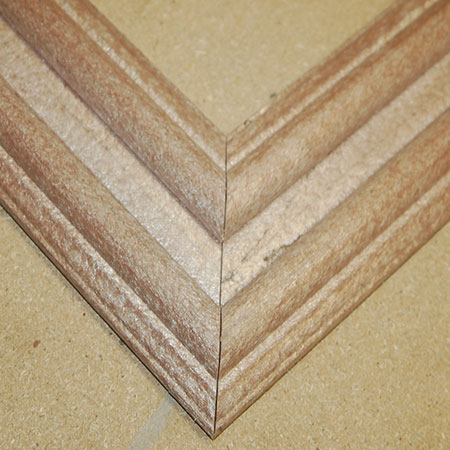
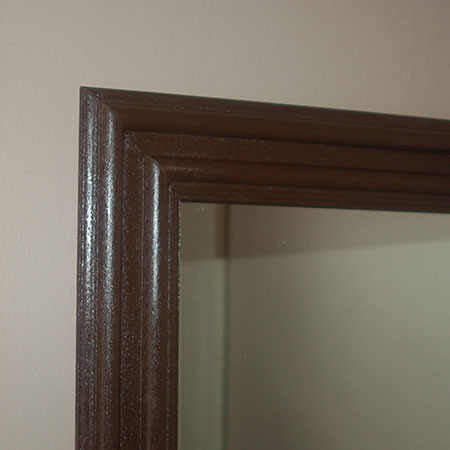
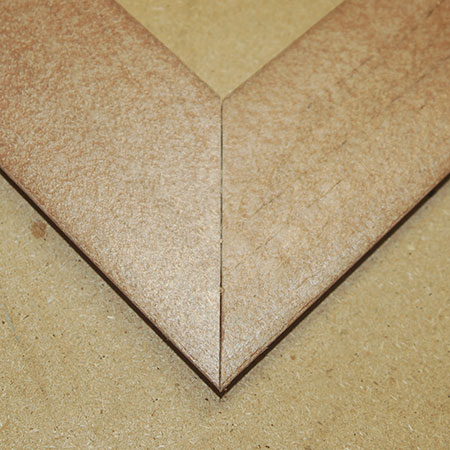
ABOVE - BELOW: The contact adhesive worked like a dream for joining the frame at the corners.
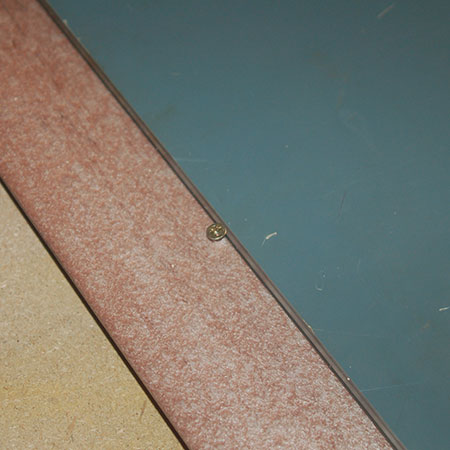
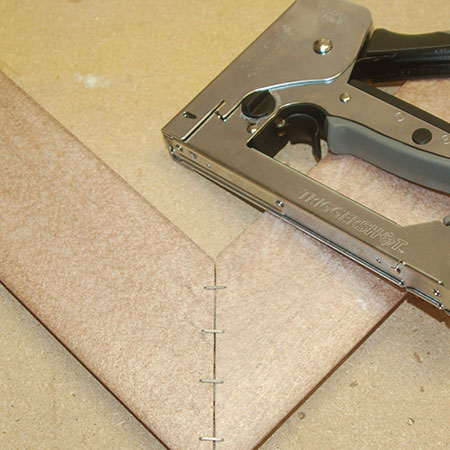
It wouldn't be safe to rely on only the contact adhesive to hold the frame corners, so I added a few heavy-duty staples to each join line. Put staples as close as possible to the front and back edges.
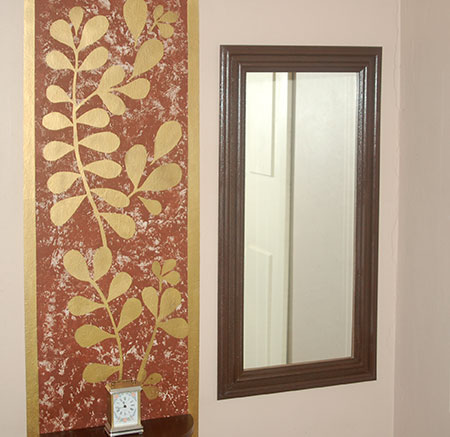
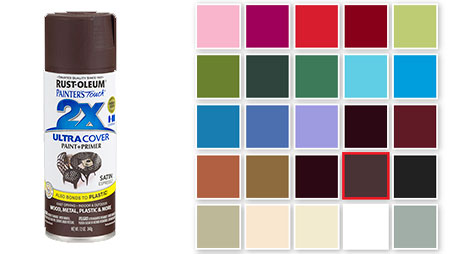
Before mounting the mirror at the back of the frame, I sprayed 2 light coats of Rust-Oleum 2X UltraCover in satin Espresso Brown. This is one of my favourite colours because of its rich, deep brown hue. You can select any colour you like to paint the frame, and Rust-Oleum has so many bold, vibrant colours to choose from.
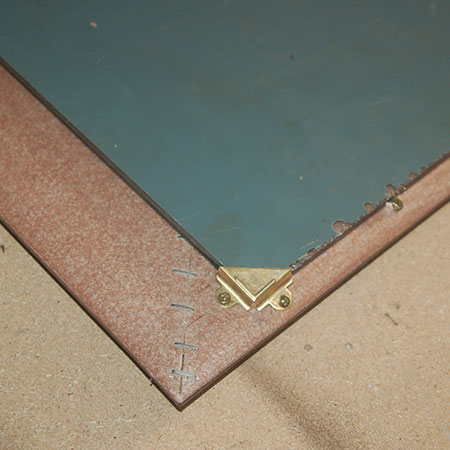
Another problem I had to solve was mounting the mirror to the back of the frame. The mirror is about 6mm thick and all the fittings I have are either for 4mm or 5mm thick glass or mirror. I did manage to fit mirror corner brackets (with a squeeze).
GOOD TO KNOW: Check the placing of your corner brackets, as these might go through the front of the moulding. Luckily mine had a few raised areas and I was lucky that the screws went into these.
Just to be safe, I added a couple of screws around the top, bottom and sides of the frame. When you add these, don't go too close to the edge of the mirror as it might chip and crack. All in all I'm very happy with how the frame came out.