
Quick Project: Baby Playhouse
This colourful baby playhouse is great for keeping little ones occupied while you catch up on housework or office work.
11/02/2019
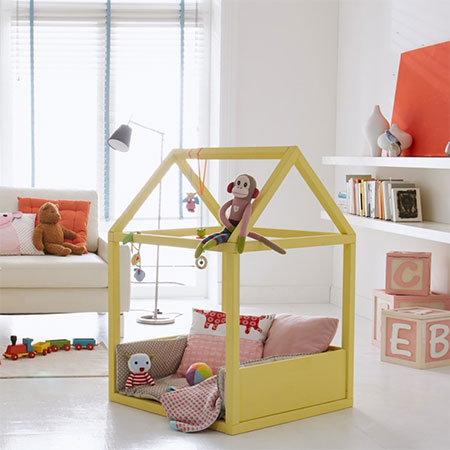
When your baby starts to pay more attention to his or her surroundings, this baby playhouse is filled with interesting and colourful objects that will attract attention and keep them occupied for a while. The baby playhouse is made using PAR pine that you will find at any Builders Warehouse and you can paint in a colour that complements a nursery or playroom.
YOU WILL NEED:
8 of 32 x 32mm or 44 x 44mm x 1800mm PAR pine cut to:
- 2 of 500mm [B]
- 2 of 462mm [C]
- 8 of 700mm [A -base / cross struts]
- 4 of 700mm [A upright]
3 of 19 x 200 x 2100mm PAR pine (or adjust for standard 194mm width PAR pine)
5 x 50mm screws
Choice of acrylic paint
Wood filler
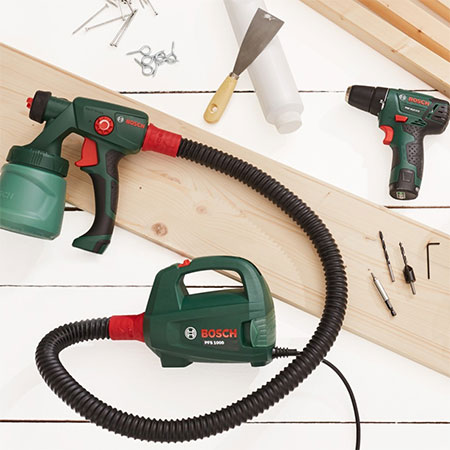
TOOLS:
Drill / Driver plus 3mm bit
Countersink bit
Jigsaw and clean-cut blade or mitre saw
Bosch PFS spray system
Orbital sander plus 120- and 240-grit sanding pads
Paint scraper
Tape measure and pencil
HERE'S HOW:
1. For all [B and C] roof beams, cut the bottom edges of each to 45-degrees so that they can be placed against each other at right angles to form the top for the roof. Sand down the edges so that they are nice and smooth.
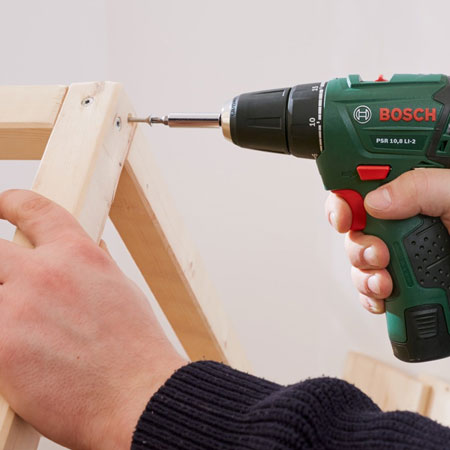
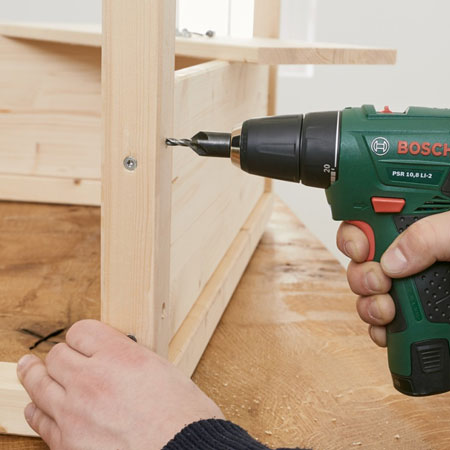
2. Assemble the frames for the side sections according to the diagram. Drill 3mm countersunk pilot holes for all screws to allow for flush finish once you're done. Assemble the side and corner struts and join with screws. Connect the two resulting frames to each other by means of the four cross struts at both the top and bottom to produce a cube.
3. For the roof, place [2] roof strip (“B” and “C” in the diagram) at right angles to each other. Drill pilot holes and then join together with screws. The longer of the two strips is on top. The previously angled ends of the strips will form the bottom edges that are later placed on the frame of the house.
4. Connect the [2] sides of the roof at the tips with screws and then place the finished roof on the frame. Drill pilot holes and assemble with screws.
Finishing
Fill all the screw holes with wood filler, let dry and then sand all the surface smooth and splinter-free. You may also want to round off the sharp corners.
Put down a drop cloth before painting with your choice of colour. A Bosch PFS 2000 spray system is a great way to apply a professional finish that is quick and easy. Find tips on using a Bosch PFS spray system here or watch this informative video.

all about diy