
How To Install An Extractor Fan
If you have a problem with condensation in a bathroom or kitchen or not enough air circulation in a bathroom, you will want to look at installing an extractor fan.
14/05/2021
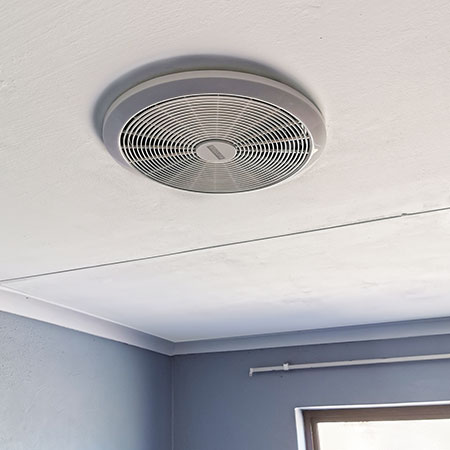
An extractor fan improves air circulation to combat condensation, mould or smelly bathroom odours.
There are numerous reasons for installing an extractor fan in a bathroom, kitchen or laundry room. An extraction fan is ideal in a bathroom where you tend to have a problem with condensation, or perhaps there isn't enough air circulation in the bathroom and this leads to problems with mould. If your problem is with the kitchen or laundry room, an extractor fan will work just as well, particularly if your laundry room is located in a small space with no circulation.
My reason for installing an extractor fan is due to the fact that the bathroom is open to the dressing room/closet space and it is difficult to clear the room of bathroom odours. The extraction fan has been installed now for a week and it was well worth the effort. No more smelly bathroom and zero condensation after showering.
At a cost of around R450, an extraction fan is an affordable option if the alternative is having to fit a larger window to allow better airflow or even the cost of air fresheners to keep the room smelling fresh.
YOU WILL NEED:
Extractor fan for mounting in the ceiling
Electrical cable
TOOLS:
Jigsaw
A long nail, length of chain and pencil
Hammer
Tape measure
Safety goggles or glasses
HERE'S HOW:
Step 1
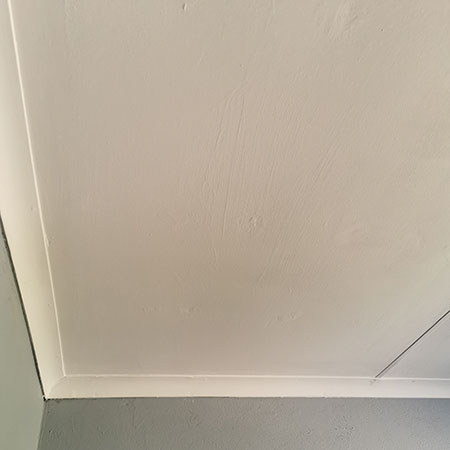
The first thing you need to do is to decide where to install the extractor fan. To do that, you need to get into the attic or roof space to find a safe area where there are no pipes, cables or beams. To aid in identifying the area in the bathroom, gently hammer a nail through the ceiling board to mark the spot.
Step 2
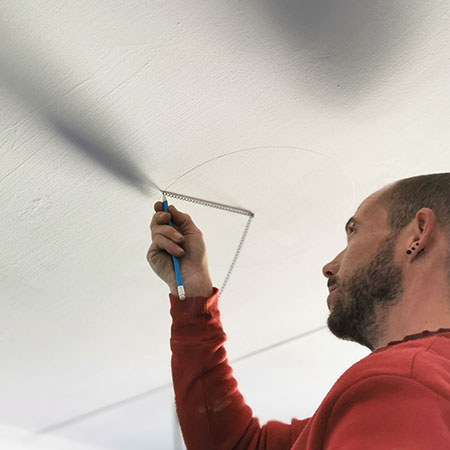
The extractor fan instructions should tell you how large the opening needs to be for mounting the extractor fan in the ceiling. Use a nail, length of chain and pencil to mark out the shape. Place the chain on the nail before gently hammering the nail into the ceiling board. You can now place a pencil in the chain to draw out the circular shape to the right size. Double check your measurements with a tape measure before you cut.
Step 3
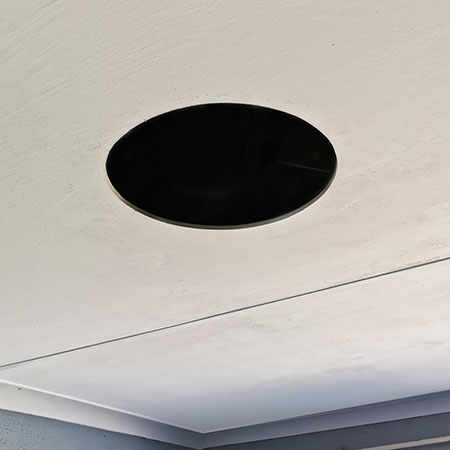
While it would have been nice to have an AP saw to cut out the hole, the jigsaw worked just as well. DO wear goggles or glasses when you are working underneath.
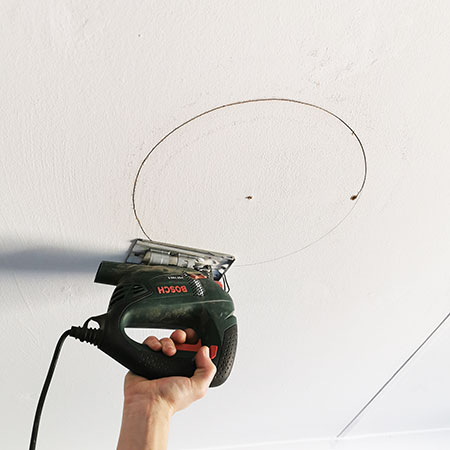
Hole cut in ceiling board for mounting extractor fan.
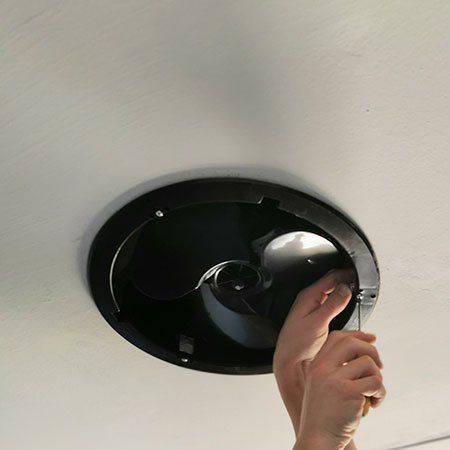
Step 4
With the opening cut out, follow the manufacturer's instructions for proper installation. The extractor fan has clips that support it on the ceiling board.
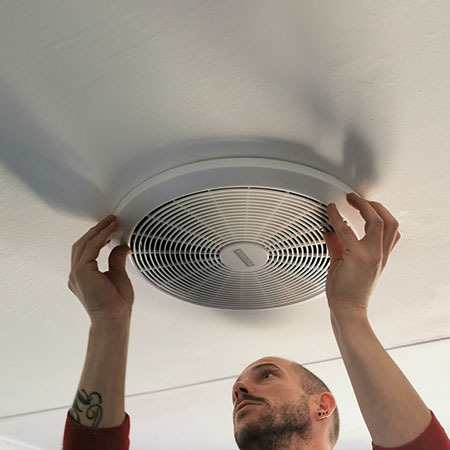
Pop the cover on the extractor fan and test that it is working OK.
GOOD TO KNOW:
The extractor fan was fitted with a long length of electrical cable to be able to plug in at the nearest plug point.