
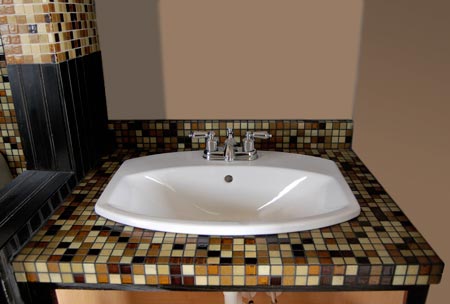
Mosaic tile vanity for bathroom
Granite sounds all well and good until you find out the price and your eyeballs pop out of your head while a couple of sheets of SupaWood, mosaic tiles and Pattex No More Nails and you've got something that looks good for a fraction of the price.
YOU WILL NEED:
- 12mm SupaWood - or you could use plywood - have the wood cut to size at your local Builders
- Jigsaw and clean cut blades
- Drill/Driver plus assorted drill and screw bits
- Screws
- Mosaic tiles
- Pattex No More Nails - exterior
- Pre-mixed grout
- Notched trowel
- Grout float
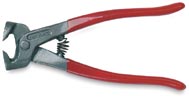
- Tile nipper
- Bucket of water and sponge
- Grout sealer
HERE'S HOW:
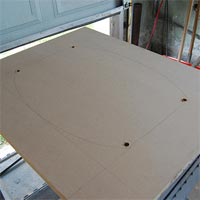
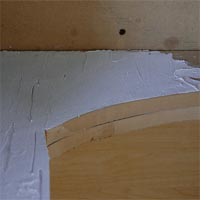
1. Draw out the shape of the sink onto your sheet of SupaWood, remembering that the hole needs to be slightly smaller than the size of the sink, so that the sink sits on top of the wood.
2. Drill a 10mm hole in each corner, not too close to the edge, to allow you to insert the jigsaw blade. Cut out the shape.
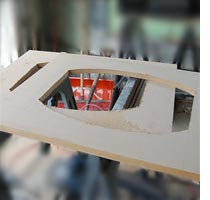
3. Copy the shape onto a second sheet and cut this out in the same way. Dry fit the sink.
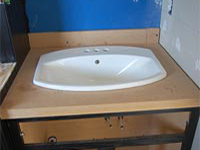
4. Attach brackets under the sink to firmly fix to the cabinet.
Granite sounds all well and good until you find out the price and your eyeballs pop out of your head while a couple of sheets of SupaWood, mosaic tiles and Pattex No More Nails and you've got something that looks good for a fraction of the price.
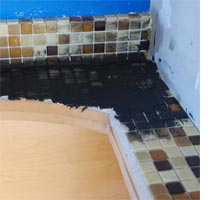
5. Use Pattex No More Nails to fix the mosaic tiles to the surface of the SupaWood. Because SupaWood is absorbent, No More Nails does not dry too quickly and provides a water-resistant surface to the SupaWood.
Squeeze on a liberal amount of No More Nails and use a putty knife or paint scraper to spread out over the ENTIRE top of the board. Don't spread to thinly. A 2-3mm thick layer is perfect.

6. Cut the mosaic tile sheets into manageable sections and position the sheets over the No More Nails. Remember to keep a gap between the sheets that is equal to the gap on the sheets. Use a tile nipper to cut mosaic tiles to fit around the shape of the sink.
7. For sanded grout, mix according to package directions. Once it’s about at the consistency of toothpaste, you’re good to go. For small tile, it’s just a matter of spreading grout over the whole thing, making sure to push it into all of the little cracks. Let this dry and then wipe over with a damp sponge to remove any grout on the tile surface. You may need to do this a a couple of time.
Finally, polish with a soft, dry cloth to shine.