
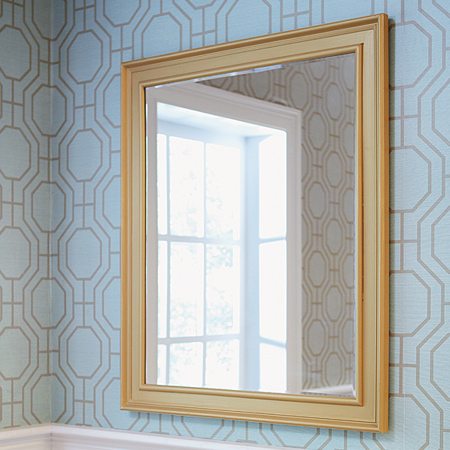
How to frame a bathroom mirror
A framed bathroom mirror can easily cost R800 upwards, depending on the frame. But you can easily dress up a mirror with a custom frame made out of pine or SupaWood moulding, and it will only cost you around R200. Here's how to frame a bathroom - or any mirror.
Visit the timber section of your local Builders Warehouse and you will find a selection of moulding and trim that you can use for this project.
YOU WILL NEED:
10 x 44mm pine trim, buy sufficient lengths to fit around your mirror
Trim moulding, buy sufficient lengths to fit around your mirror
No More Nails adhesive
Acrylic sealer
Masking tape
TOOLS:
Tape measure and pencil
Spirit level
Mire box and hand saw - or mitre saw
Spray paint or interior paint
Paintbrush
Optional: Panel pins and hammer
HERE'S HOW:
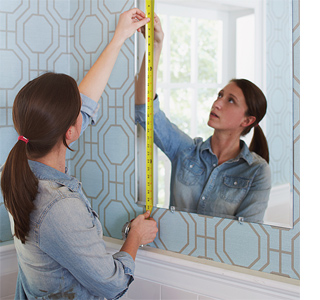
Measure the length and height of your mirror to determine how large a frame you need. Measure twice and write down your measurements so you don't forget.
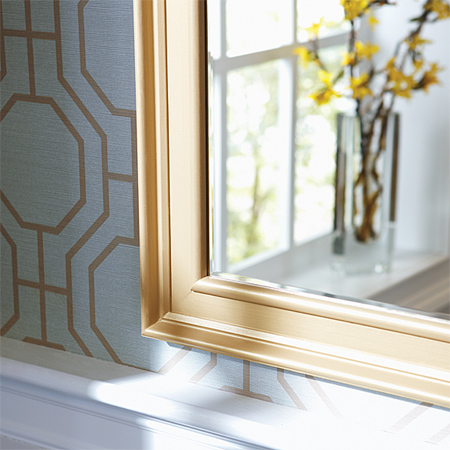
Choose the trim design that best matches your bathroom or interior space. You will need moulding to fit around the inside and outside edge of the pine trim. Use No More Nails adhesive to stick the moulding onto the trim. The inside moulding should overhang the frame by 5mm and is recessed to fit snugly around the mirror. If you want to make the width of the trim wider, extend the outer moulding so that it overhangs the outside edge.
I also like to hammer a few panel pins in along the length of the moulding to make the frame more stable and sturdy.
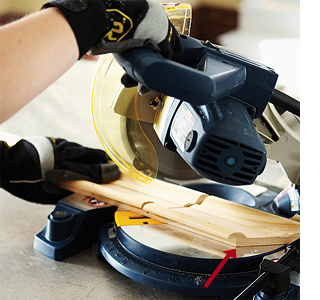
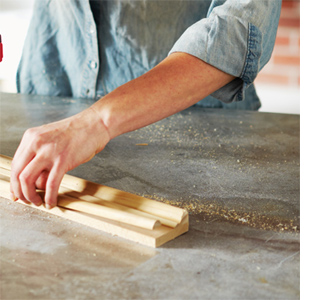
Use a mitre saw or mitre box and saw to cut the edges at a 45-degree angle. Measure and mark the frame sections on the bottom trim piece - shown left - and cut from this mark inwards. You will need to adjust the 45-degree angle from left to right, depending on which side you are cutting. Continue measuring and cutting all sides.
More information here on cutting corners for picture frames.

Once cut, use 180-grit sandpaper to smooth the edges. Use No More Nails adhesive to glue the four pieces together. Don’t worry if they don’t fit perfectly — you can use acrylic sealer to achieve a professional and seamless look.
GOOD TO KNOW: Use a strap clamp to hold the frame firmly together until the glue sets.
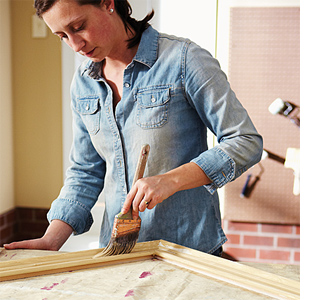
If the mirror is going to be hung in the humid environment of a bathroom, we suggest priming and painting both sides of the wood. You can use Rust-Oleum Universal Metallic spray paint, or consider interior paints such as Plascon Metallic in a specialty finish like metallic gold as an alternate way to add a luxe, gilded look to your frame.
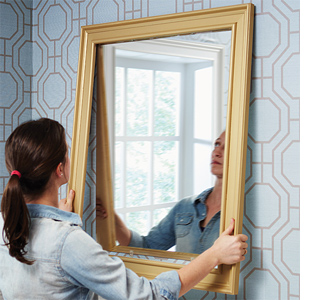
Arrange the pieces to mount to your mirror frame. Apply a thin bead of No More Nails adhesive to the back of the inner moulding and fit onto the mirror.
NOTE: This project shows how to make a frame around a pre-hung mirror.