
Seal Around Your Bath Or Shower Without Using Silicone Sealer
Silicone sealer is messy, time-consuming and doesn't last long before it needs to be replaced, so use sealing tape instead.
16/02/2021
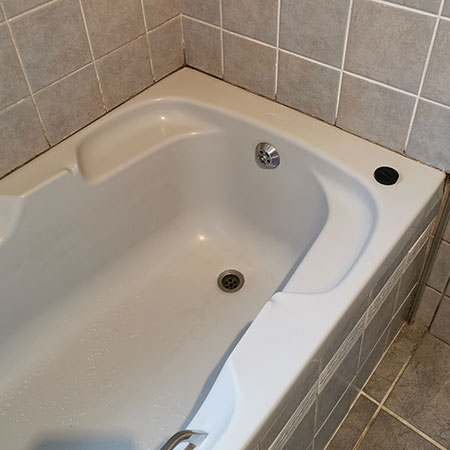
For years now, the downstairs bathtub has been a pain in the butt. Every couple of years I have to remove and replace the silicone sealer around the tub. It's not that it gets mouldy or anything like that, it just starts to look grubby after a couple of years. About 10 years ago, I applied rubber sealing tape around the upstairs bathtub and it still looks just as good today and there has never been a problem with mould.
After doing a bit of online shopping recently, I accidentally came across the sealing tape again and purchased some for the downstairs bathroom. If you are tired of removing and replacing silicone sealer around the bathtub, the shower or basin, see how easy it is to apply and then decide for yourself which is the better option.
FYI... the sealing tape option is easy to apply and should only take about 10 minutes. You don't have to wait for anything to dry and your bathtub is ready for use.

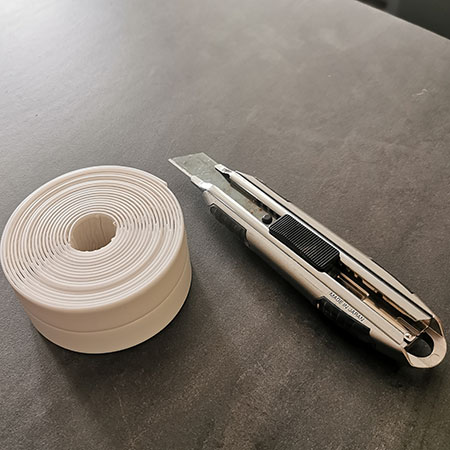
YOU WILL NEED:
Sealing tape, specifically for around sanitary fittings
Utility or craft knife
Scissors
Cloths
HERE'S HOW:
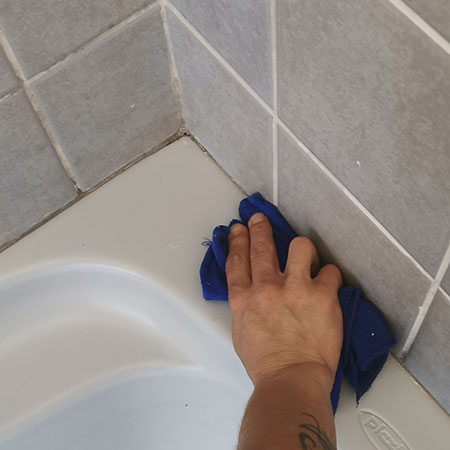
1. Before you can apply the sealing tape, you need to remove all the old silicone sealer from around the bath. In most instances, you can simply peel this off and use a bit of vinegar or acetone to remove any remaining bits of silicone.
2. Once you have removed all the old silicone, use a dry cloth to make sure the area where the tape is to be placed is absolutely dry. If it's not dry, the sealing tape won't stick down properly.
3. Measure the length of the side or end of the bathtub to cut the sealing tape to the length required.
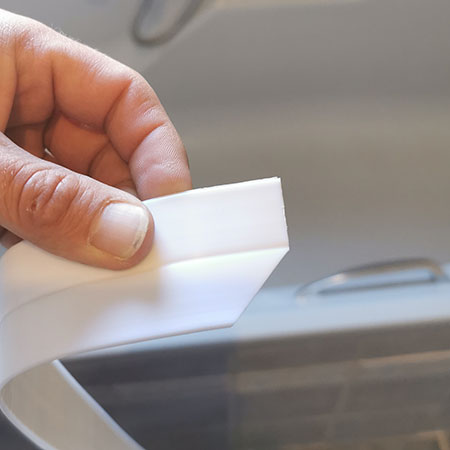
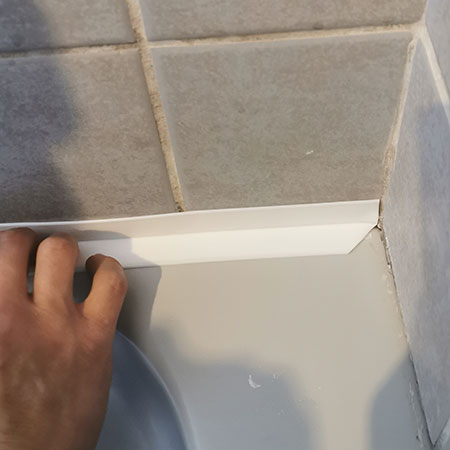
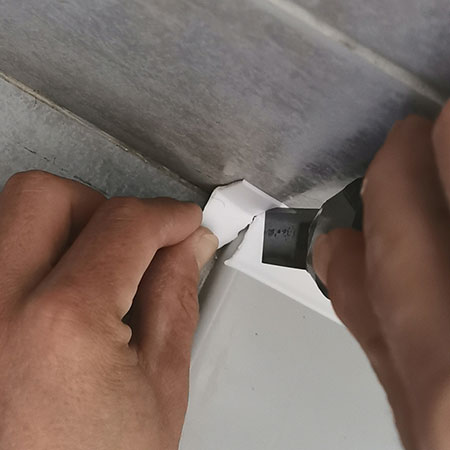
4. Starting at one corner, cut a 45-degree angle along the bottom edge of the tape, as shown below.

To get a snug fit in the corners, cut away a piece of sealing tape at a 45-degree angle. You will do this on both lengths of tape that meet at the corner.
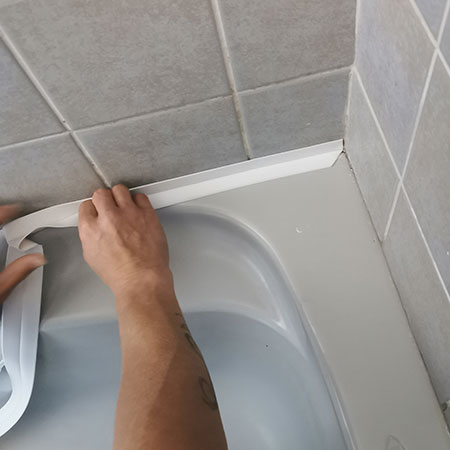
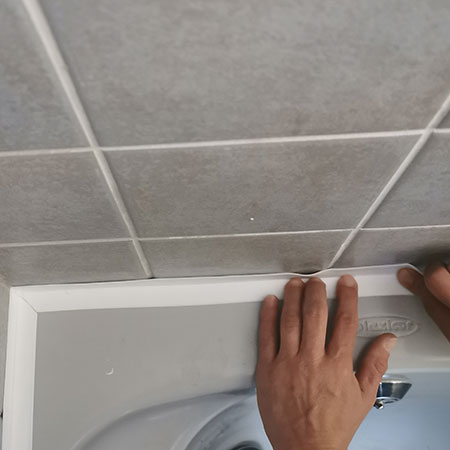
5. Peel away a small length of the backing so that you can place the tape exactly in the corner and start pressing the tape between where the tub and tile meet. Use your fingertips to ensure the tape is firmly flattened against the tile and tub.
6. Continue to peel the backing away from the sticky side of the tape and the press the tape into the joint between the wall and tub.
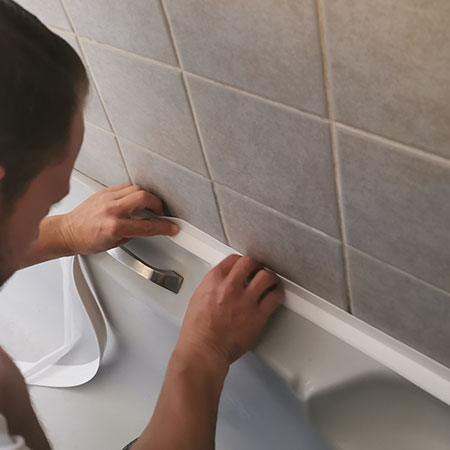
Use your fingertips to press down along the top and bottom edges of the tape to ensure it fixes to the wall and tub.
7. As you finish one side, start again at the corner point, making sure the angled edge is flush up against the first piece of sealing tape.
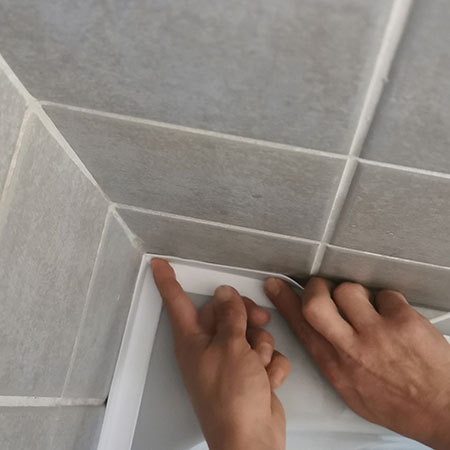
Press the tape firmly against the wall and edge of the bathtub and rub your fingers over this repeatedly.
8. Use a utility or craft knife to trim the edges of the tape once you are finished.
And there you have it... An easy, non-messy way to seal around a bathtub, basin or shower without any fuss and in record time.