Cover up ugly tiles with Belgotex LVT flooring
I recently posted a feature on covering up ugly tiles with luxury vinyl tiles (LVT) and decided to try this new product out in my bathroom.
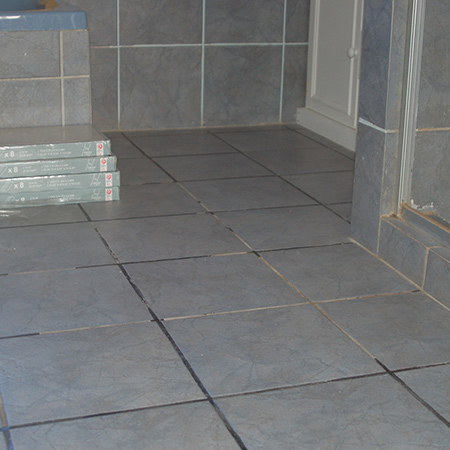
In my one bathroom the floor and wall tiles are matchy-matchy, and after nearly 20 years the look was becoming really boring. After recently posting an article on this product I discovered that using luxury vinyl tiles is a way to cover up the existing tiles without having to rip them out.
Luxury vinyl tiles have been on the market for a few years, but only recently have Belgotex launched the Podium Clic range that can be applied over the top of existing tiles. The Podium Clic LVT flooring was installed about three months ago and I have had time to assess how the product stands up to daily wear.
The product packaging contains comprehensive instructions on the installation process, and it should be mentioned that the product also needs to acclimatise in the room where it is to be laid, so be sure to read the instructions before you start the project.
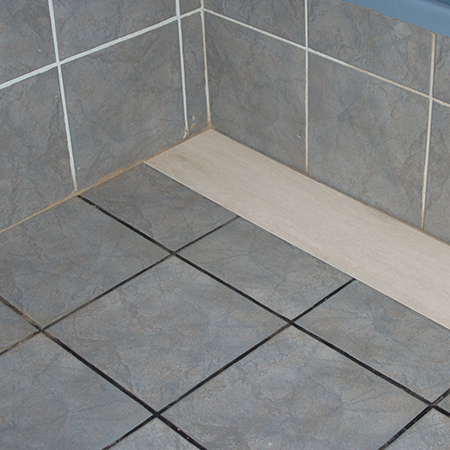
Fitting the LVT planks
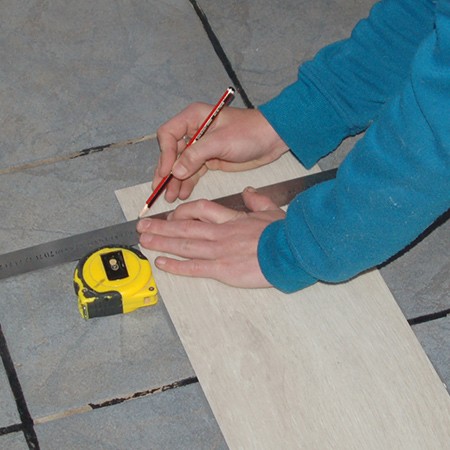
Accurately measure the room for a balanced layout. You need to determine where the first plank is to be placed and whether or not it needs to be cut, bearing in mind that the first and last row should not be less than 5cm wide. The arrangement of planks should be staggered for each row.
GOOD TO KNOW: If the first row of planks does not need to be trimmed, remove the tongue at the ends so that the solid face is against the wall.
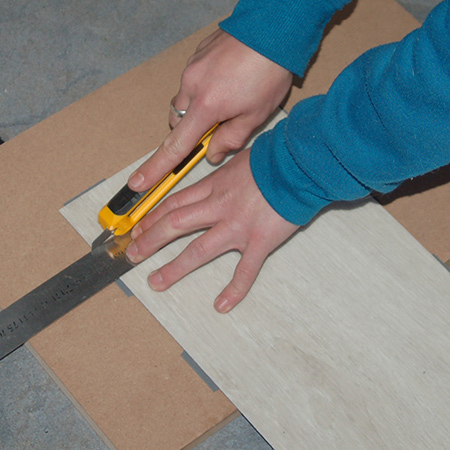
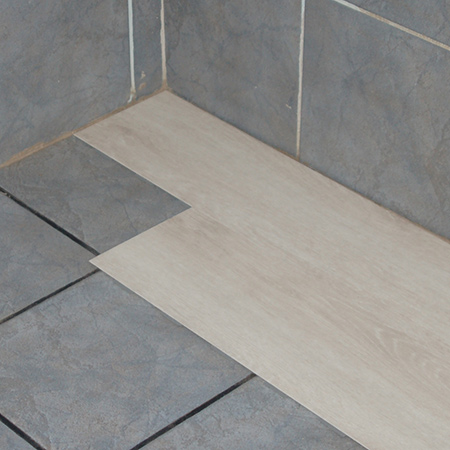
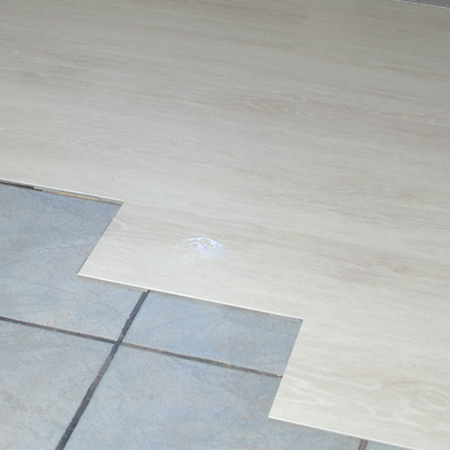
Cut the planks to fit with a steel ruler and Stanley or utility knife. Have a scrap piece of board or thick cardboard on hand to place under the plank being cut.
GOOD TO KNOW: It is recommended that planks should be installed with their length parallel to incoming sunlight.

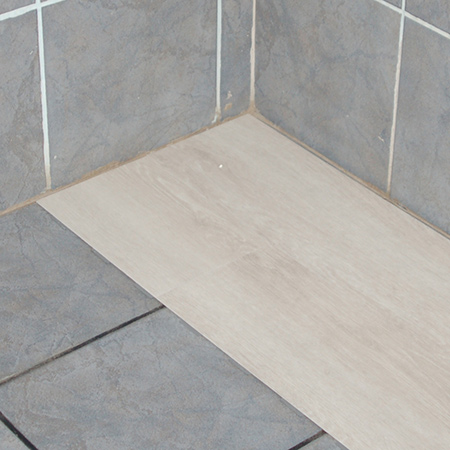
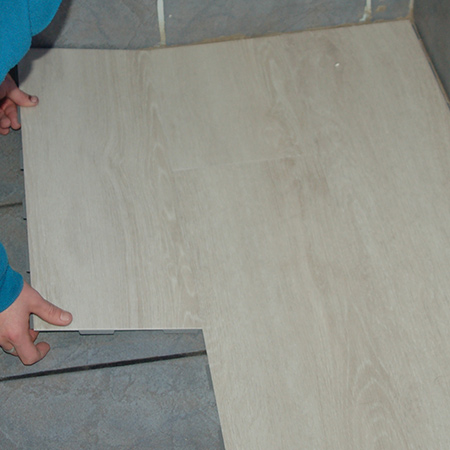
When laying the planks, click together the short side first and then click the long side in place.
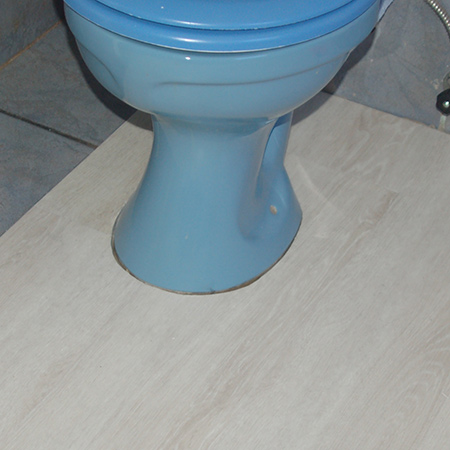
Fitting LVT around curves
You will need to cut curves to fit the luxury vinyl tiles around a pedestal sink, toilet or curved sanitary ware. The best way to do this is to use a Tile Profile and a cardboard template.
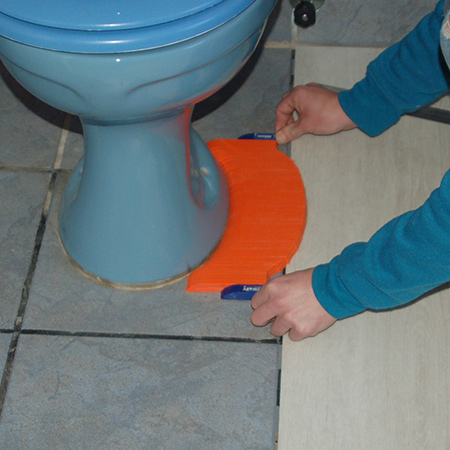
Fit the Tile Profile around the curves to be cut and then transfer this onto a piece of cardboard.
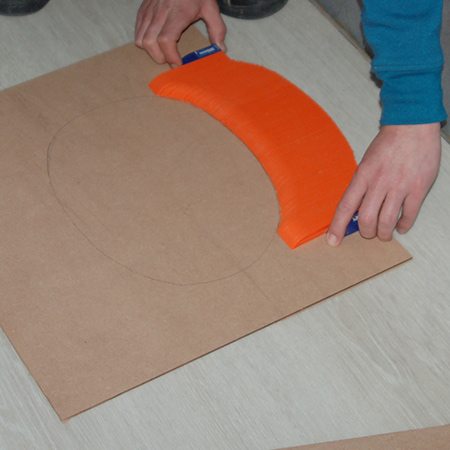
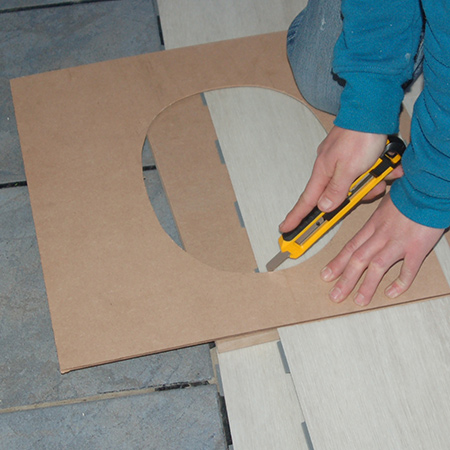
After cutting out the shape on the cardboard profile, this is transferred onto the LVT planks that need to be cut to fit around the shape. One great advantage of fitting LVT is that it is easy to cut with a Stanley or utility knife.
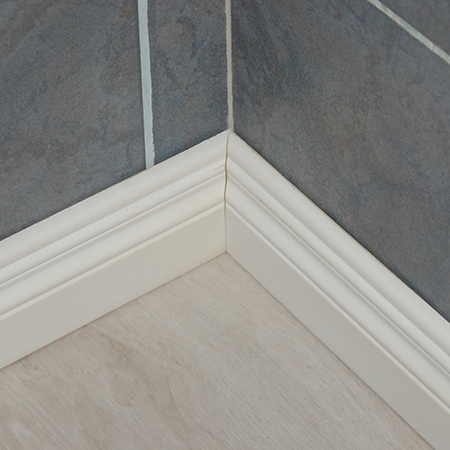
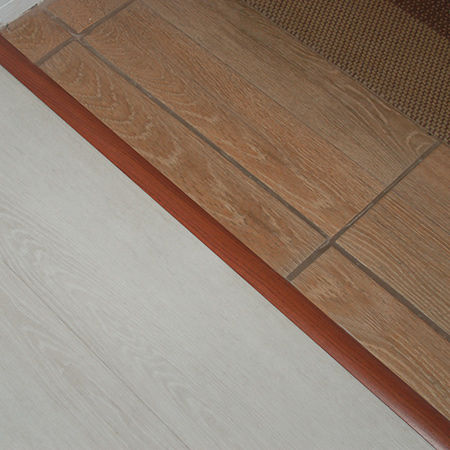
Finishing
You need to fit a carpet or tile edging strip to cover up where different floor finishes come together. In this case I went with a brown tile profile wide enough to cover and even the gap.
To finish off around the edge you have a couple of options:
- Use skirting of wood or extruded polystyrene to cover up the expansion gap around the edge of the floor.
- Cut and fit a pine or Meranti quarter-round strip
- Apply sanitary silicone around a toilet, pedestal or curved shower cubicle. The silicone should be applied in such a way that it does not interfere with expansion and contraction of the planks.
In both cases, secure the moulding to the wall or tile - and not the vinyl planks. You want the expansion gap to have movement.