DIY Bath Caddy
This DIY bath caddy is just what you need to take time out and relax in the bath with a good book, movie or glass of wine.
02/03/2018
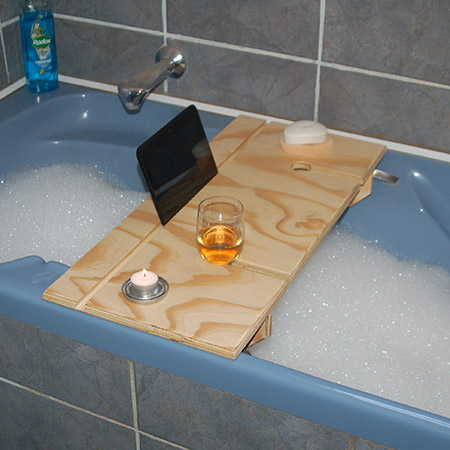
This bath caddy is easy to make and allows you to relax in the bath for much needed time out. We made our bath caddy using some leftover pine plywood that we had lying around, but you can also use laminated pine shelving.
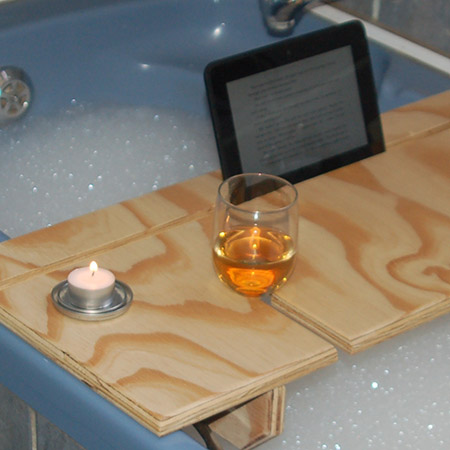
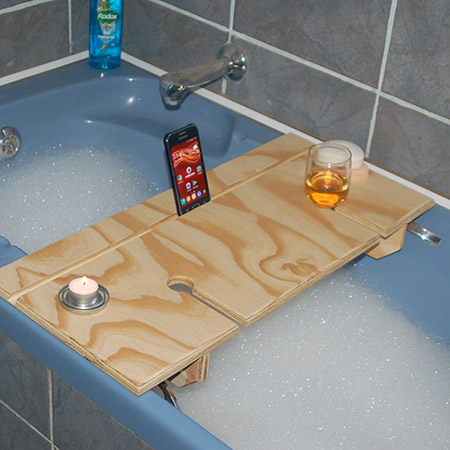
The bath caddy has a slot for your wine glass - left or right-handed and a slot for your Kindle, tablet or cellphone, as well as a holder for your tea light candle.
YOU WILL NEED:
Piece of plywood or laminated pine shelving that overlaps the width of the bath, plus...
...2 pieces for the supports
Wood glue
180-grit sandpaper
TOOLS:
Jigsaw plus blade for cutting steel
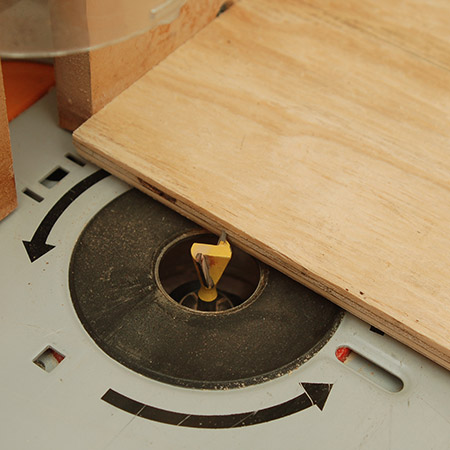
Router, preferably table mounted plus round-over and dovetail bit
Drill (min. 550W) plus 35mm Forstner or MAD bit
Clamps
HERE'S HOW:
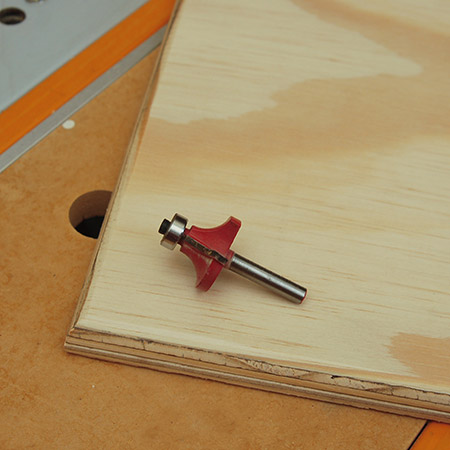
1. Use a round-over bit on your router all around the edge of the board. If you don't have a router, you can use an orbital sander and 120-grit sanding pads to round off the edges.
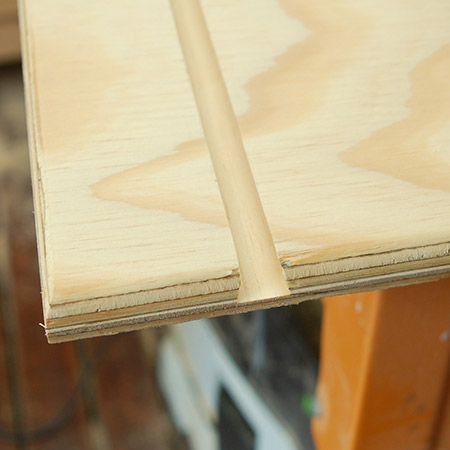
2. Measure where you want the slot to hold your Kindle, tablet or cellphone. Ours is 60mm in from the back edge.
3. Cut out the slot with a dovetail bit. This depth is around three-quarters of the way through the plywood and this is the perfect height to hold a tablet or phone firmly in place.
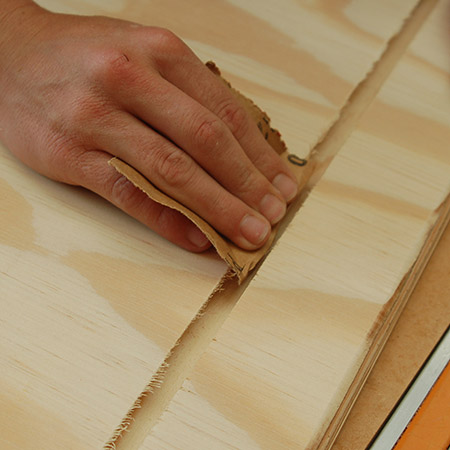
4. Sand away any rough edges after routing out the slot.
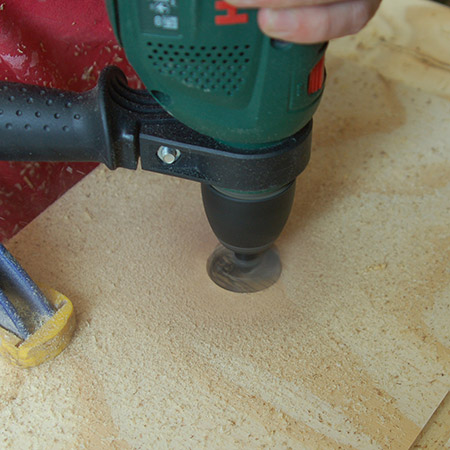
5. Clamp the board firmly to your workbench and then use a drill and 35mm Forstner bit to drill a hole 100mm in from the front edge for the wineglass holder. Depending on whether you are left- or right-handed will determine which side to drill the hole.
GOOD TO KNOW: Place a scrap piece of board underneath to ensure neat edges around the hole on the underside.
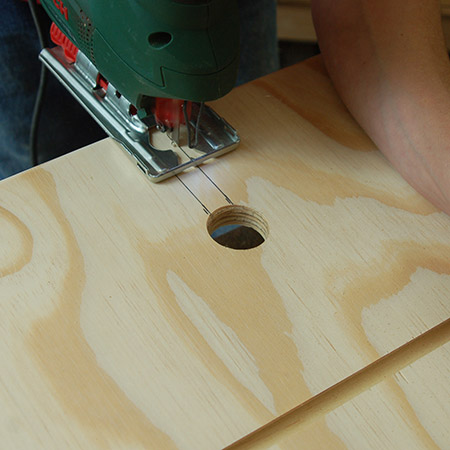
6. Now you can cut out the slot with a jigsaw and clean-cut blade.
GOOD TO KNOW: We used a jigsaw blade for cutting steel to cut out the slot. The ultra-fine teeth on this blade leave no chips along the cut edge.
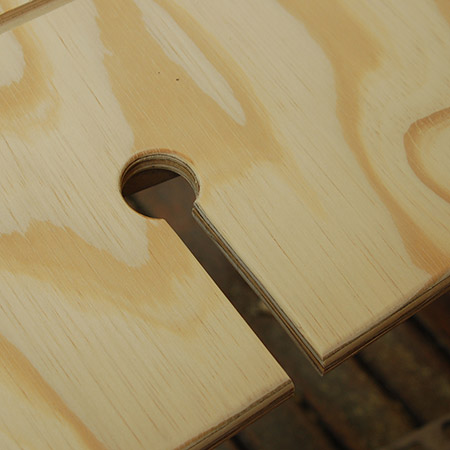
7. Sand all the cut edges nice and smooth.
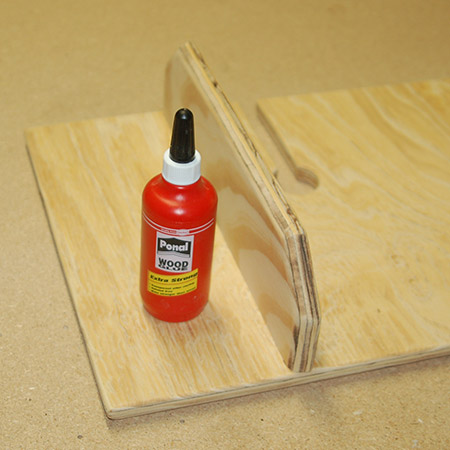
8. Glue the supports to the underside of the board. These supports need to be placed so that the caddy fits snugly inside your bath, so measure the width of the bath to determine where to glue the supports.
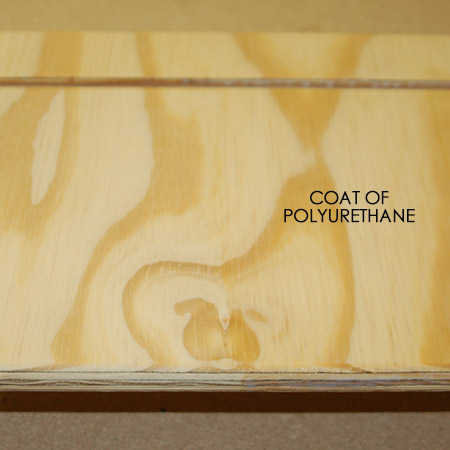
9. Whether you use plywood or pine, you need to apply 3 coats of polyurethane sealer. We used Rust-Oleum Ultimate Polyurethane. This product is water based, leaves a clear non-yellow finish and dries ultra fast. Plus, because the product is water based, clean up is easy with soapy water.

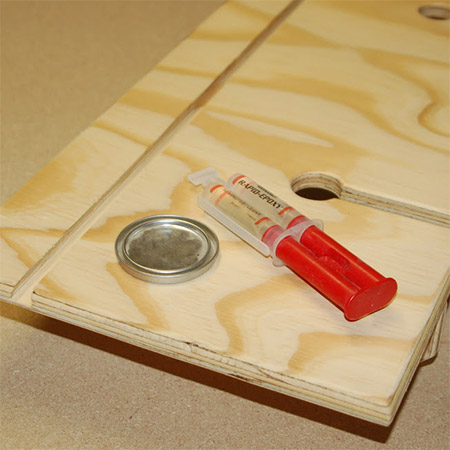
10. We wanted to add a candle holder to our bath caddy, but rather than use a router to cut a circulate rebate, we sourced a can lid and glued this onto the caddy with epoxy glue.