
DIY One-Stop-Stop for Dogs: Bed and Bowl Stand in One
We think that DIY is the way to go when it comes to creating a combination dog bed-and-bowl stand. Check out how you can create this all-in-one, one-stop canine setup.
26/10/2017
We can all agree that dogs take over a household. Some may even say that they run the household. But despite the fact that they often commandeer whichever corner of the house they deem comfortable at the moment, it’s a great idea to devote a space that’s entirely theirs — complete with a comfy crash pad and a place for food and water bowls. And since every living space has its own requirements in terms of measurements and style, we think that DIY is the way to go when it comes to creating a combination dog bed-and-bowl stand.
Below, check out how you can create this all-in-one, one-stop-shop canine setup. Creative variations welcome! The style of your home - and your dog’s comfort - come first. Lead with those elements and you’ll find yourself proud of your creation -- with a very happy pup.
pinterest.com/pin/155514993360418744/
WHAT YOU'LL NEED TO START:
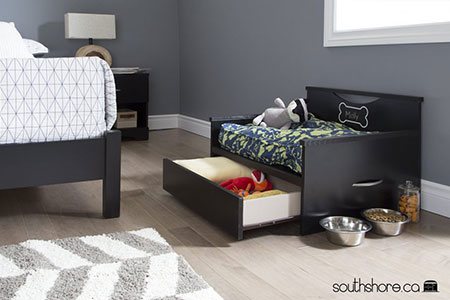
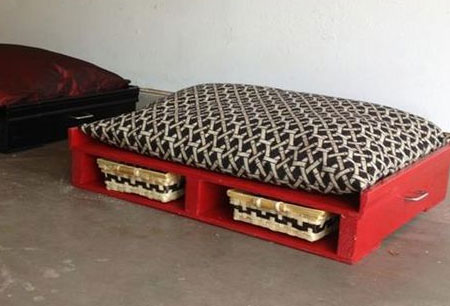
An assortment of pallets. Pallets offer you versatility in terms of the style and size you want for your dog bed-bowl stand setup. They’re also easy to decorate to blend in with or complement your decor. We recommend setting up a two-tiered system, with the top tier being the bed and the bottom tier serving as both a step for your pup and a place for food and water bowls, or a drawer to hold toys.
A hand saw - for resizing the pallets as you see fit.
Wood glue - for attaching different pieces.
Pillows, cushions, blankets (or a dog bed you already have) - to make your pup’s new space the coziest ever.
Pencil - for tracing the measurements of your dog bowls. You could also choose to leave the bowls out of the design and place them on the side of the bed, to save room for storage.
Paint and paint supplies - optional add-ons for stylizing your creation.
HOW TO MAKE IT:
Cut the top tier to your preferred size for your dog, as this will be Fido’s bed.
Place on the bottom tier pallet, so as to ensure that you’ll have enough room for bowls.
Once you’ve determined placement, trace each bowl where you’d like it to sit on the bottom tier.
Use hand saw to cut out the circles.
Attach top tier using the wood glue.
Decorate as you see fit, then add the bed accoutrements and bowls in their places.
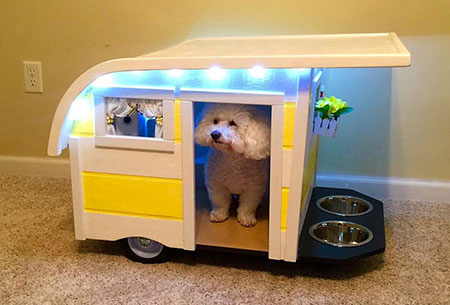
One of the best things about a DIY dog bed is that you can tailor your creation exactly to the aesthetic energy of your home, size of your dog, and practicality of your space. Feel free to be as creative as you’d like - outdoor, indoor, camper, princess bed - the possibilities are endless. While the big box pet stores will most often have something that will work just fine, your pup deserves something in his or her home that’s just perfect. Plus, we’re willing to bet on the fact that your making it means they’ll automatically love it.
Written by Casey Dickson, Rover.com community member. Rover is the nation's largest network of 5-star pet sitters and dog walkers.