
Insulating Your Home: A Step-by-Step DIY Guide
This step-by-step guide will walk you through the process of installing insulation in a DIY manner.
30/01/2024
Creating an energy-efficient and comfortable living space begins with proper insulation. Installing insulation in your home can significantly reduce energy bills and increase overall comfort. This step-by-step guide from the professionals at Bernardi Building Supply will walk you through the process of installing insulation in a DIY manner.
Step 1. Assess Your Home's Insulation Needs
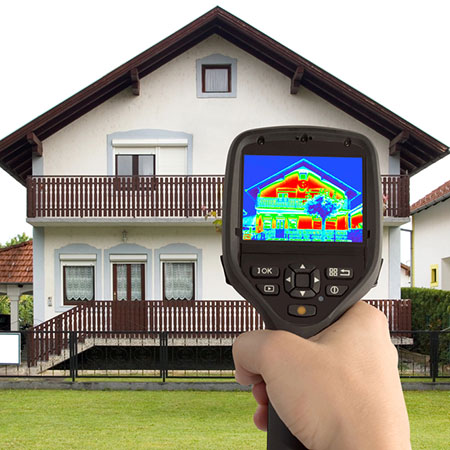
Before you begin the installation process, assess your home's current insulation situation. Identify areas with inadequate insulation, such as attics, walls, and crawl spaces. Additionally, check the R-value of existing insulation to determine if you need to add more layers.
Step 2. Choose the Right Insulation Material
Selecting the appropriate insulation material is crucial for effective insulation. Common options include fiberglass batts, cellulose, spray foam, and rigid foam boards. Consider factors such as the material's R-value, installation method, and your budget. Fiberglass batts are a popular choice for their ease of installation, while spray foam offers excellent coverage in hard-to-reach spaces.
Step 3. Gather the Necessary Tools and Equipment
Ensure you have all the tools and equipment required for the insulation project. Typical items include a utility knife, straightedge, tape measure, safety glasses, gloves, a dust mask, and a staple gun. The specific tools needed may vary depending on the insulation material chosen.
Step 4. Prepare the Work Area
Safety should always be a priority. Before starting the installation, wear appropriate protective gear, such as gloves and safety glasses. If you're working in tight spaces, use a dust mask to avoid inhaling insulation particles. Clear the work area of any obstacles and make sure there's proper lighting.
Step 5. Install Insulation in the Attic
Begin with the attic, as it is a critical area for preventing heat loss. Roll out fiberglass batts between the attic joists, ensuring a snug fit. Be cautious not to compress the insulation, as this reduces its effectiveness. For added coverage, consider installing a second layer perpendicular to the first.
Step 6. Insulate Walls and Floors
For wall insulation, carefully cut insulation material to fit between studs. Press the insulation into place, ensuring there are no gaps or voids. Use a staple gun to secure the insulation in position. For floors, consider using rigid foam boards, cutting them to fit between floor joists and securing them with adhesive.
Step 7. Seal Gaps and Cracks
To maximize insulation effectiveness, seal any gaps or cracks in walls, windows and doors, floors, and ceilings. Use caulking or expanding foam to fill these openings, preventing air leaks. This step is crucial for maintaining a consistent temperature inside your home and reducing energy wastage.
Step 8. Install Vapor Barriers
In areas prone to moisture, such as basements and crawl spaces, install vapor barriers to prevent condensation. Use plastic sheeting and secure it tightly to the walls and floors, overlapping seams by at least six inches. This additional layer helps protect your home from potential water damage.
Step 9. Evaluate and Monitor
Once the insulation is in place, evaluate its effectiveness by monitoring your home's energy consumption. Keep an eye on heating and cooling bills, and assess the overall comfort of your living space. If needed, make adjustments or add more insulation in specific areas to optimize energy efficiency.
Conclusion
By following this DIY guide, you can enhance your home's insulation and create a more energy-efficient and comfortable living environment. Regularly assess and maintain your insulation to ensure its long-term effectiveness, saving money and reducing your environmental impact in the process.