A DIY Laundry Rack for the Bathroom
Finding the previous drying rack that I made so, so handy, I decided to make another one for the upstairs bathroom.
12/03/2022
The last laundry drying rack I made was in 2018 and it has come in handy over the years, so much so that I have decided to make another drying rack for the upstairs bathroom. I always wash my delicates in the basin, especially those that shouldn't be put in the washing machine, and it would be perfect to install a drying rack for all of these.
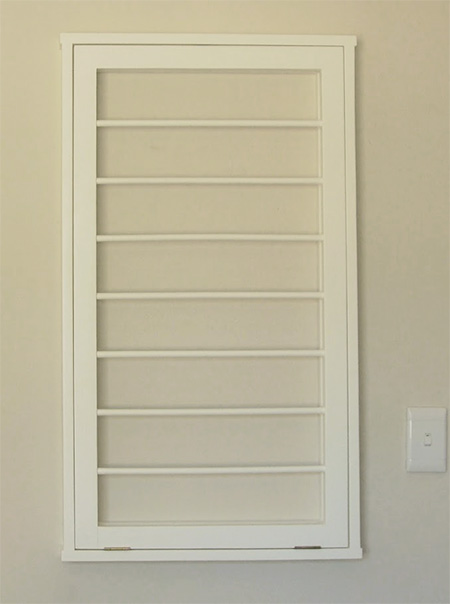
The laundry drying rack might look like a tricky project but it was surprisingly easy to make and you will definitely find a need for it when it is raining outside, too cold for laundry, or ideal for smaller items like your delicates. When it is folded up it takes up very little space and I decided to hang this second one over the bathtub. For those of you who haven't seen the previous instructions for this DIY clothes rack, I have included the instructions below.
How to Mount the Drying Rack on a Wall
Mounting the drying rack onto a wall isn't a difficult task but you need to check beforehand that there are no pipes or conduits behind the plaster or tiles. For this you will need a Digital Detector that is able to detect materials in walls. Don't drill if you don't know!
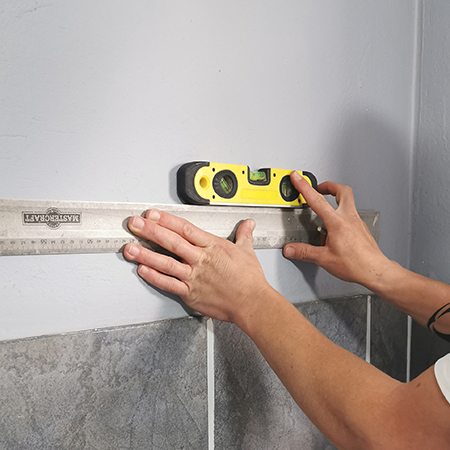
Step 1
Measure the distance from the mounting holes drilled in the drying rack and transfer this measurement on the wall where the rack will be mounted. Use a spirit level to ensure everything is straight and level.
Step 2
Use a multi-purpose or masonry (wall) bit to drill holes at the required location. The size of drill bit you use is determined by the diameter of the nylon wall plugs you are using. If the wall plugs are 6 or 8mm - use a 6 or 8mm drill bit. Also make sure to determine the depth of the hole by measuring the length of the wall plug and adding 0.5mm. This extra length will ensure that the wall plugs opens fully and locks in place for a safe mounting.
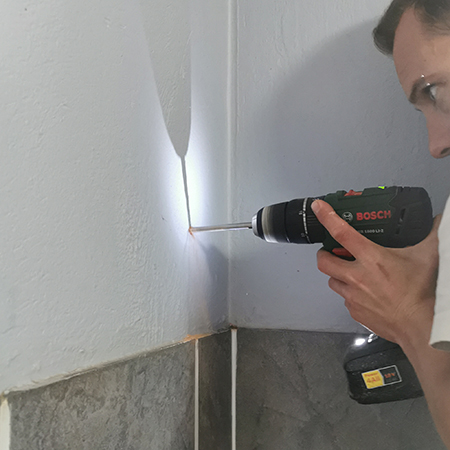
Only use nylon wall plugs when mounting anything onto a wall.

Step 3
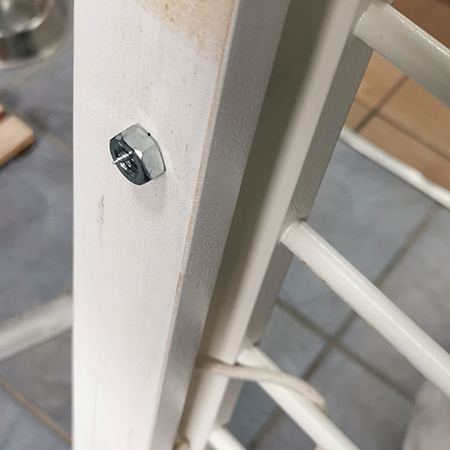
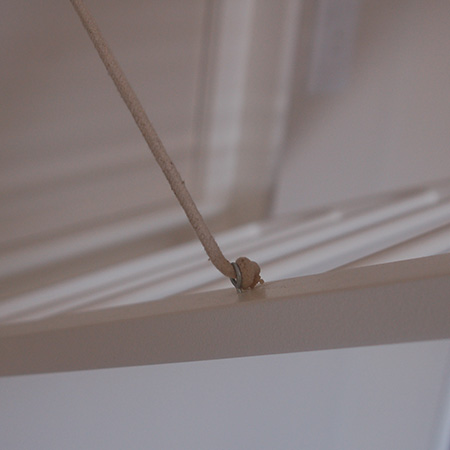
For this mounting, we needed to use a spacer since it was to be hung over a 3/4 height tiled wall. If you need to do the same, use a solid material for the space, such as a nut, which will not deteriorate over time.
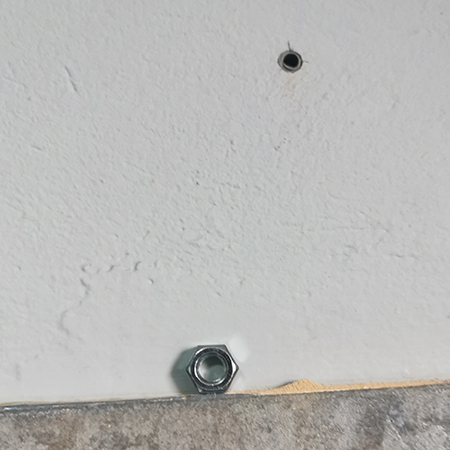
Use a nut as a spacer if you need to mount the drying rack away from the wall.
How to Make a DIY Laundry Drying Rack
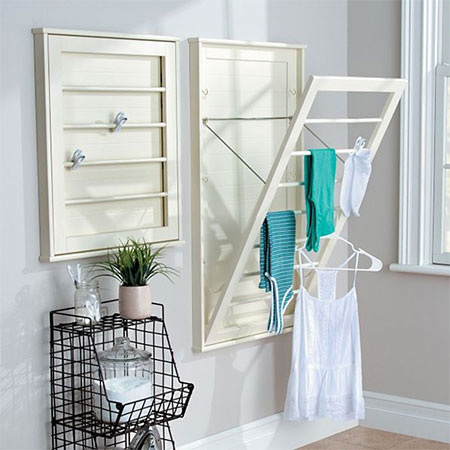
Make this wall-mounted and adjustable laundry drying rack out of PAR pine that you can buy at any Builders Warehouse. It's the perfect way to dry your washing when it's too windy, too cold or too wet to hang your laundry outdoors.
Three levels of clips on the frame allow you to adjust the angle of the drying rack for large and small items. You can modify the measurements here to make a smaller drying rack, or double up for a large family that needs plenty of space for hanging wet washing.

YOU WILL NEED:
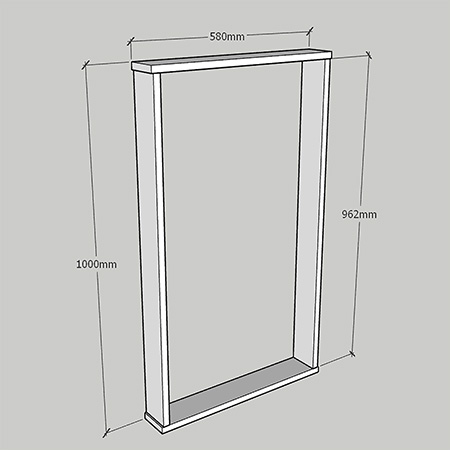
2 of 19 x 67 x 962mm pine - outer frame sides
2 of 19 x 67 x 580mm pine - outer frame top/bottom
2 of 19 x 44 x 874mm pine - inner frame sides
2 of 19 x 44 x 534mm pine - inner frame top/bottom
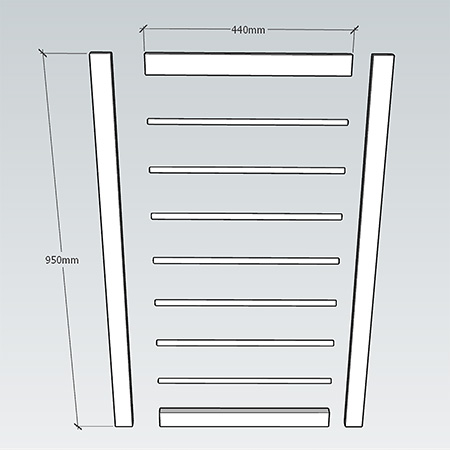
2 of 19 x 44 x 440mm pine - hanging frame top/bottom
2 of 19 x 44 x 950mm pine - hanging frame sides
7 of 12mm pine dowels, 460mm length
Wood glue
Wood filler
25mm pocket hole screws
20/25mm panel pins
6 of 20mm cup hooks
2 of eyelets
1 pack of 5mm diameter sash cord
2 butt hinges and [8] 13mm screws
1 double roller door latch and [4] 13mm screws
TOOLS:
Drill / Driver plus assorted bits
12mm spade bit
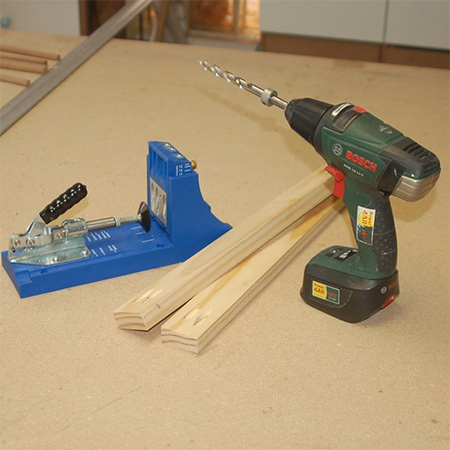
Kreg Pocket Hole Jig
OPTIONAL: Kreg Plug Cutter
Jigsaw or miter saw
Hammer
Sander plus 120- and 240-grit sanding pads
Clamps
Tape measure and pencil
Not responsible for errors or omissions.
HERE'S HOW:
Outer Frame
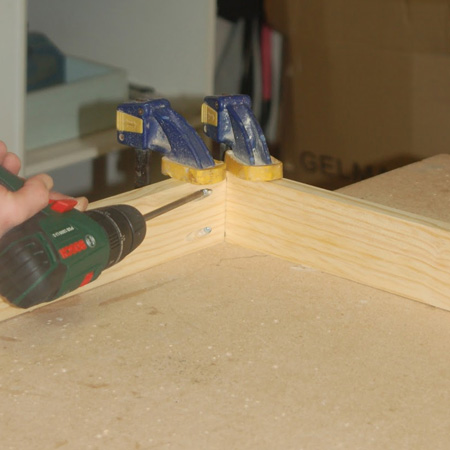
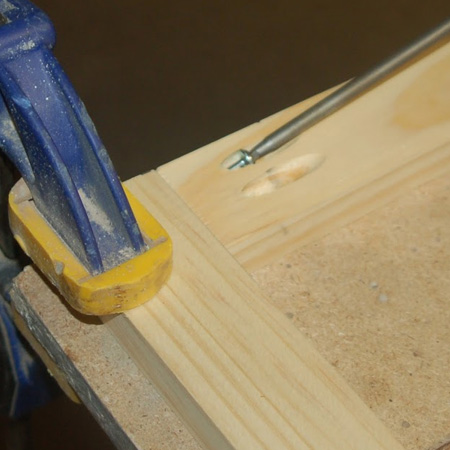
1. The first step is to make up the outer frame (above) using 19 x 67mm PAR pine. Use a pocket hole jig to drill [2] pocket holes at the top of both outer frame sides. There is a 4mm overhang at the top and bottom - on both sides.
2. Join the outer frame using wood glue and 25mm screws. It's a good idea to clamp the sections as you join.
Inner Frame
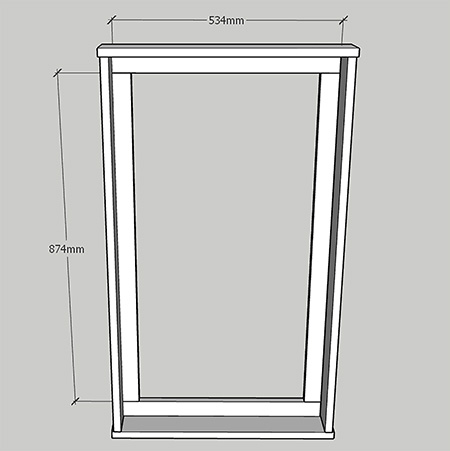
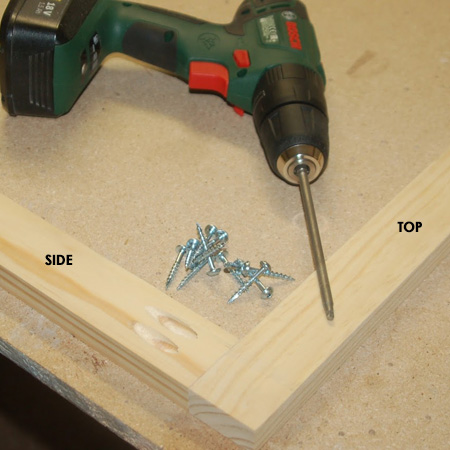
3. Make up the inner frame using 44mm wide PAR pine. Drill [2] pocket holes at both ends of the inner frame sides and secure to the top and bottom using wood glue and 25mm screws.
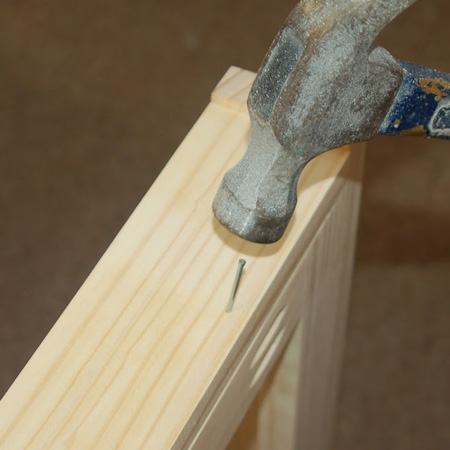
4. Place the inner frame inside the outer frame and use a hammer and panel pins to secure in place. Fill any holes with a dab of wood filler.
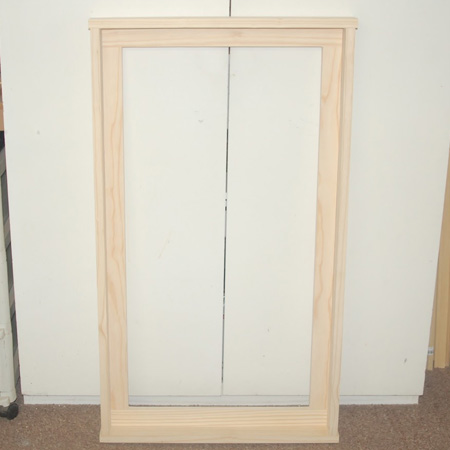
BELOW Completed frame assembly.
Drying Rack
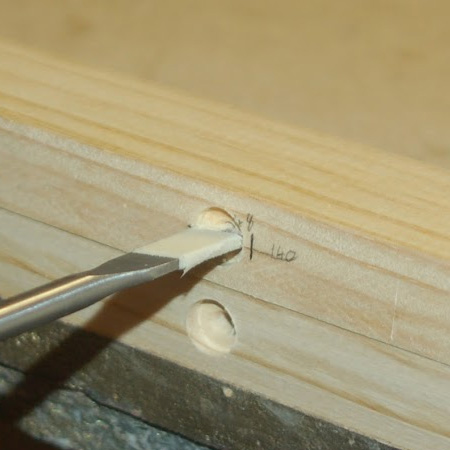
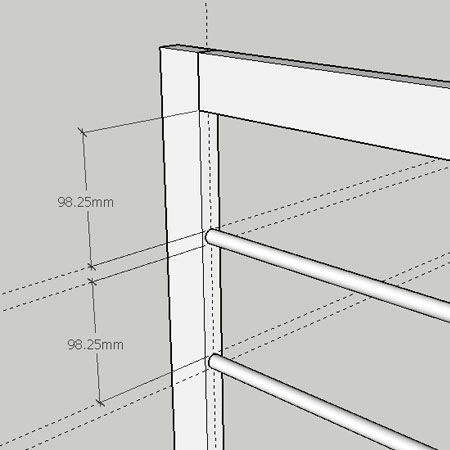
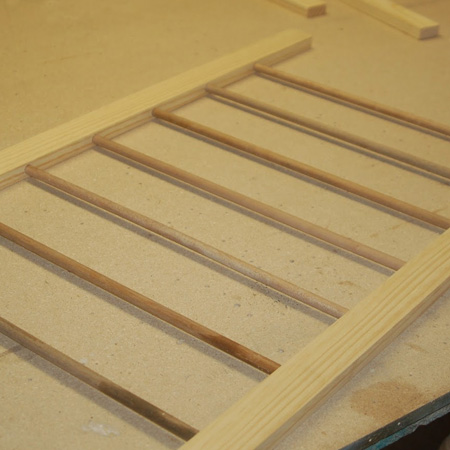
5. To assemble the drying rack, first mark and drill 12mm holes for mounting the dowels. The holes should be 10mm deep on both sides. Use masking tape to mark the correct cutting depth on your 12mm spade bit. See diagram below for spacing between the dowels.
BELOW: Distance between dowels for drying rack.
6. Secure the dowels to one side with wood glue and then add the remaining side and secure the dowels with wood glue.
7. Drill [2] pocket holes at both ends of the inner frame top / bottom and secure to the side with wood glue and 25mm screws.
Painting
Before assembling the drying rack, all the components were sanded smooth, wiped clean and then sprayed with a Bosch PFS spray system. We use a Bosch PFS 2000 for all our project.
Assemble Drying Rack
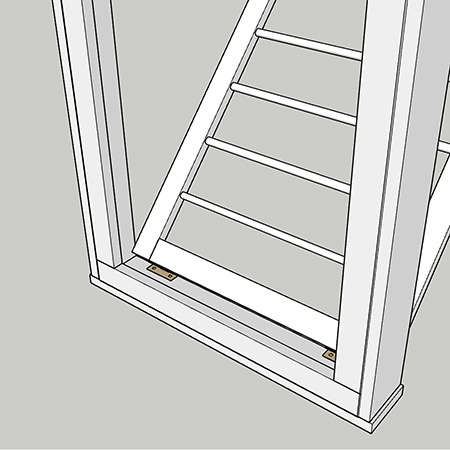
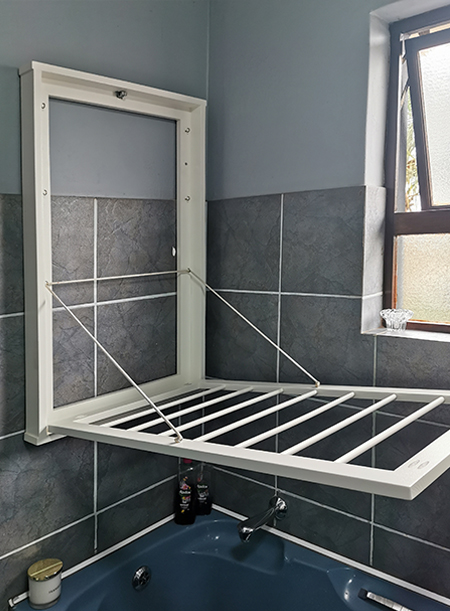
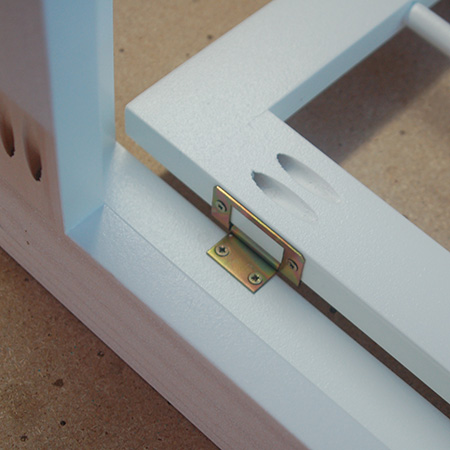
8. Secure the drying rack frame to the bottom of the outer frame with [2] butt hinges and 13mm screws. Align the hinges with the ends of the bottom frame (see below).
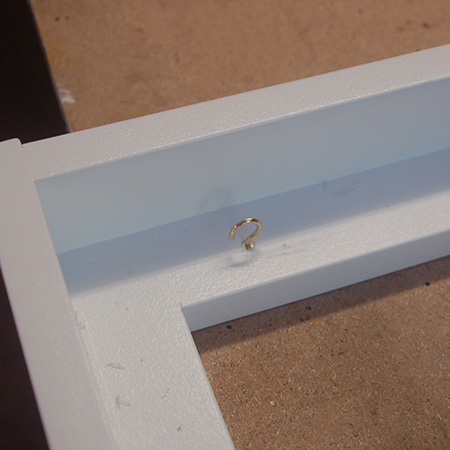
9. Screw in [2] cup hooks on the inside of the drying rack frame (with dowels) at approximately 480mm down from the top edge - see below.
10. Cut the sash cord to a length of 1750mm. Tie a knot at one end and thread through the eyelet and then thread through the other eyelet and tie off with a knot.
11. Measure and mark at 80mm, 300mm and 550mm from the top on both inner side frames.
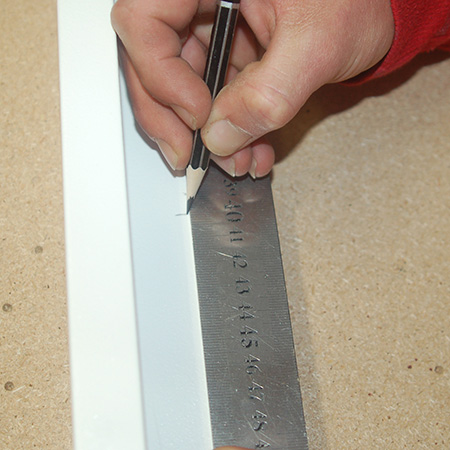
12. At these marks, screw a cup hook in the centre of the side frames.
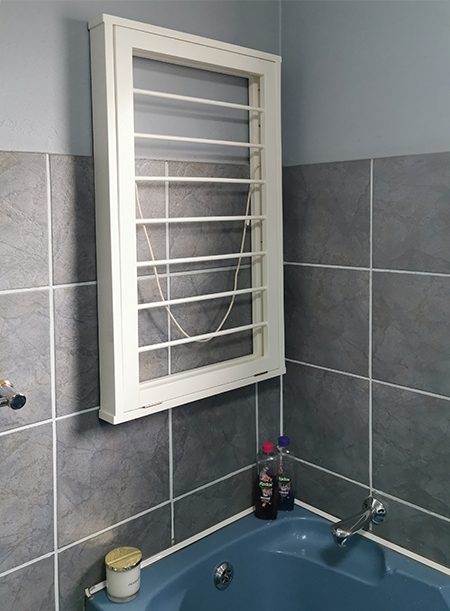
BELOW: The sash cord is placed over the cup hooks at one of three setting to adjust the angle of the drying rack.

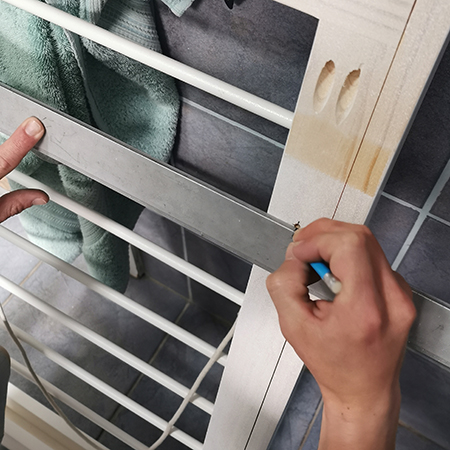
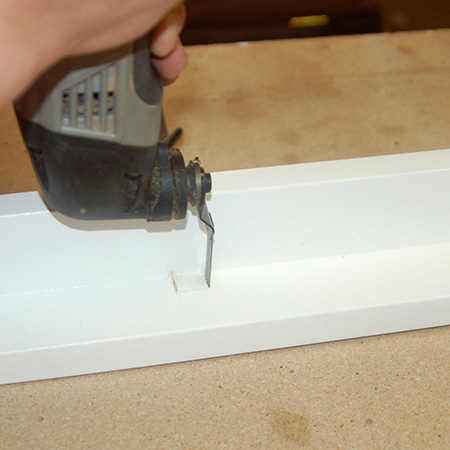
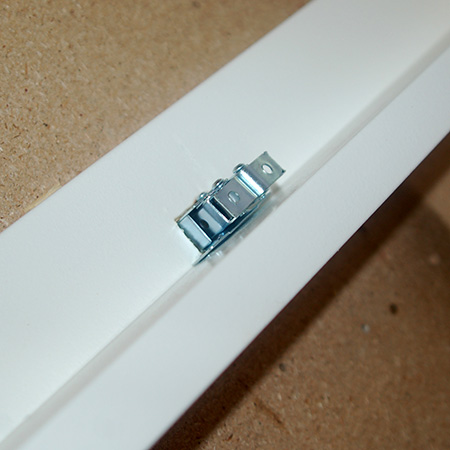
13. To hold the drying rack closed when not in use, mount a double-roller door latch at the top.
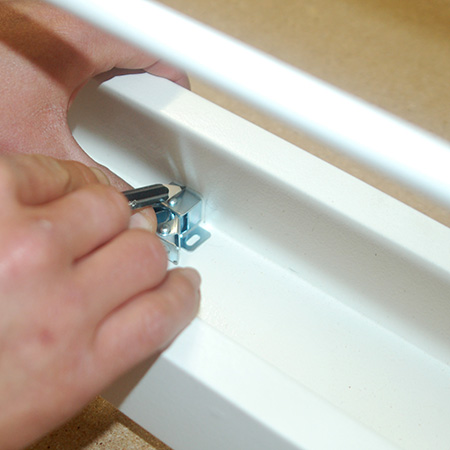
GOOD TO KNOW: There wasn't quite enough space to mount the door latch, so we used a Dremel Multi-Max to cut out a rebate.
14. The door latch is secure to the frames using 13mm screws.
Mount onto a Wall
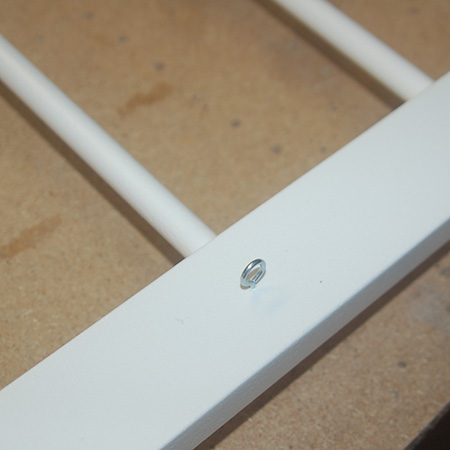
Drill [2] holes through the side of the inner frame, 200m down from the top edge, and secure to a wall with nylon wall plugs and screws.
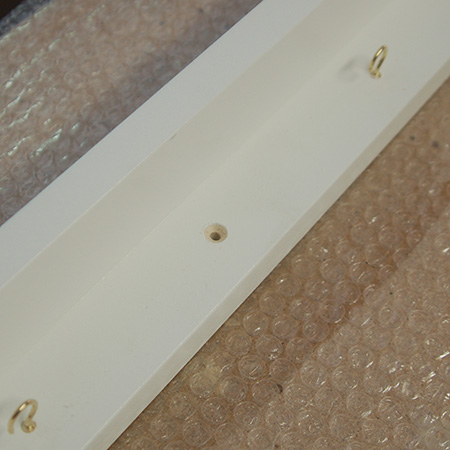
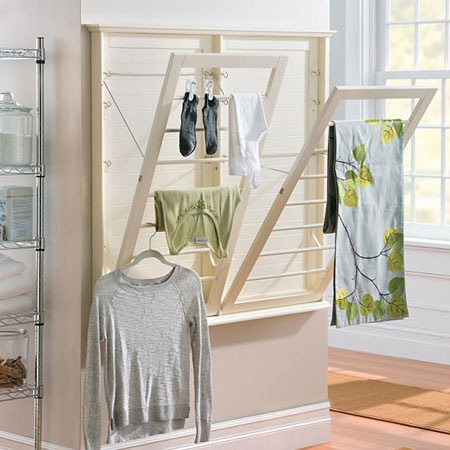
Wall-mounted drying rack ready for use.