
Get your Garden Ready for Spring - on a Budget
If you are moving into a new house, or your old house needs some curb appeal, check out this affordable garden makeover.
14/07/2020
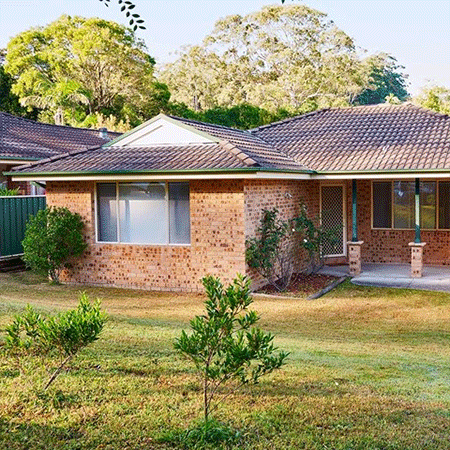
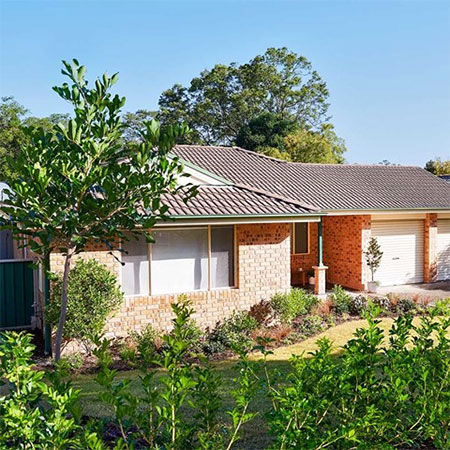
Every homeowner wants a garden that looks great, but when moving into a new house or if haven't given your front garden much consideration, we offer some simple and affordable ways to add curb appeal and make your home even prettier when spring arrives.
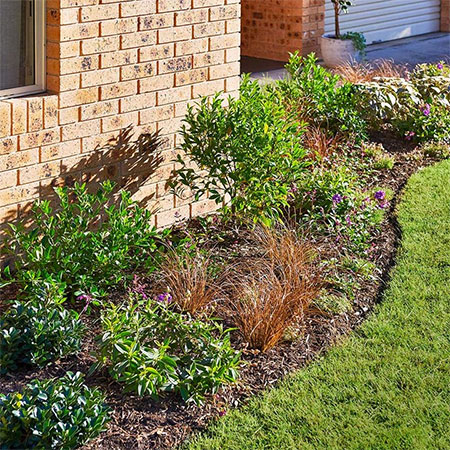
With just a few small touches here and there, a boring and bland front garden gets a makeover that will add colour, texture and interest when spring arrives.
Before you get started, you're going to need to pop into your local Builders or garden centre for some materials and supplies. Make sure you get everything you need so that you don't have to stop when you are halfway through the project. Having everything on hand will let you complete this project over a spare weekend.
YOU WILL NEED:
Assorted plants
Compost and mulch
Garden rake
Garden spade and fork
Wheelbarrow or buckets
High-pressure sprayer OR hose pipe and stiff broom
HERE'S HOW:
For this garden renovation project, the first step was to take out a section of lawn at the front of the property. Winter is a great time to do this as the lawn is in hibernation and any pieces you remove can always be used somewhere else to fill in dead spots or dips.
Setting out a Flower Bed
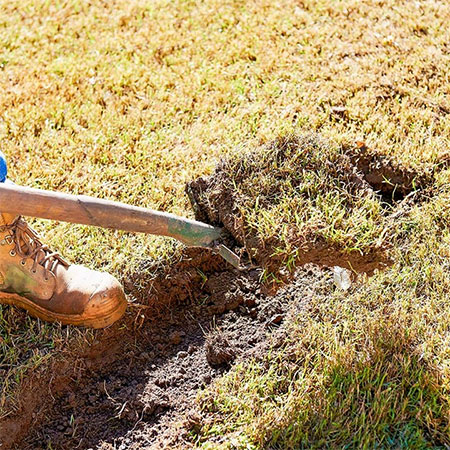
First, use your spade to cut an edge along the area where you want to remove the grass. Cutting these out in sods is the easiest method and you should be able to remove both the turf and roots quickly. Shake the grass sods to remove any soil that is attached, as you going to need this in the new beds. But do make sure to remove all roots - you don't want grass growing in your new flower bed.
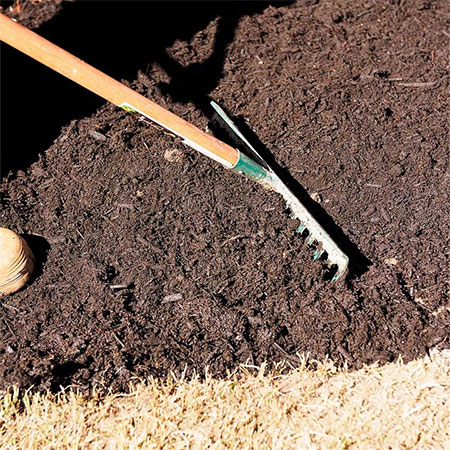
With the grass removed from the area, dig deep with your garden fork and turn the soil, adding compost to mix this in well. If you have a very clay-like soil in your garden, you may want to add more compost to help break up the soil.
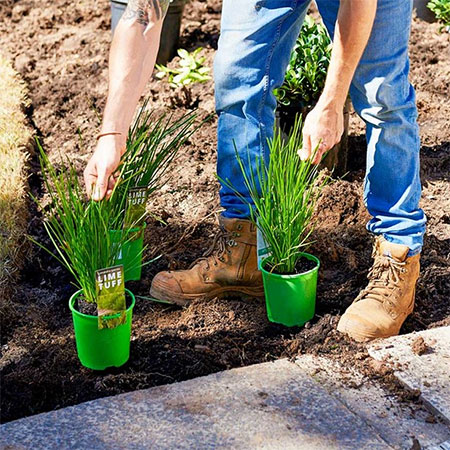
In this step, you are going to be sorting out all the plants you have and deciding where they will go. It is always better to place larger plants at the back and smaller plants at the front of the garden bed.
GOOD TO KNOW: If you are setting out a flower bed in front of a window, make sure that the plants you choose won't grow too tall and block out natural light to the room.
The holes you dig for the new plants should be deep enough to allow for easy root growth, so always dig a bit deeper than the actual size of the plant and then put loose soil back into the hole. Half fill the hole with water and let this drain away.
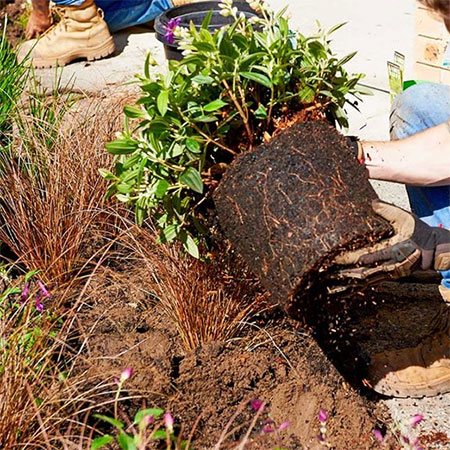
If there is a tight root-ball at the base of any plants, gently loosen this with your fingers. This will allow for proper root growth and faster plant growth.
GOOD TO KNOW: When bringing plants home from a nursery or garden centre, water them well and place in a shady spot until you are ready to plant.
Once the plant is in the hole, line it up to level with the top of the surrounding soil and fill in with soil and compost. Use your fingers to push down firmly to bed the soil around the plant.
If you are not sure what plants to put into your garden beds, your garden centre will be able to offer advice on plants that like sun or shade, the growth height and habit, as well as any additional care and maintenance they may require.
Cleaning up the Area
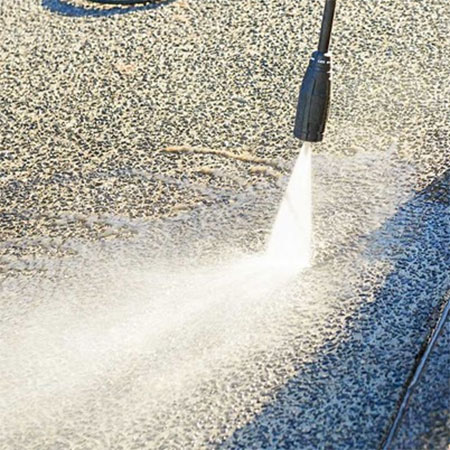
Now that the garden flower bed is finished, it's time to give some attention to the surrounding areas. If you have a high-pressure washer, use this to clean paths, walkways, the driveway, and even garage doors. If you don't have a high-pressure washer, set the hose pipe nozzle to hard spray and use a stiff brush to clean areas that need some TLC.
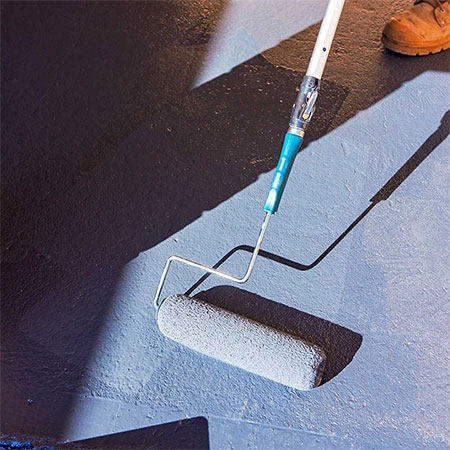
A newly painted path to the front door, or a coat of paving paint on the driveway, will instantly improve the curb appeal of a home. Make sure the area is clean and dry before applying a suitable paving or concrete paint using a paint roller and extension handle.
better homes and gardens magazine