
Green garden all year round
Over the past few months my little patch of green has had to suffer extreme heat, torrential rains and poor drainage that has resulted in the grass being almost obliterated! And that’s not to mention the fact that my garden has a lot of shade and I have battled to find a grass that will grow. I’ve even tried all the different types of grass without success.
Artificial grass has been around for a long time and ongoing development has resulted in a product of outstanding quality and durability. The new synthetic lawn can not even be compared to the product of yesterday. Assured of a quality guarantee and an outstanding product here’s how to transform any garden into a garden that is green all year round, does not require sun, shade or water, and is virtually maintenance free!
Installing DuraTurf as a DIY project is a simple process and is easily tackled in a weekend.
1. Preparing the site
A level site is required for installation and you need to remove all existing grass, plants and stones from the area. Turn the top layer of soil with a garden fork to loosen any stones and then level with a garden rake, removing small stones in the process. To finish off, this layer needs to be compacted, preferably with a vibration plate that you can hire for the day.
2. Laying the subsoil
According to the installation instructions on the www.DuraTurf.co.za website, the subsoil has to be flat,stable,well condensed and preferably porous. As a rule, suitable road-metal, lava stone or sand, concrete tiles and/or stones are very good materials. For this project we used building sand, which is readily available and affordable. Spread the sand evenly over the entire area.
3. Putting down DuraTurf
Position the roll of DuraTurf at one end of the lawn and slowly unroll. You will need an extra pair of hands with this step to ensure that the DuraTurf is unrolled evenly. Leave the grass to settle for approximately an hour. As the DuraTurf settles the grass will spring up and the carpet settle nicely on top of the sand.
Note: If the area is wider than the width of a single roll, joining is done by means of carpet tape and adhesive (both supplied) and a sharp Stanley or craft knife. Full installation instructions are supplied on the www.DuraTurf.co.za website.
4. Cutting to fit
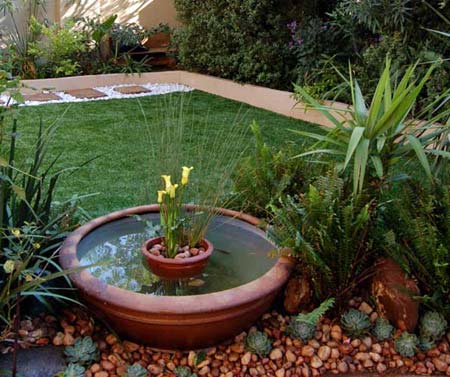
You can use a Stanley or craft knife to cut the DuraTurf to fit in with existing areas. At the edges bring the soil over the edge of the DuraTurf. In this project we finished off with pebbles around the beds and paving, especially since I have 3 dogs who love to dig! The pebbles prevent the dogs from uprooting any plants or digging into the soil.
Price
First off, it does appear a to be expensive - prices range from R150 up to R300 per square metre, but if I take into consideration all the money I have spent over the past couple of years trying to get a decent patch of green, it’s probably going to save me money in the long run!
Appearance
I was given a couple of samples of the various types of synthetic lawn and could not believe how close to real grass it looks and feels - nothing like the artifical lawn of yesteryear.
Eco-friendly
Now this may be a contradiction in terms, but if GardenGrass doesn’t need any water, fertilizer, mowing or edge trimming, surely that’s a plus towards it being an eco-friendly, despite the fact that it is a manufactured product? More research reveals that the manufacturing process has a smaller carbon footprint than does regular maintenance of a residential lawn.
BELOW: 6 months later and the garden still looks stunning - green and lush
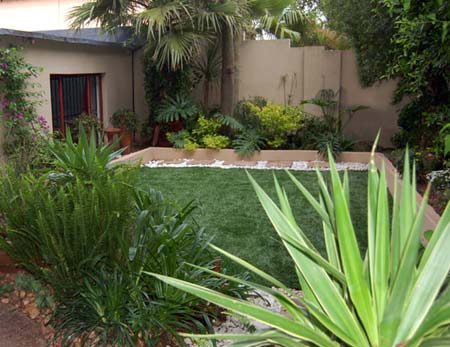
It has been over six months since
I installed my DuraTurf synthetic
lawn, and during that time many
visitors have seen the garden and
commented on the fact that it really
does look and feel like real grass.
Over the past six months, the lawn has
experienced a cold winter, frequent heavy
rains, high temperatures, garden renovations
that involved dragging the wheelbarrow back
and forth across the lawn, a couple of inpromtu
parties, and my three dogs constantly racing
their way to the other end of the garden. The
result? The grass still looks lush and green and
there has been no wear and tear whatsoever.
It is such as joy not to have to worry about daily
watering, fertilising and having to squeeze the
lawnmower through some pretty tight spaces
just to mow a little patch of green. Winter was
an absolute pleasure - to walk outside to a still
lush garden whilst everyone around us had dry
patches of yellow!