
Quick Project: Balcony Shelves
Having a balcony, no matter how small, gives you a place to sit outdoors for an evening of relaxation and these DIY balcony shelves can be used for snacks, drinks or plants.
05/02/2021
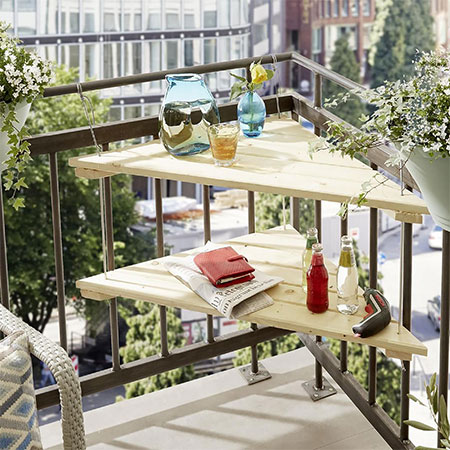
When you have a small balcony, there isn't always room for furniture. These DIY balcony shelves fit nicely into a corner and take up very little space.
Where you don't have the luxury of a garden, if you are lucky enough to have a balcony, even a small one, you have the opportunity to step outdoors for relaxation and perhaps sit and have a drink or two as you watch the sunset. These DIY balcony shelves are perfect for your drinks or snacks, or you can fill them with herbs or plants.
This project will only take an hour tops and you can purchase all the materials you need at your nearest Builders store.
YOU WILL NEED:
2 of 22 x 67 x 3m PAR pine planks (or substitute with pine tongue and groove)
1 of 22 x 44 x 3m PAR pine plank
3.5 x 40mm cut screws
1 of Aluminium pipe, 6 or 8mm diameter x 2m
Nylon rope approximately 5mm diameter x 3m long.
TOOLS:
Drill / Driver plus assorted bits
Jigsaw
Sander plus 120-grit sanding pad
Steel ruler or straightedge
Tape measure and pencil
Safety gear
HERE'S HOW:
1. Measure up to determine the size of your balcony table. Since it is made to measure, you can make it to fit in a tight corner on a small balcony, or make it larger if you have more room to play around with. If you want to make a larger table, add extra materials to your shopping list.
GOOD TO KNOW: When taking measurements, measure both at the top of the railing and the bottom - just in case the two are not the same and you can allow for this.
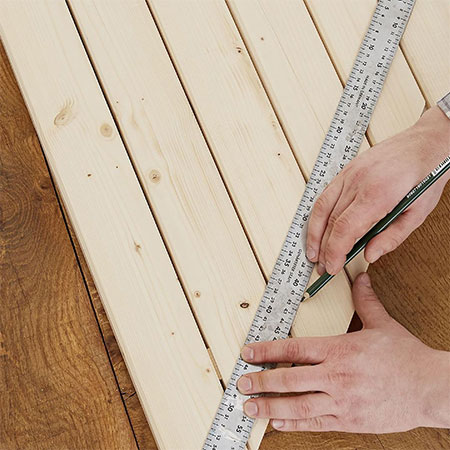
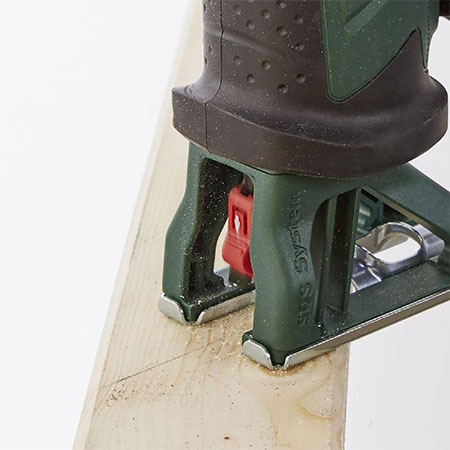
2. Once you know the dimensions of the corner, cut the planks in staggered lengths so that they are larger than the actual dimensions of the corner space. Once you have done that, place the planks on a flat surface and use a steel ruler or straightedge to transfer the corner dimensions onto the staggered planks. Cut these to the exact (angled) length using your jigsaw.
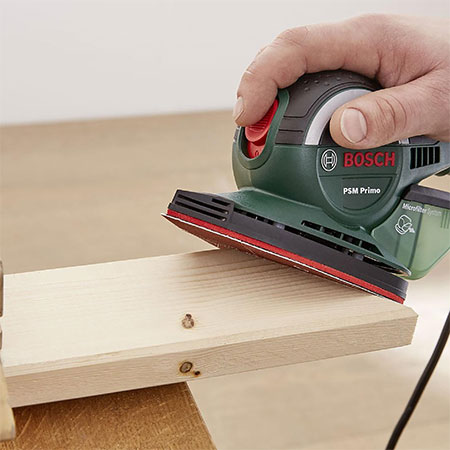
3. The support the angled planks, cut [2] piece of 22 x 44mm PAR pine that will sit flush underneath the angled edge of the planks. Sand the edges and then secure these [2] supports in place with [1] screw through the support and into each plank.
4. Sand all the cut edges to remove splinters and smooth off.
5. Repeat for the second shelf or any additional shelves you want to add.
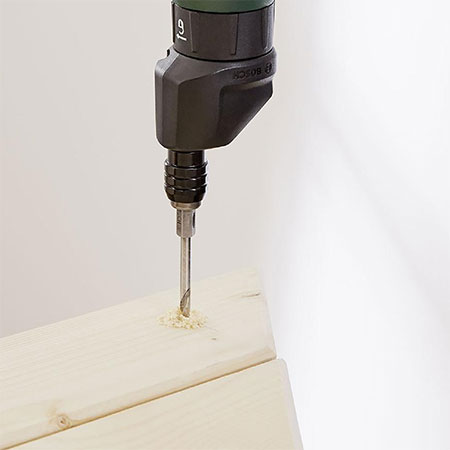
6. To mount the balcony shelves onto a balcony, drill a 6mm hole at each corner on both shelves. The position for the holes should be in exactly the same spot of both shelves.
FINISHING
Before mounting the shelves, apply your choice of exterior sealer or varnish. If the shelves are exposed to the elements, follow the recommended guidelines for application to ensure maximum protection. Most exterior sealers need to be re-applied every 12 or so months, so be sure to follow up on this if you want the shelves to last a long time.
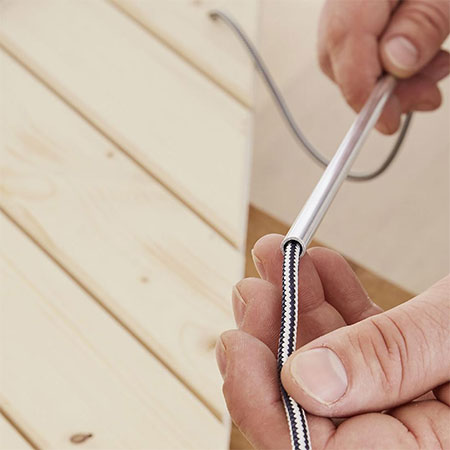
7. Use your jigsaw the cut the aluminium pipes to [3] lengths. The aluminium pipes fit between the upper and lower shelf and the cut length will be determined by the height you want between the two shelves. The height distance between the shelves in this project is 500mm.

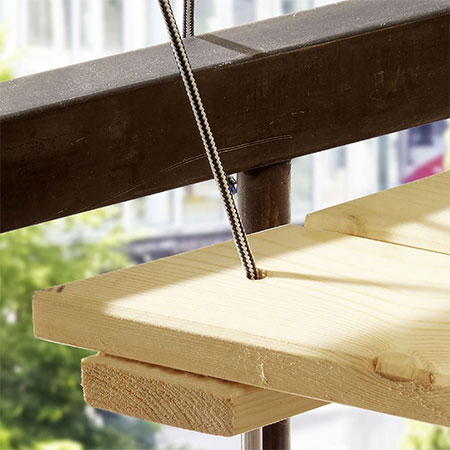
8. Now all that is left to do is to install your new balcony shelves. Starting at the lower shelf, thread the nylon cord through the bottom shelf, tying a large knot underneath the hold the cord in place. Thread the cord through the aluminium pipes and up through the top shelf, leaving enough cord to wrap and tie this around a balcony railing. Repeat for the other two holes.
9. Wrap the nylon cord around the balcony railing until it is at the perfect height. Make sure that the shelf is level before securing the knots.
all about diy