How to make a storage window seat
A long, narrow space under a window is the perfect space for adding a window seat. Built of PAR pine that you will find in the timber section of your local Builders Warehouse, a window seat not only offers a nice place to sit and relax, it's also perfect for storing toys and other accessories, without taking up too much floor space.
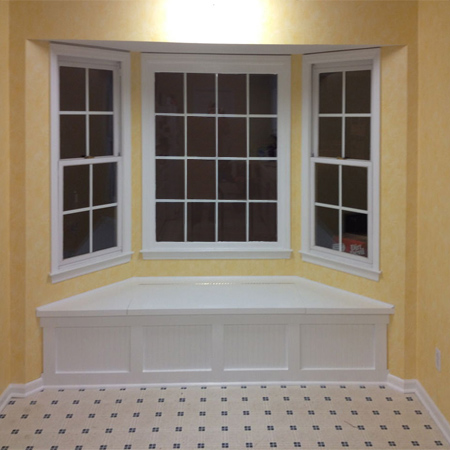
Any space directly under a window is normally wasted space and it makes sense to use this to make a window seat where you - or the kids - can sit back and relax. This window seat is made up with basic frames and sheets of laminated pine that can be stained and varnished or painted in your choice of colour.
Whether you are fitting a window seat into a squared-off space or a bay window recess, the framing process is the same. Measure up the area to determine the length, width and height for your window seat. Note that not all walls and floors are plumb, so measure at both ends to determine an accurate measurement for cutting.
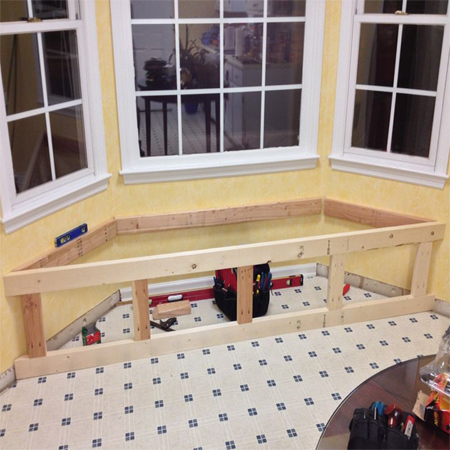
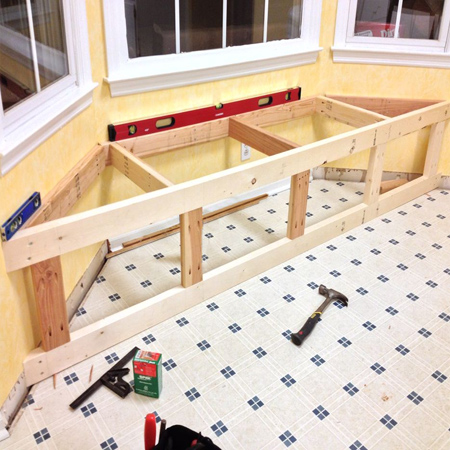
1. Start off by mounting a back support onto the wall and building a front frame. You can use 32 x 67mm PAR pine for framing purposes, and you will find this at your local Builders Warehouse or timber merchant.
You can have all the PAR pine cut to size at your local Builders Warehouse, but there are times when cutting it yourself is easy enough. Plus, if your walls aren't square, cutting the wood yourself means you can cut to fit perfectly.
2. The back and side frames are mounted to the wall to provide the stability and security needed for a window seat. Use nylon wall plugs (fischer) and screws to attach and be sure to check the walls with an electronic detector before drilling. Use a spirit level to ensure that the boards are mounted straight, or allow for any difference in floor height.
GOOD TO KNOW
It isn't necessary to remove skirting board if you allow for cutting out a notch in the framing to allow for the width and height of your skirtings.
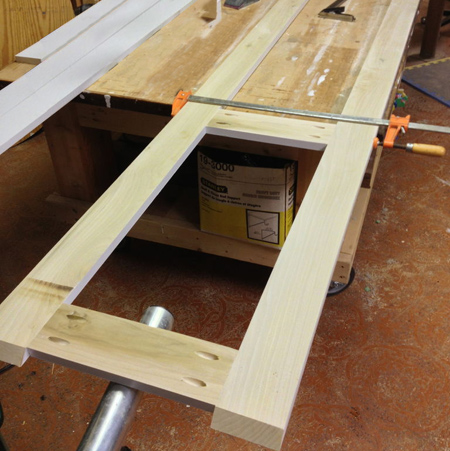
3. To construct the front frame you can join the sections together in various ways. Shown above is the pockethole method, but you can also use dowels, biscuits or steel brackets.
4. With the front frame complete, join the front and back frames together with cross beams.

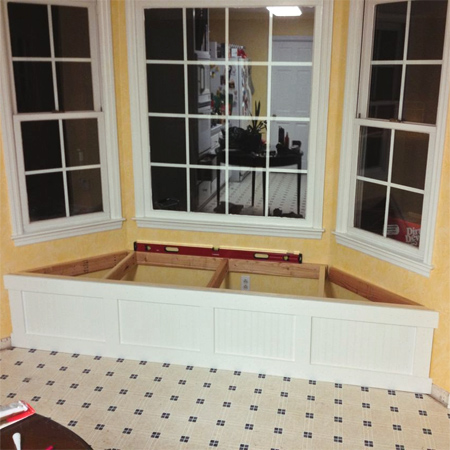
5. Now you can attach the front panel.
The design shown below is a 3mm white supawood backing that has been routed into a beadboard design and then framed with 20 x 64mm PAR pine.
GOOD TO KNOW
It's better to paint all the components before assembly.
The front panel or face frame is attached to the frame using No More Nails adhesive and panel pins. This eliminates the need for pre-drilling and countersinking pilot holes and offers the same amount of strength and stability. Touch up any holes with wood filler; sanded smooth and painted.
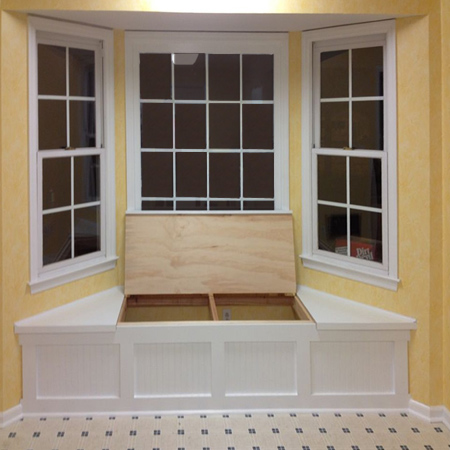
6. Whether you are fitting a rectangular window seat, or designing to fit into a recess, a back flap 150mm wide is attached to the top of the frame. For a recessed or bay window area, cut angled sides panels and attach to allow for a rectangular lid to be fitted.
GOOD TO KNOW
For a large window seat you might want to consider the option of two lids. These will be lighter and easier to open/close.

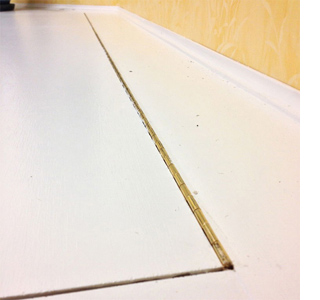
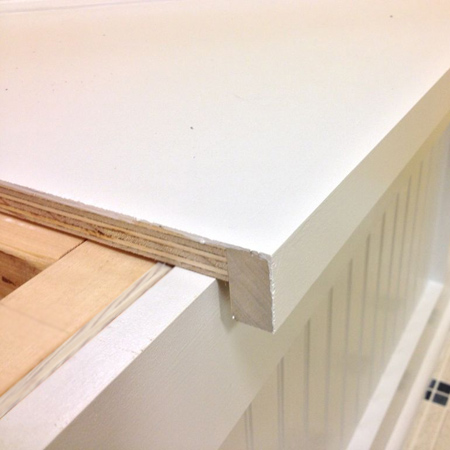
7. The top or lid for the window seat can be made using laminated pine or plywood and is secured to the frame with a piano hinge. Design the lid so that is has an overhang that allows for easy open/close.