Restoring a unique vintage chair
One of the DIY Divas asked me to restore and repair a very unique vintage chair, like nothing I have ever seen before.
13/07/2019
This very unique chair was given to us by a lady attending a DIY Divas workshop. She asked if we could make a replacement seat for the chair. She had owned the chair for ages and it was part of a set of other similar chairs and she didn't want to have to throw it out.
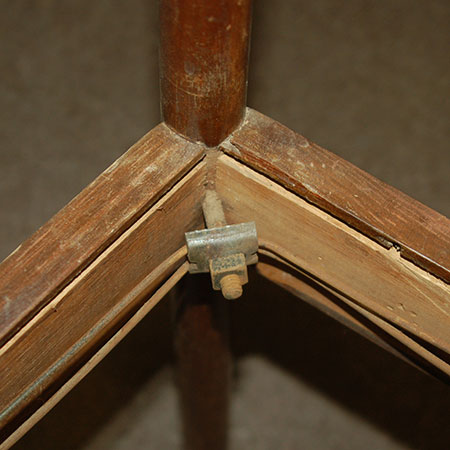
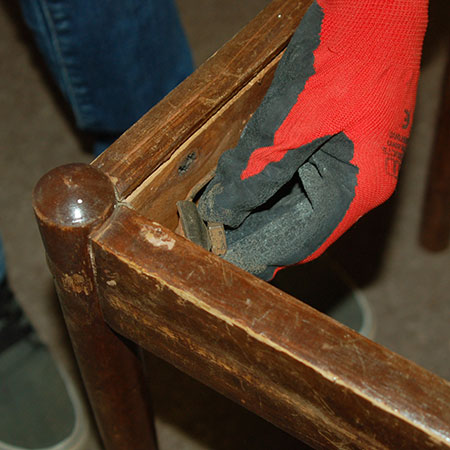
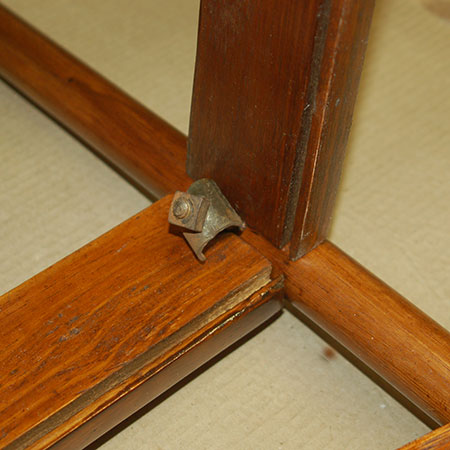
I haven't seen anything like this chair before, which is not even glued together but rather fastened with [2] wire frames and nuts and bolts.
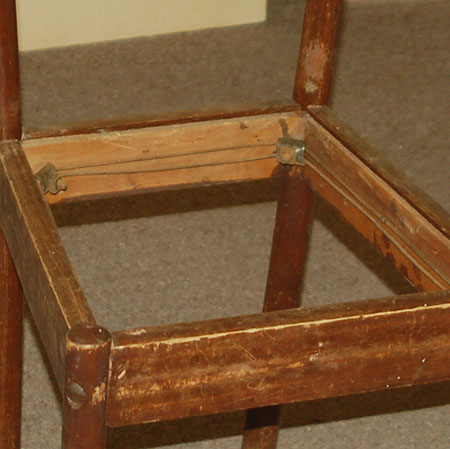
To take the chair apart you simply have to undo the nuts in order to loosen and remove the wire frames, shown below.
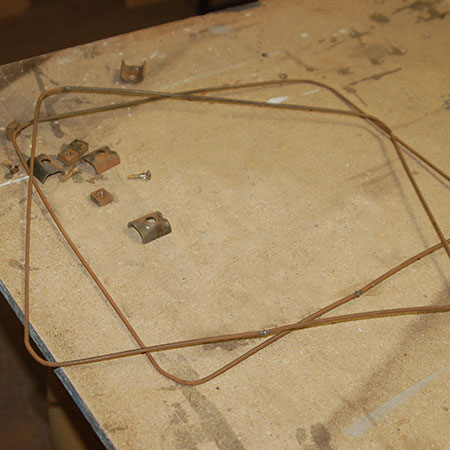
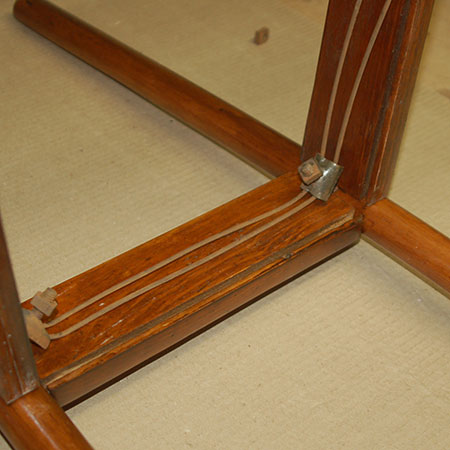
Once the wire frame is removed, the chair is easily separated into components, as you can see below. I think this design is brilliant as it lets you sand, fix and restore a chair so easily.

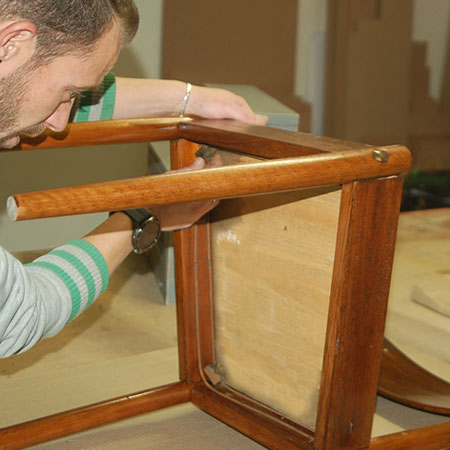
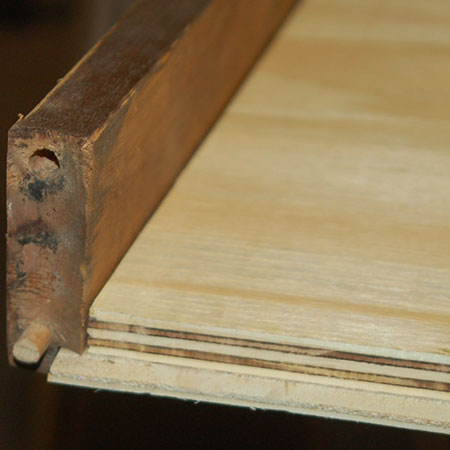
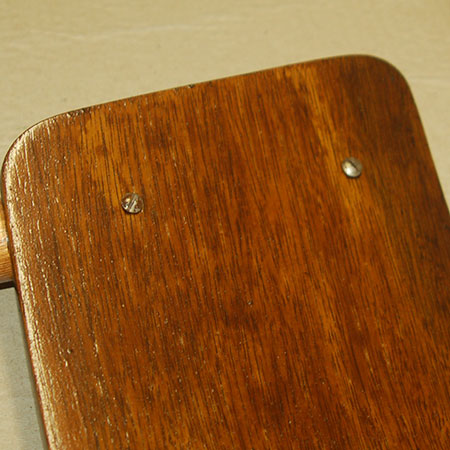
Before the chair was taken apart, measurements were taken for the new seat to be cut from a piece of pine plywood. The image below is upside down, but you can clearly see the rebate that was routed out along all sides to fit the plywood seat. Doing the repair in this way means that the seat will last a long time, rather than a flimsy piece only cut to fit into the groove.
Once the seat was cut, it was tested to ensure it fit perfectly.
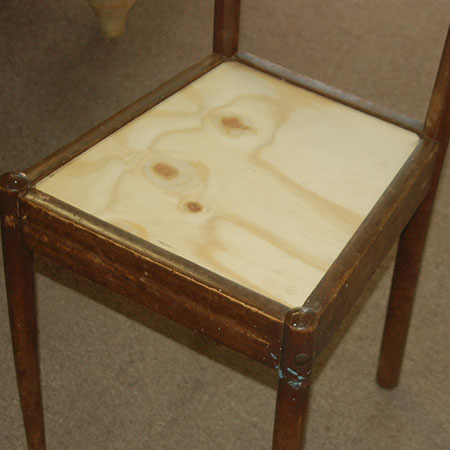
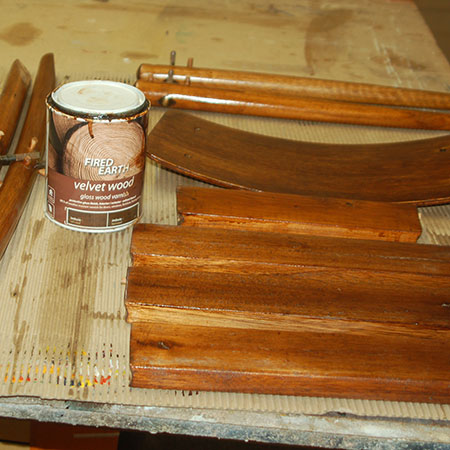
All the chair components were then sanded back to raw wood and finished with two coats of Fired Earth Velvet Wood. I've used this product a few times, both for indoor and outdoor projects, and I'm extremely satisfied with the results.
When re-assembling the chair the original screws and fittings were used to keep it's original hardware.
The chair components were slotted back together again...
...and the wire frame put back in place...
...before inserting the new seat and tightening everything up.