DIY step stool with storage compartment
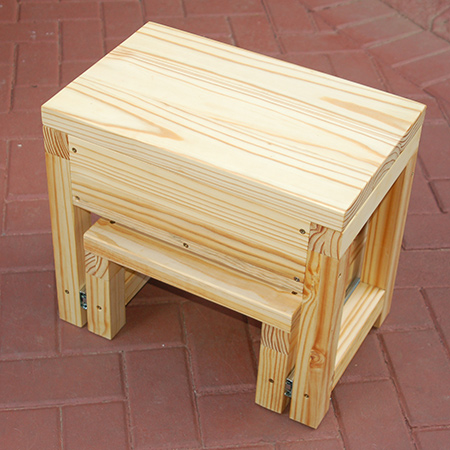
This step stool we designed is also a toolbox. More than that, it's sturdy enough to support a big guy or gal.
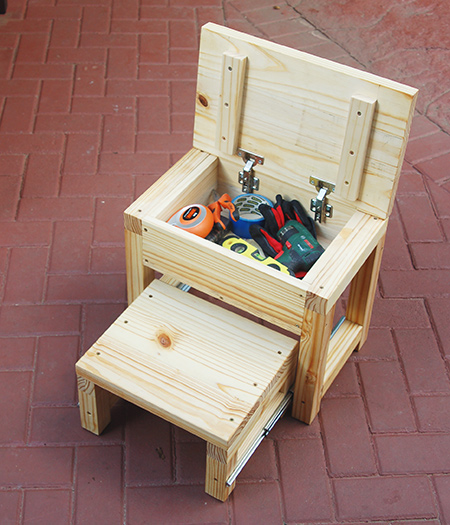
While your ordinary step stools offer little in the way of support for bigger guys and gals, we designed our step stool to easily hold weight. We also added a storage compartment for tools or supplies.
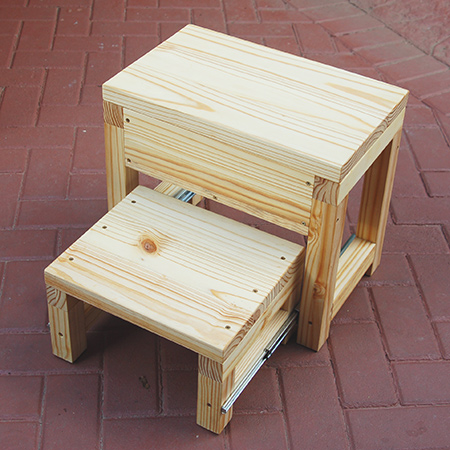
Made using pine that you can buy at any Builders Warehouse, the step stool doesn't require any specialist tools or fancy angles. The basic design is an easy project even for a beginner.
YOU WILL NEED:
Use 19mm laminated pine shelving and 44 x 44mm pine to make our step stool with storage compartment. Make as is, or modify the dimensions to increase the length of the steps, or even to add another step.
Small step:
4 of 44 x 44 x 130mm - legs
2 of 44 x 44 x 280mm - top rail
2 of 44 x 44 x 192mm - leg rail
3 of 22 x 94 x 340mm - top slats
Large step:
4 of 44 x 44 x 330mm - legs
2 of 44 x 44 x 280mm - top rail
2 of 44 x 44 x 192mm - leg rail
3 of 32 x 94 x 452mm - top slats
Storage compartment:
2 of 19 x 364mm x 123mm lam pine - compartment front/back
2 of 19 x 123 x 192mm lam pine - compartment sides
1 of 19 x 192 x 326mm lam pine - compartment base
1 pair 250mm ball-bearing drawer runners and 16mm screws
2 of full-overlay concealed hinges plus 16mm screws
4 x 40mm smooth shank screws [18]
4 x 60mm smooth shank screws [14]
35mm Forstner bit
Wood glue
Woodoc 5 or 10 interior sealer and paintbrush
TOOLS:
Drill / Driver plus assorted bits
Orbital sander plus 120- and 180-grit sanding pads
Quick clamps
Tape measure and pencil
HERE'S HOW:

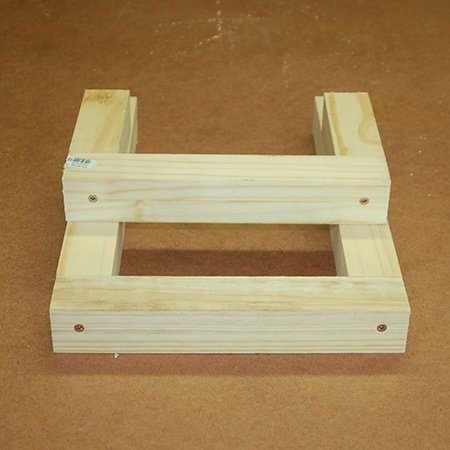
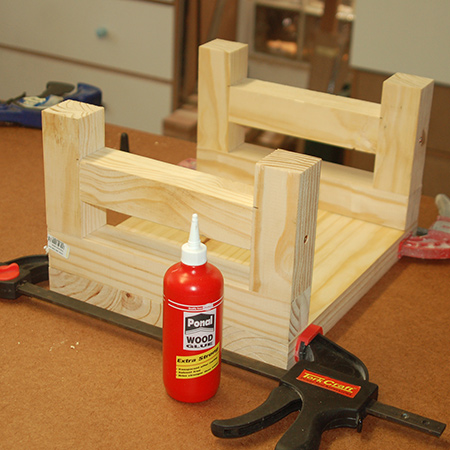
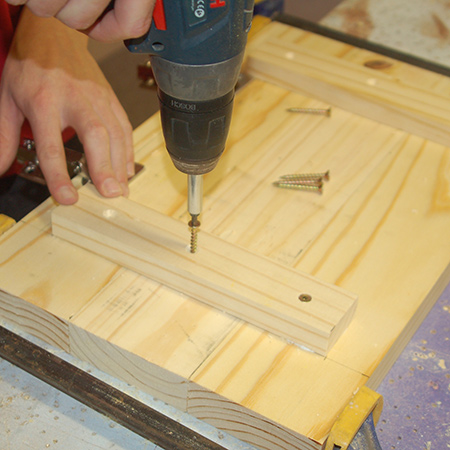
1. Arrange the pieces for the storage compartment and assemble using wood glue and [40mm] screws.
![1. Arrange the pieces for the storage compartment and assemble using wood glue and [40mm] screws.](../2017/mar/59.jpg)
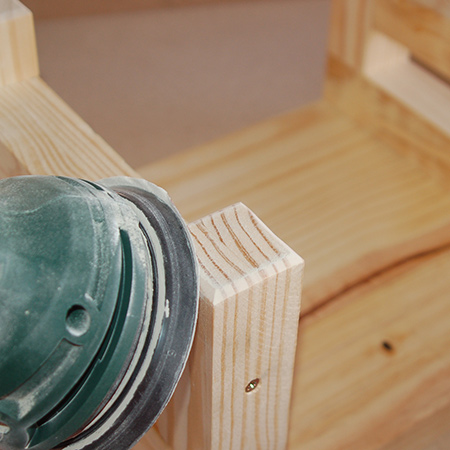
2. To assemble the small step stool, drill 3mm countersunk pilot holes through the side rail into the legs. Join with wood glue and [60mm] screws.
![2. To assemble the small step stool, drill 3mm countersunk pilot holes through the side rail into the legs. Join with wood glue and [60mm] screws.](../2017/mar/60.jpg)
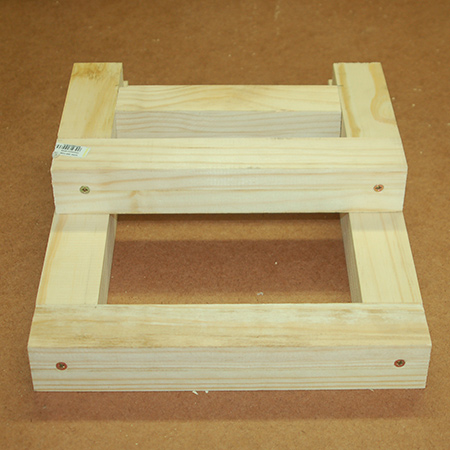
3. Repeat step 2 above to join the legs for the large step stool.
4. Measure up 41.5mm on the legs - for both the small and large step stool - and use this as a guide for mounting the leg rail.
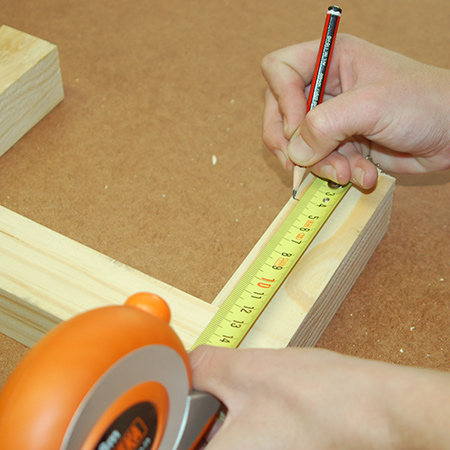
GOOD TO KNOW: The bottom of the leg rail should align wwith the mark.
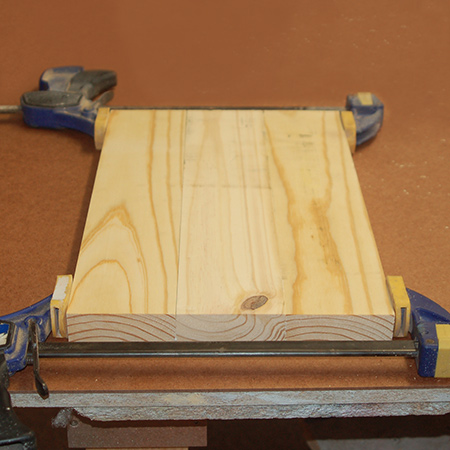
5. For both the small and large step stool, glue together the slats that form the tops/lid.
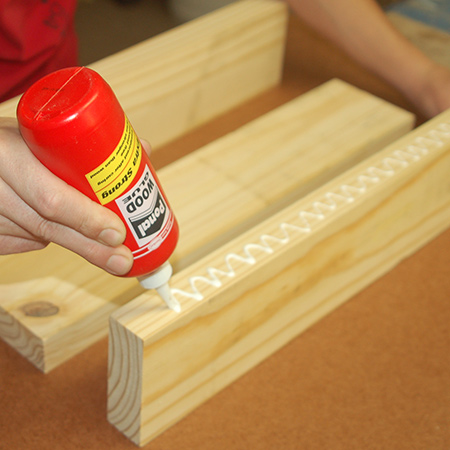
GOOD TO KNOW: Use clamps to hold the slats together tightly.
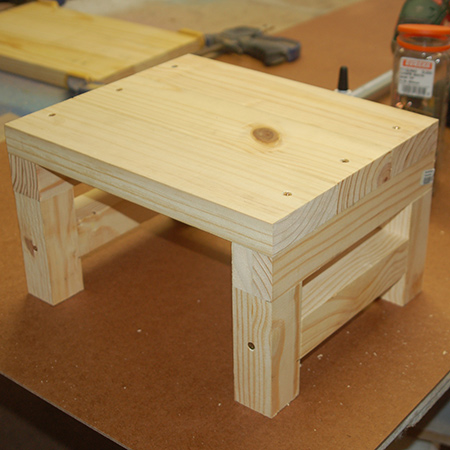
6. Small step stool: Glue the legs to the slat seat.
7. Turn the stool over to drive 60mm screws through the top into the leg assembly on both sides.
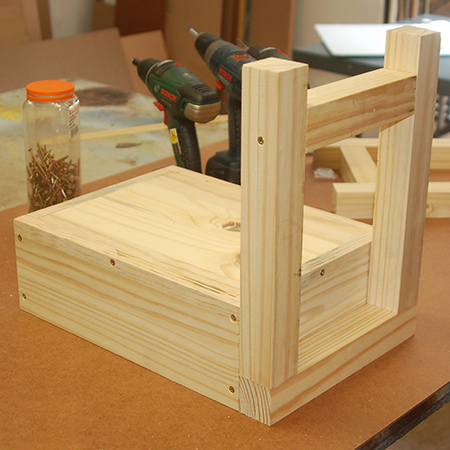
8. Large stool: With the storage compartment upside down, glue the leg assemblies onto the side of the compartment. Pre-drill countersunk holes through the leg assembly into the compartment and secure with 60mm screws.

9. Sand all uneven edges with 120-grit and then sand smooth with 180-grit sanding pads. Wipe clean with a cloth lightly dampened with mineral turpentine.Use your orbital sander to give a chamfered (angled) edge around the bottom of the legs. This gives the legs a nice finishing touch.
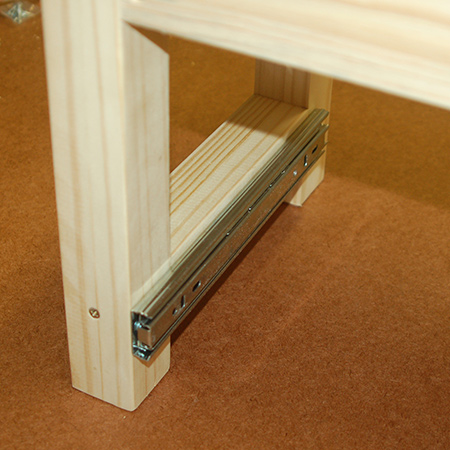
10. Secure the 250mm drawer runners to the leg rail on the large stool with 16mm screws.
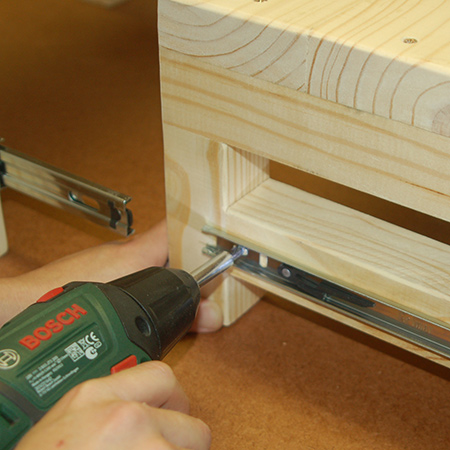
11. Place the small step stool underneath the large step stool and pull out the runners to be able to secure to the leg rail of the small stool. Drive in two screws at the front end of the runner.
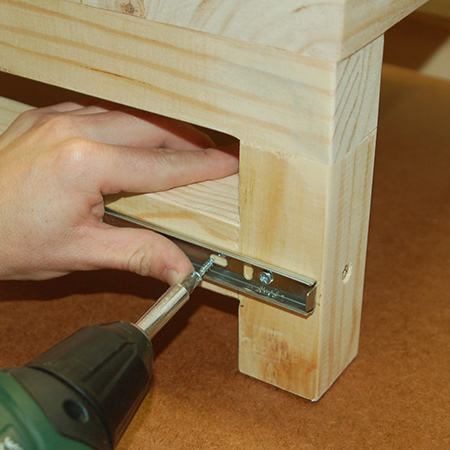
12. Separate the runner from the track and drive two screws at the back end of the runner. Slot the runners back together.
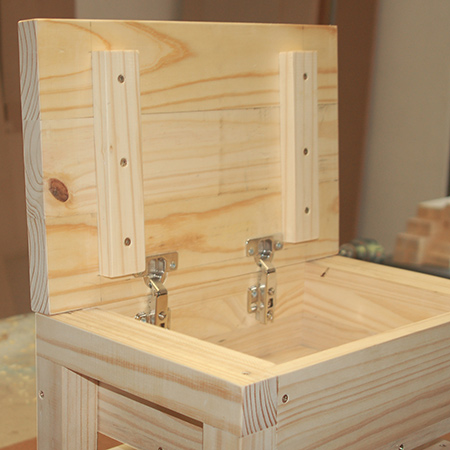
13. Draw a line 3mm in from the back edge of the slat top and drill two holes for the concealed hinge with a 35mm Forstner Bit. Drill to a depth of 11mm.
![Draw a line 3mm in from the back edge of the slat top and drill [2] holes for the concealed hinge. You will need to use a Eureka 35mm Forstner Bit for this, and drill to a depth of 11mm.](../2017/mar/71.jpg)
14. Secure the concealed hinges onto the top using 16mm screws.

15. Secure the lid onto the storage compartment with 16mm screws.
15. For added strength, a couple of supports were added to the lid for the large step. These are scrap 22 x 44mm pine strips glued and screwed with 40mm screws.
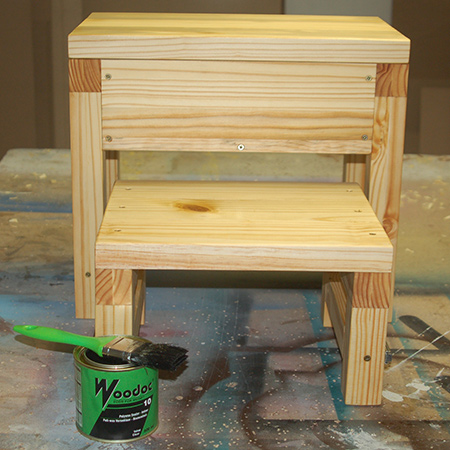
Finishing
Apply 3 coats of Woodoc 10 interior sealer in accordance with the manufacturer's guidelines. We applied a clear sealer, but you can choose to tint the step stool in any colour.