
Make this Reclaimed Pallet Garden Lounger
Here's a comfortable twist on the pallet chair - this reclaimed pallet wood lounger is a great place to relax on weekends.
18/08/2019
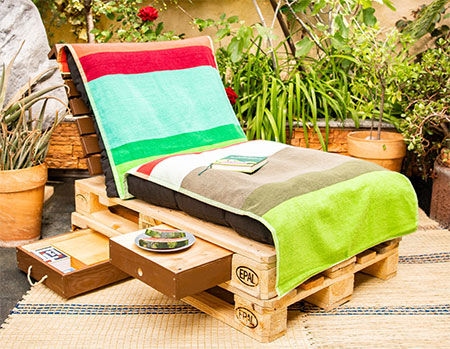
Pallet furniture continues to be popular, mostly for the fact that you can make all sorts of furniture on the cheap. There are plenty of projects out there that you can make with pallet wood, but this one is a different take on the usual. In this project you can make a basic pallet lounger that has a backrest so that you can sit and relax, as well as a couple of drawers to store or hold items. Once you have finished assembling your garden lounger, add some comfortable cushions and throw on a colourful towel or throw blanket.
While we don't give you specific measurements, this will be determined by the size of the pallets.
Safety First
Make sure to take the necessary precautions to protect yourself when working with pallets: Glove, Goggles and a Dust Mask are essentials.
YOU WILL NEED;
Drawers:
2 of 18mm plywood boards 744 x 84mm
2 of 18mm plywood board 375 x 84mm
1 of 6mm plywood 375 x 780mm
3.5 x 50mm - 3 x 25mm screws
Rope or nylon cord (for the handles)
Backrest:
9 of 22mm pine 800 x 75mm
2 of 22mm pine 730 x 75mm
3.5 x 50mm screws
Paint or sealer to finish and painting supplies
TOOLS:
Drill / Driver plus assorted bits
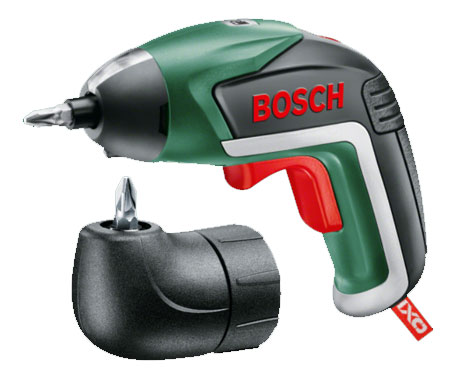
Cordless screwdriver with screw-angle head
Jigsaw
Sander with 120-grit sandpaper
Clamps
Tape measure and pencil
Not responsible for errors or omissions
HERE'S HOW:
Assemble The Drawers
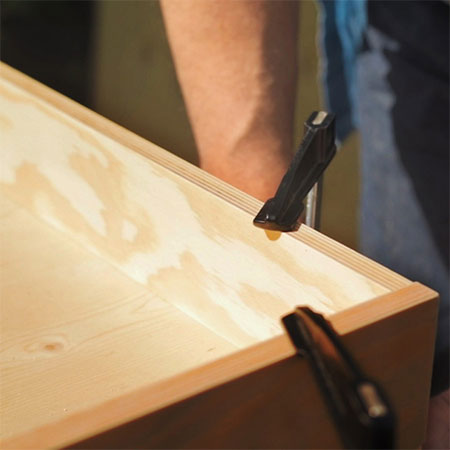
1. Take a 744 x 84mm and 375 x 84mm plywood board for the drawers, place a long side panel and one short back panel and clamp the two boards at one corner.
2. Drill [2] pilot holes where the boards overlap and screw the two together using 3.5 x 50mm screws. Repeat for the remaining corners.
3. Place the 6mm panel for the drawer base so it is aligned on all sides with the drawer frame. Secure in place with 3 x 25mm screws. Alternatively, use a hammer and nails or pneumatic nailer instead of screws.
GOOD TO KNOW: Place screws every 100 mm or so along the length of the frame.
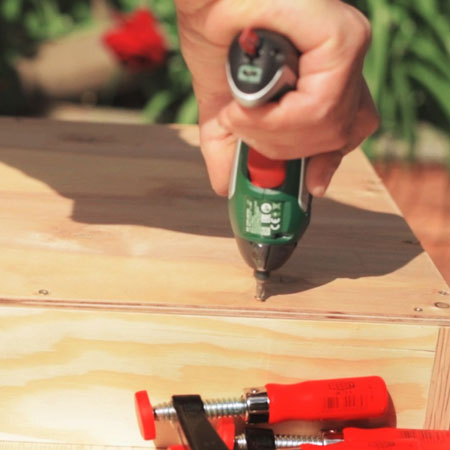
4. Measure and mark to drill [2] holes on the front of the drawer to attach the cord. Choose the appropriate drill bit based on the thickness of the cord. Once the project is finished, you will be able to easily open the drawers by pulling on the cord.
5. Sand the assembled drawer for a smooth finish.

6. Before moving on to the next step - after sanding and wiping clean, apply a coat of paint or sealer to give the drawers a nice look. The finish will also protect the wood if placed outdoors. Once the paint is dry, thread the cord through the drilled holes and tie a knot at the ends to secure in place.
GOOD TO KNOW: If placing the pallet lounger outdoors, it is advisable to attach another wood panel to serve as a cover for the drawers and whatever you want to store in them.
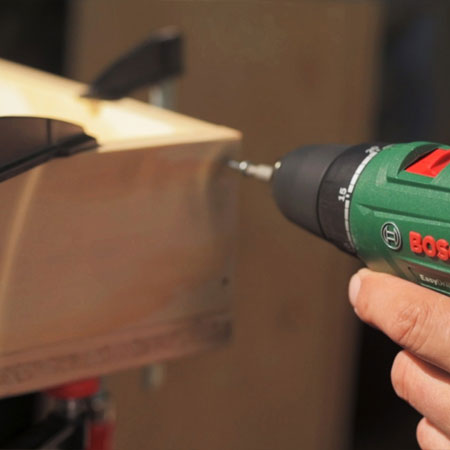
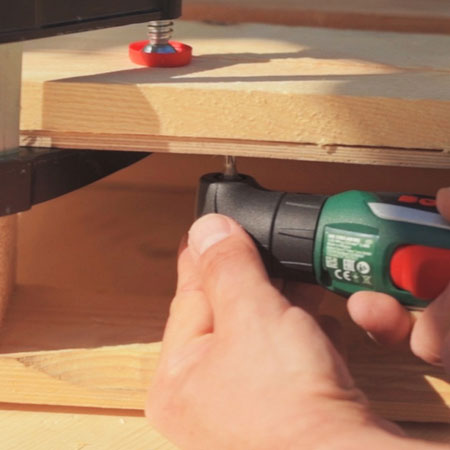
7. If adding the extra panel, clamp the panel underneath the pallet slats on top and screw in place from below. It's a tight fit so you will have to use a cordless screwdriver with angle-screw adapter (see below).
Make The Backrest
8. To make the backrest your will start with [2] slats 730 x 75mm and TEMPLATE. For an adjustable backrest, you need to cut out notches on the support slats. Print out the template the guide where to cut the grooves and the angle you’ll need to use. Position at the lower end of the short slats and transfer onto the wood with a pencil.

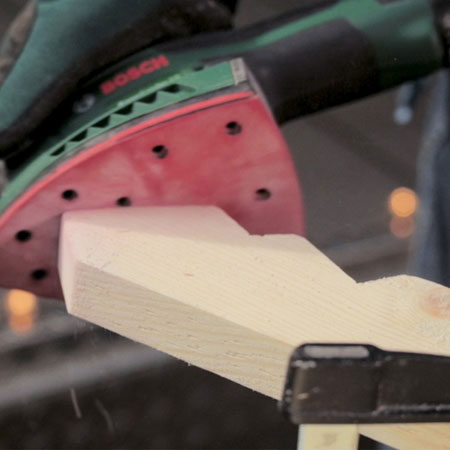
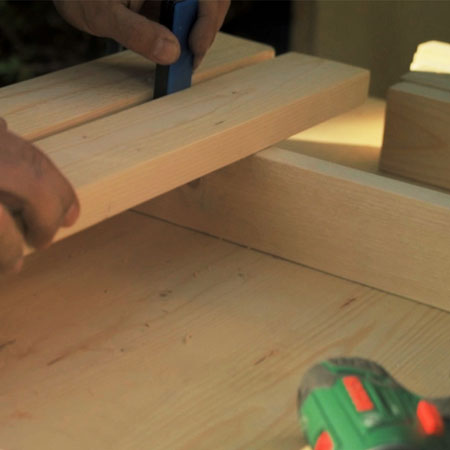
9. Clamp the first plank securely in place and cut out the marked notches and then repeat this step with the second plank. Sand smooth once you're done.
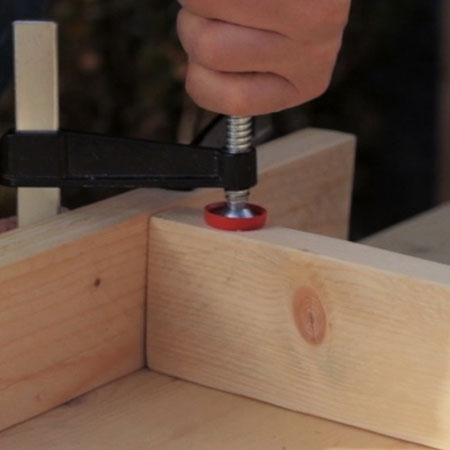
10. Take one of the long wooden boards and clamp to the front of your work bench. Next, position the two short pre-sawn boards so that they are flush with an inside spacing of 430mm. Clamp securely in place in order to drill all the holes and screw all the pieces in place. Drill [2] pilot holes to fasten the boards together with screws where they overlap.
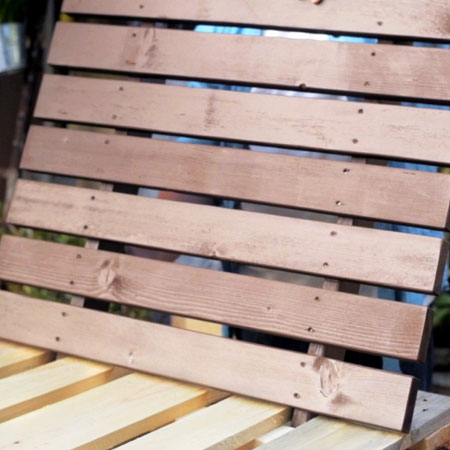
11. Now you can secure the remaining [7] slats to the frame. Placing the first slat so flush with the top edge, drill pilot holes and secure with 50mm screws.
12. Before securing the other [6] boards, space them 15mm apart before you drill pilot holes. Use four 50mm screws in each board.
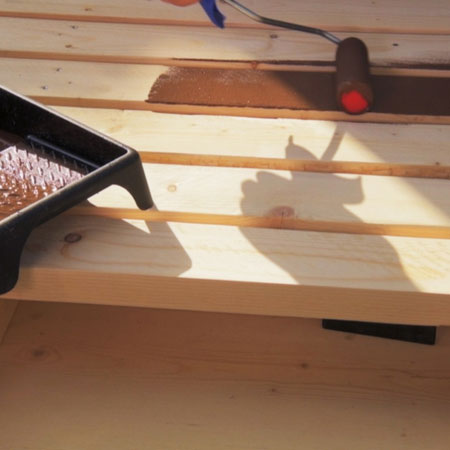
13. Sand and wipe clean before applying a coat of paint or sealer to the backrest. This will protect the wood when placed outdoors.
14. To secure the backrest to your pallet bench attach the remaining wood board - from below - at a distance of 80mm to a crossbeam of the pallet. This board also holds the backrest in position. Clamp and secure in place using several screws before placing and attaching the backrest.
GOOD TO KNOW: Before securing the backrest in place, adjust to the desired angle.
all about diy