
DIY adjustable pine shelves
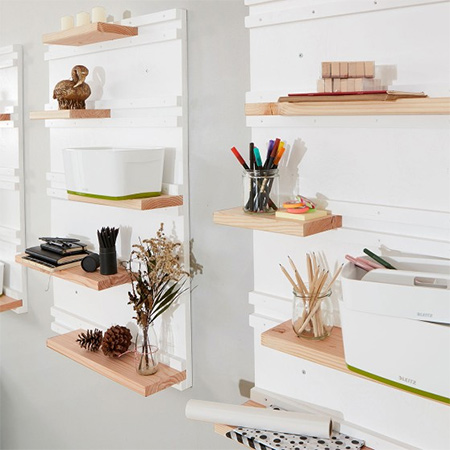
Keep any room tidy with these adjustable shelves that can be rearranged to suit your storage needs.
07/06/2018
Made using materials that you will find at your local Builders Warehouse and with basic power tools, these adjustable shelves can be mounted on any wall for extra storage or to display accessories. They're even great for workshops and craft rooms.
Use the storage shelves to display books or family photos, or use them for desk accessories in your home office. You can arrange the shelves to any configuration depending on your storage needs and how you want them to look.
YOU WILL NEED:
Sheet of pine plywood
19 x 44mm x 700mm PAR pine (10 per board)
19 x 140mm PAR pine (cut to desired length for shelves)
25mm screws
Wood glue
Fischer SX8 or UX8 wall plugs and screws
Paint to finish
TOOLS:
Combi Drill plus assorted bits
Jigsaw plus clean-cut blade
Multi or Orbital sander plus 180-grit sanding pads
Digital detector
Bosch PFS spray system
Tape measure and pencil
HERE'S HOW:
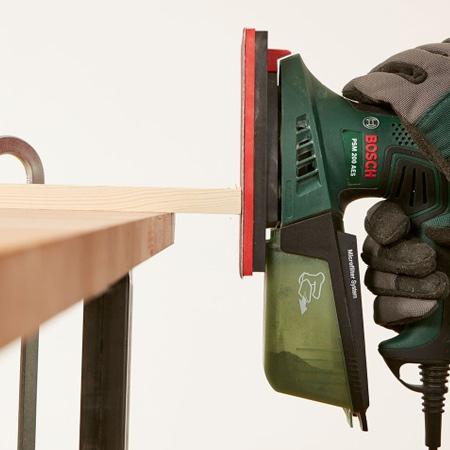
1. We had a sheet of 16mm plywood cut for [3] boards 700mm wide x 1000mm high for this project. All the pieces to assemble the shelves were sanded smooth before assembly.
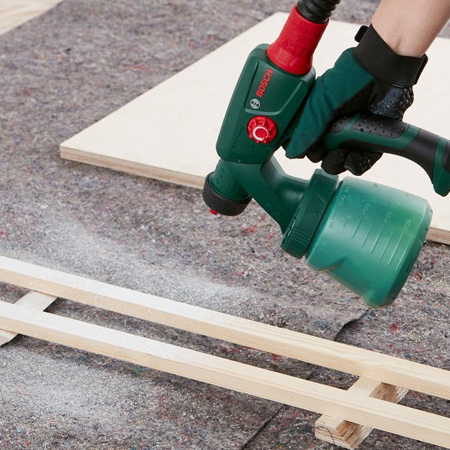
2. Paint the plywood boards and 19 x 44mm pine before you start to assemble. If using a Bosch PFS spray gun, put down a drop cloth to protect flooring from overspray. Apply the paint evenly over the surface and let the first coat dry completely before applying a second or third coat of paint.

3. You are going to attach the painted pine slats to the board using 25mm screws. Because you're using soft pine for the slats it shouldn't be necessary to countersink beforehand. Secure the slats to the plywood board using wood glue and screws. Use [3] screws in total - one at each end and one in the centre. Add all the slats in this way, spacing them as required on the plywood board.
GOOD TO KNOW: Place a shelf between the [2] slats being mounted to ensure a snug fit.
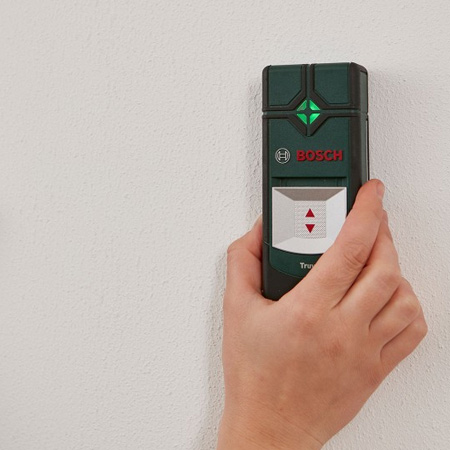
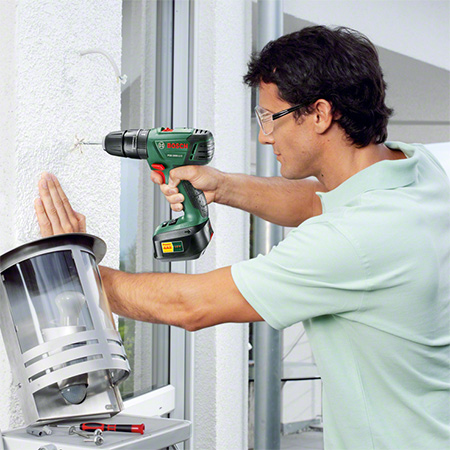
4. Before drilling into the wall to mount your board, decide where the screws will go and check the area with a digital detector. This is very important, as you don't know what's inside the wall and you don't want to risk the possibility of hitting a water pipe or electrical conduit.
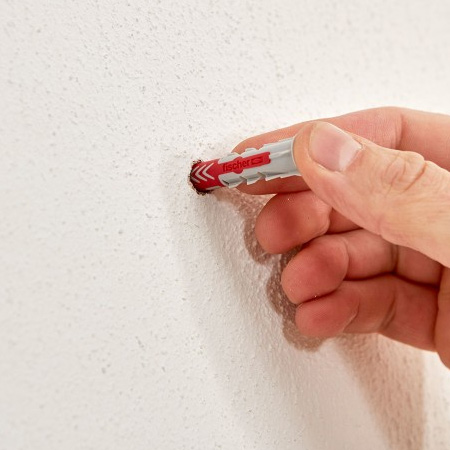
5. Drill holes for fischer SX8 or UX8 nylon wall plugs. Find instructions here for drilling into walls.
GOOD TO KNOW: Take into consideration that screws should be longer enough to go through the 16mm board, plus the length of the wall plug, plus 5mm extra.
6. Secure each board to the wall and then fit your shelves.
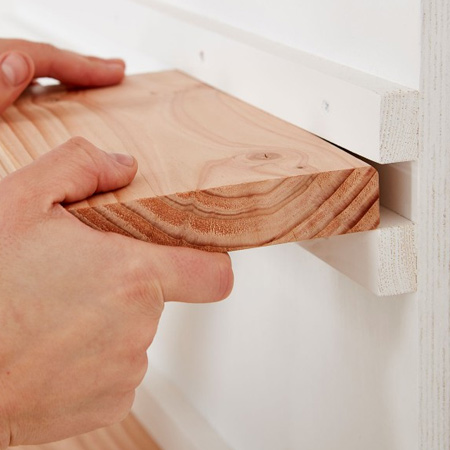
You can make the shelves as long or short as you wish and place them inside the slats to create a storage wall or display.

all about diy