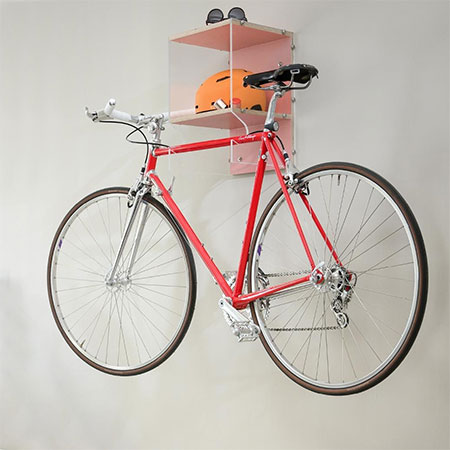
Make An Indoor Bicycle Rack
When you stay in an apartment, flat or townhouse, there isn't always space for a bicycle, but this bicycle rack lets you hang up your bike where you want.
21/03/2021
all about diy
When you live an a flat, apartment or townhouse, there is not always a space for equipment such as a bicycle, so where are you supposed to put it? This bicycle rack is a basic DIY project and you can purchase all the supplies you need to make it at your nearest Builders store. We used plywood for this project but you can substitute with pine or SupaWood if preferred. The side sections for the bicycle rack are made using acrylic sheet that you can buy at Builders - known as Duracryl.
The bicycle rack is designed to be stylish enough that it won't look out of place mounted anywhere in your living space and it's easy to hang up your bicycle when not in use. So let's get started...
YOU WILL NEED:
2 of 450 x 300mm duracryl sheets - sides
2 of 18 x 300 x 282mm plywood - shelves
1 of 18 x 450 x 300mm plywood - back
14 x 4.5 x 35mm screws
4 of 4 x 40mm screws
4 of 4.5 x 50mm round-head screws
Acrylic paint in your choice of colour
Painting supplies
Masking tape
TOOLS:
Drill / Driver plus assorted bits
Sander plus 120- sanding pads
Jigsaw and mild steel cutting blade
Corner clamps
Tape measure and pencil
safety gear
HERE'S HOW:
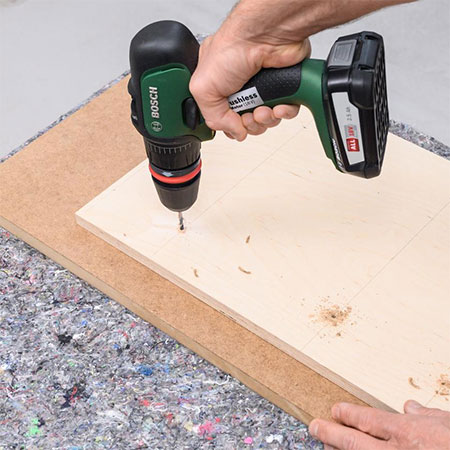
Step 1
Start by drilling [8] countersunk holes in the larger piece of plywood [450 x 300mm]. This will be for mounting the shelves and also for mounting the rack onto the wall. Click here for drilling diagram.
GOOD TO KNOW: Sand all the cut boards before assembly.
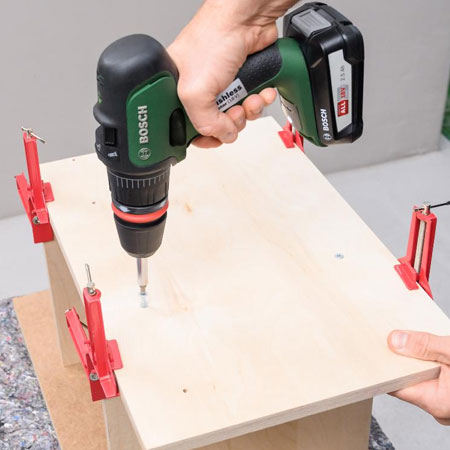
Step 2
Use corner clamps to secure the [2] shelves to the back, aligning the shelves with the pre-drilled and countersunk holes in the back section. Secure with 4 x 40mm screws.
Step 3
Before adding the acrylic sheets, you can paint the shelves and back, if desired.
Step 4
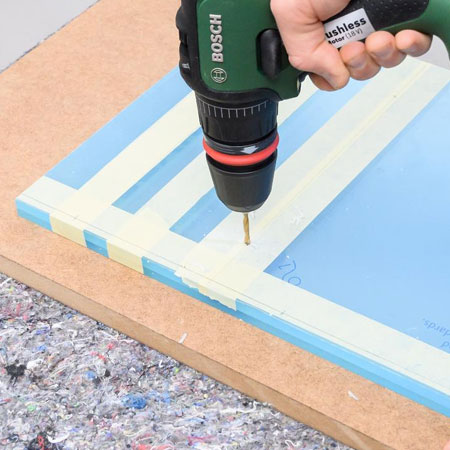
With one acrylic sheet on top of the other, tape them together to prevent then from slipping around as you drill 5mm holes using an HSS bit. Use this PDF drilling template for drilling holes in the acrylic sheets.
Step 4
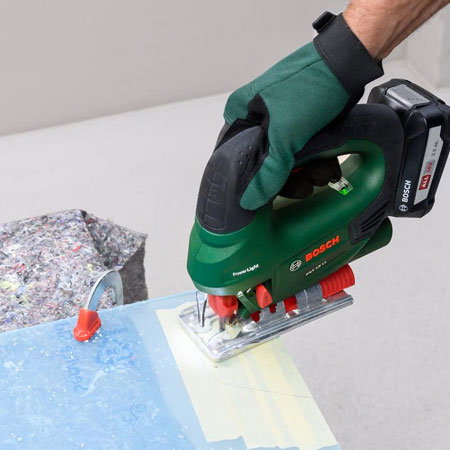
You also need to use the PDF for cutting out the acrylic sheets. We recommend using a mild steel cutting jigsaw bit as well as covering the area where you will be cutting with masking tape as this prevents splintering as you cut.
Step 5
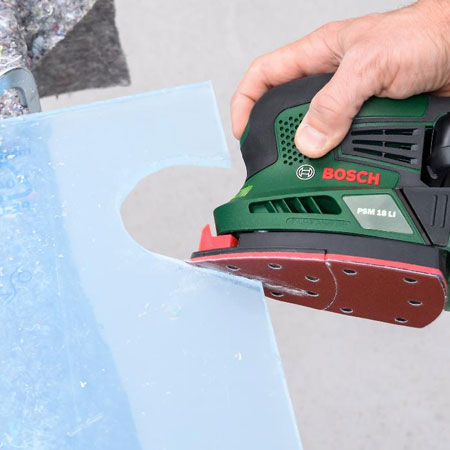
Sand along the cut line with a 120-grit sanding pad and also round off the cut edges slightly with the sander.
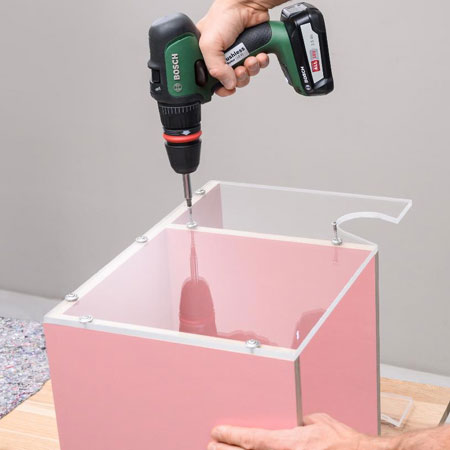
Step 6
In this final step, you will secure the acrylic sides onto the shelf unit using 4.5 x 50mm round-head screws for a decorative touch. Mount onto a wall using nylon wall plugs and screws.