
How to Age Wood for your Furniture Projects
There are some projects you would like to make that require the wood to be aged or distressed, and we offer some advice on giving wood, particularly pine, an aged look.
31/01/2019

When you want to make new wood look aged for your DIY projects there are several distressing and aging techniques that you can use to do this. We have included a few ideas below that you can try out for yourself.
The first step in aging or distressing wood is to decide how you want the finished wood to look. You can age wood to make it look very old or use techniques to make wood look like reclaimed wood. Depending on how old you want the wood to look, you can add dings and dents to make wood look like it is hand-hewn.
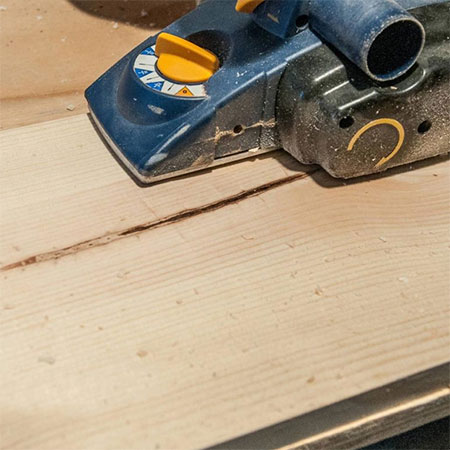
Gouging wood to age
You can use an electric planer to give new timber gouges, and it's a good starting point for aging or all wood to give it character. A planer can be used to make short or long gouges in the surface and edges of a piece of wood. On a planer you can adjust the cutting depth for shallow or deep gouges.
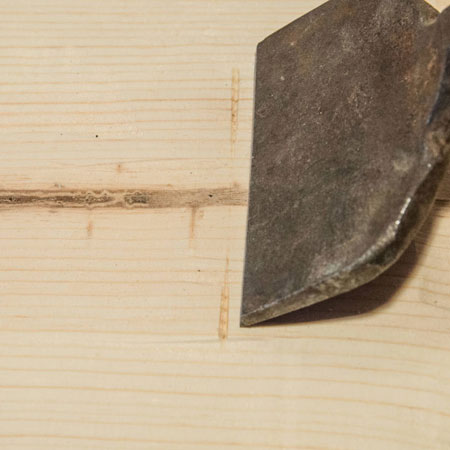
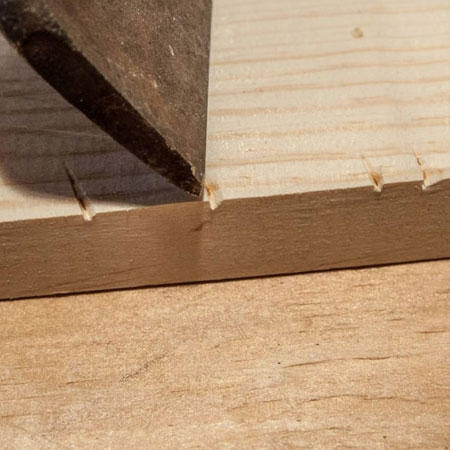
Create Hand-hewn Marks
In older, traditional carpentry techniques an adze was used to cut or hand-hewn wood. You can easily replicate these marks using a hammer and cold chisel. Simply place the chisel at an angle along the length of the board and hit with a hammer to transfer adze marks.
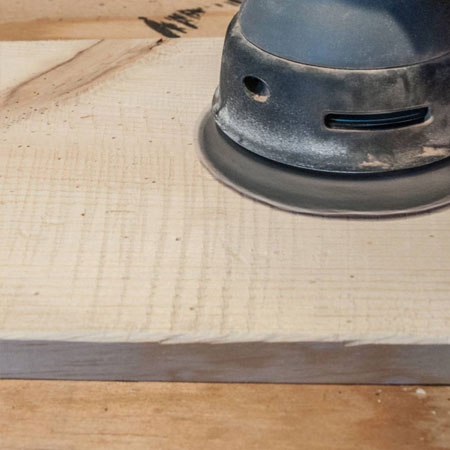
GOOD TO KNOW
Use a sander and 80- or 120-grit sanding pads to smooth out your gouges and hewn marks. To avoid leaving circular sanding rings, use a random orbit sander or finishing sander when wanting to age wood.
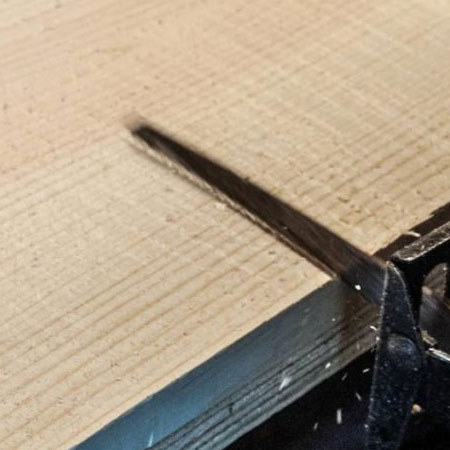
Reciprocal Saw marks
A reciprocal saw is great for adding historical detail to a modern piece of wood and can be used to give the appearance of saw marks over the surface. Just switch on the saw and lightly run across the wood to scuff up the surface. You can also use a reciprocal saw to give the wood rough cuts by lightly cutting the surface.
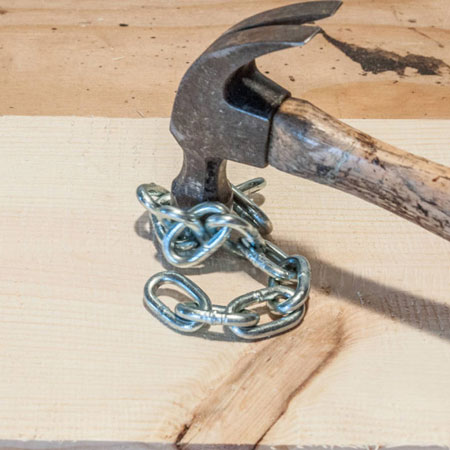
Hammer on Dings and Dents
All aged wood will have its share of dings and dents and it's easy to replicate these using a hammer and a variety of items, including thick chains. Place the chains on the board and hit repeatedly to dent the surface of the wood - move around to ensure the marks are as random as possible. You can repeat this as often as you like until you achieve the perfect amount of dings and dents.
GOOD TO KNOW
DO wear goggles and gloves for this job, as the chain can easily bounce back.
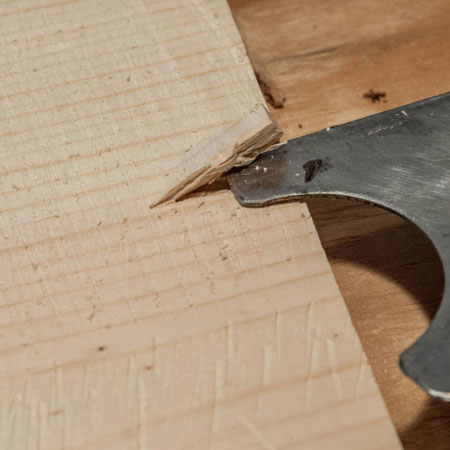
Gouging and Cracks
An easy way to make your new wood look old is to use tools to add cracks or gouges. Make use of an axe, a chisel, or wood chisel to mark the edges of the board.
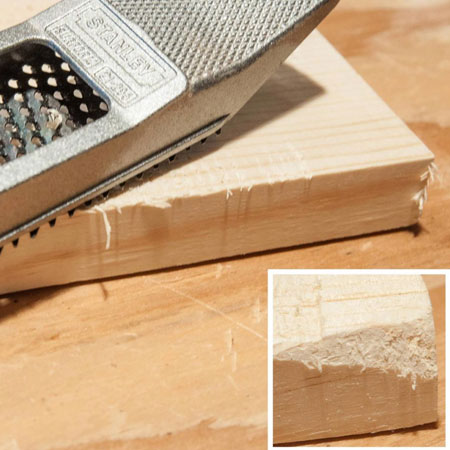
Roughen Edges
Use a wood rasp to roughen up the edges of the wood. You can lightly sand them down to remove wood fibres. You might want to round off edges as well, as this indicates years and years of wear.
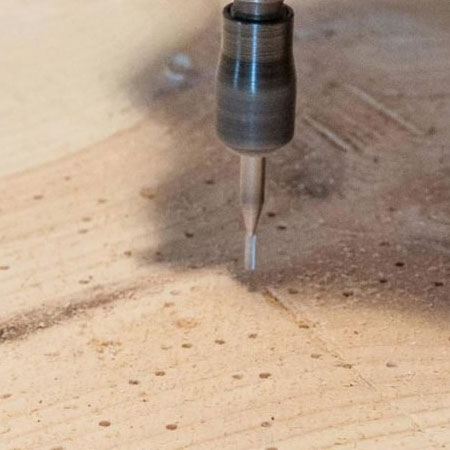
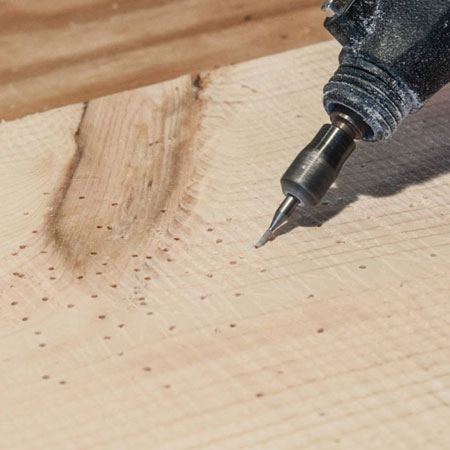
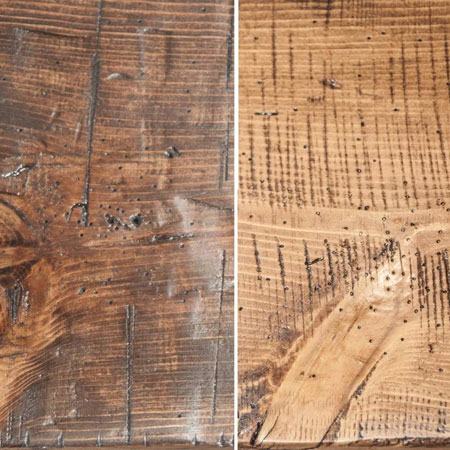
Woodworm damage
A few woodworm holes here and there will really make a piece of new wood look aged. You can use a small drill bit or nail to drill shallow holes and scatter these across the surface. Lightly sand to remove any wood fibres that stick up.
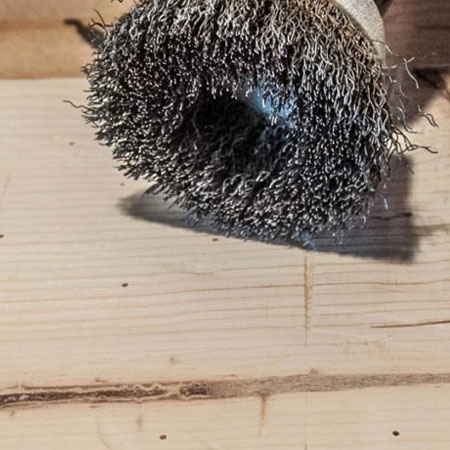
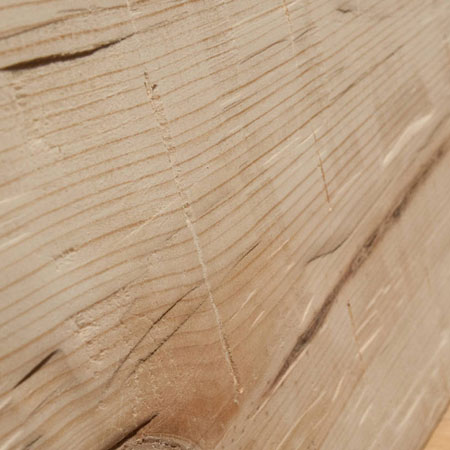
Lift up the Grain
Enhance the grain on your wood with a steel brush, or add a steel brush to your drill to make it easier and quicker. Go with the wood grain to lift wood fibres. If you are working with pine, a steel brush with the grain is the better choice.
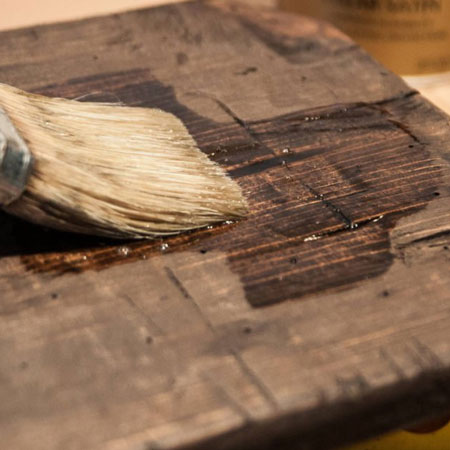
Finishing with Wood Stain
Don't be gentle when applying wood stain, stab the wood stain in holes and dents and roughly apply over the surface of the wood for the appearance of old wood.
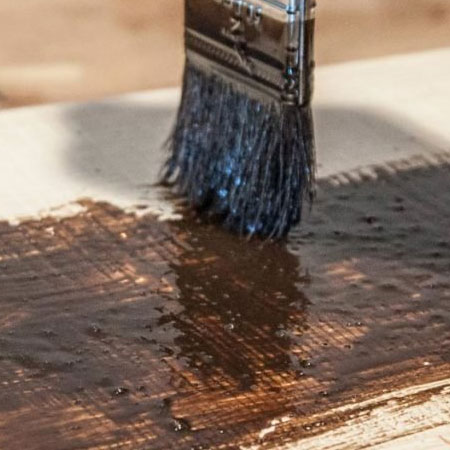
For an authentic finish use a matt, satin or semi-gloss sealer to protect the wood. If you prefer, finish off with a wood oil.
family handyman