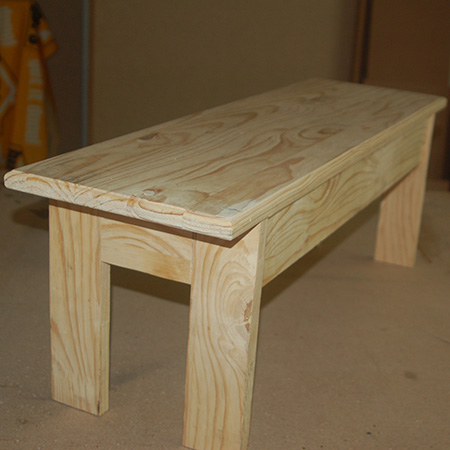
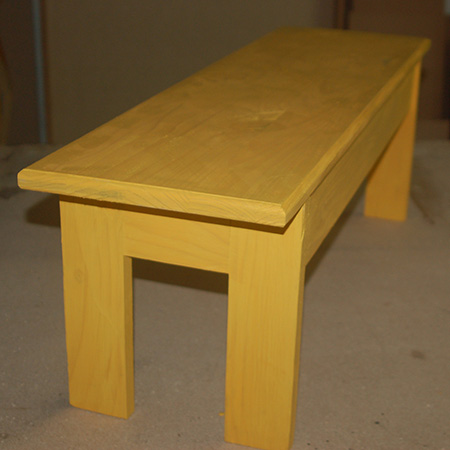
Easy Bench finished with Rust-Oleum Milk Paint Finish
Rust-Oleum have just launched Milk Paint Finish locally and I made an easy stool bench to try out this product.
26/09/2018
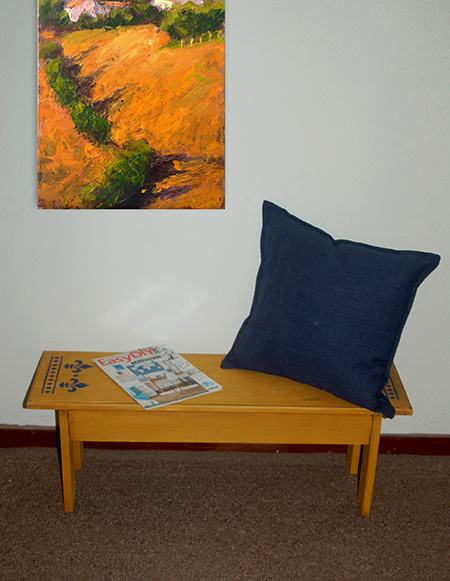
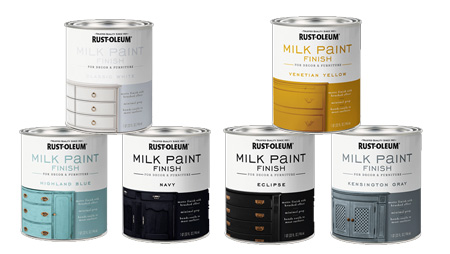
Rust-Oleum have introduced a new product, Milk Paint Finish. To try out this product I made a simple stool bench that was painted in Venetian Yellow with a decorative stencil design done with a satin Ink Blue, a new colour addition to the Painter's Touch+ range of spray paint. You can use the stool bench for seating in a child's bedroom, or it's sturdy enough to use as a step stool when you need an extra bit of height.
Below you will find instructions for making the stool bench, as well as details on the Milk Paint Finish and stencil design. I also added a stencil design using satin Ink Blue Painter's Touch+ and finished off with a distressed finish and Aged Glaze.
YOU WILL NEED:
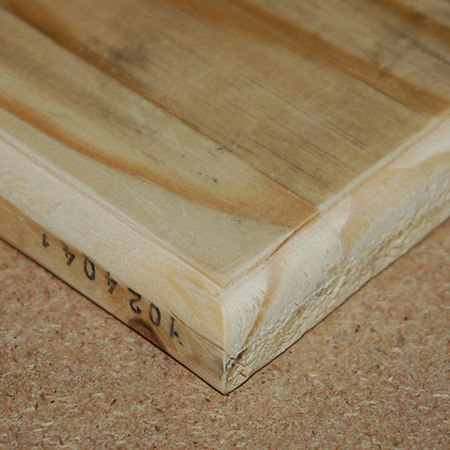
1 of 305 x 920mm laminated pine - seat top
4 of 94 x 300mm PAR pine - legs
2 of 94 x 80mm PAR pine - sides
2 of 94 x 730mm PAR pine - front / back
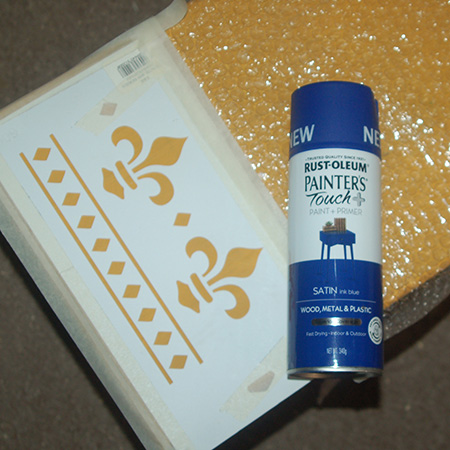
Stencil design
Masking tape
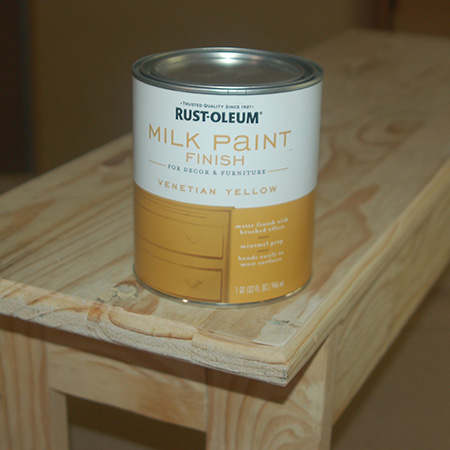
Rust-Oleum Milk Paint Finish - Venetian Yellow
Rust-Oleum Painter's Touch + - satin Ink Blue
Synthetic bristle paintbrush
25mm pocket hole screws
Wood glue
TOOLS:
Drill / Driver plus assorted bits
Kreg pocket hole jig
Orbital sander plus 180-grit sanding pads
Tape measure and pencil
HERE'S HOW:
Preparation: Sand all the pieces smooth prior to assembly.
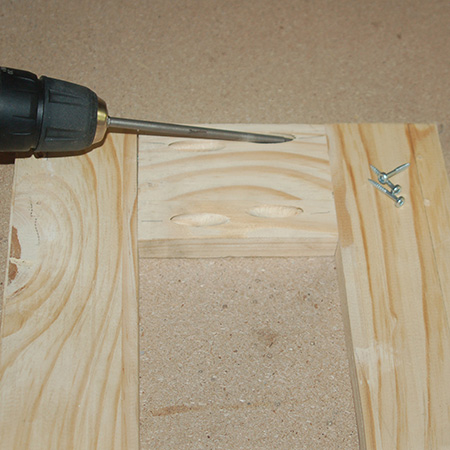
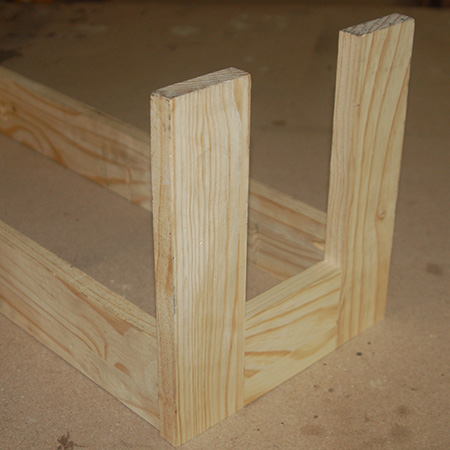
1. Set your pocket hole jig for 19mm-thick material to [2] drill pocket holes at both ends of the Side pieces. Join the two Side pieces to the Legs, as shown above, using wood glue and 25mm screws.
GOOD TO KNOW: Because we are using 25mm screws and not 32mm coarse-thread screws, it's important to use wood glue for sturdy construction.
2. Drill pocket holes at both ends of the Front and Back section in order to attach these pieces to the legs. You also need to drill [3] pocket holes along the top edge of the Front and Back for holding the Seat in place.
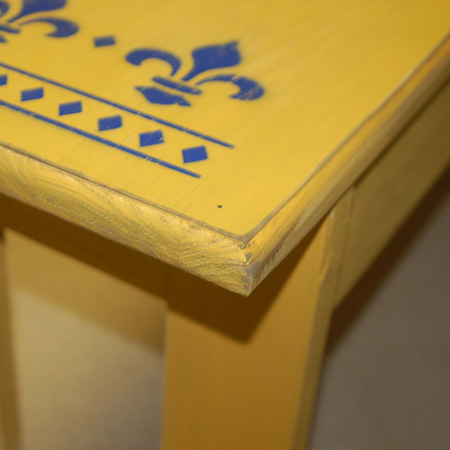
3. We routed the edge of the Seat with a round-over bit, but this is optional if you don't own a router. It just adds a bit of extra detail to the stool bench.
4. Secure the Seat to the frame using the pocket holes drilled along the top edge of the Front and Back sections.
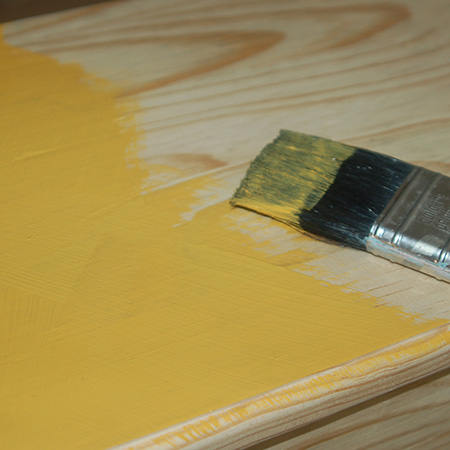
5. Not it's time to paint with Rust-Oleum Milk Paint Finish. Gently stir the contents well before use. Apply the milk paint with a paintbrush using a 'V' pattern of brush strokes - similar to cross-hatching - to highlight the brush strokes for best effect. Leave the paint to dry for about an hour. You shouldn't need to apply a second coat, but if you do, only apply this once the first coat is dry.
GOOD TO KNOW: I applied a single coat of Milk Paint Finish to the bench. I want to be able to see the wood grain through the paint finish.
OPTIONAL STENCIL DESIGN:
Rather than have a plain yellow finish, I decided to add a decorative stencil design to the finished stool bench. The surrounding area was covered with masking tape and bubble wrap to protect from overspray. Make sure the stencil is completely flat on the surface to prevent bleed.
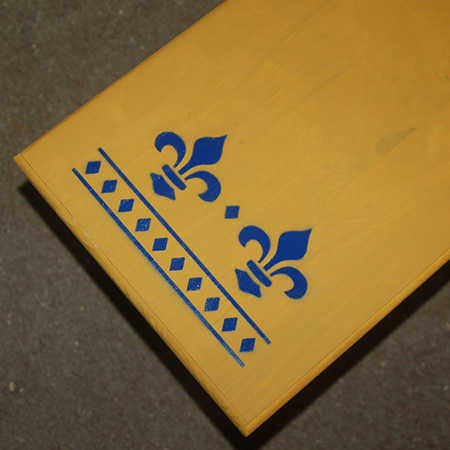
Shake the can well and spray from above at about 30cm away from the surface. Move the spray can from side-to-side.
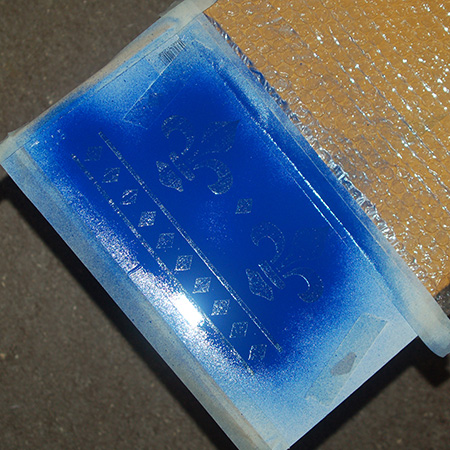
Carefully remove the stencil to reveal the painted detail.
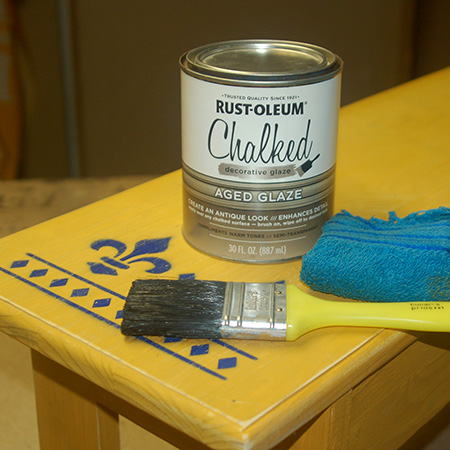
OPTIONAL DISTRESSED AND AGED FINISH:
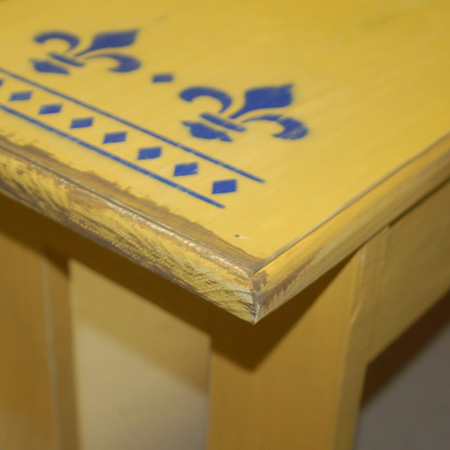
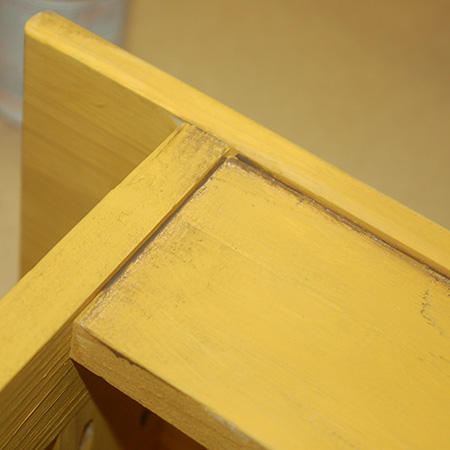
To add even more detail I sanded the edges of the seat with 100-grit sandpaper.
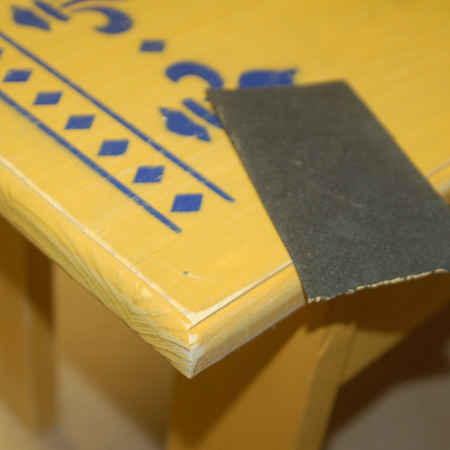
Where the wood was revealed around the edges, and on the seat frame, I applied Rust-Oleum Chalked Aged Glaze. This product is fantastic if you want to give projects instant aged appeal. Stir the contents well and apply with a paintbrush. Have a damp cloth on hand to wipe away after application.