Materials and Supplies for Painting Exterior of a House
The dry season is the time of year when everyone finally gets round to painting the exterior of their house, and we have compiled a detailed list of materials and supplies you will need for this project.
16/07/2020
The dry season is the ideal time to get stuck into giving your home exterior a new look.
No matter what area you live in, when the dry season comes around, this is the ideal time to get out your tools, materials and supplies to paint the exterior of a house. Here on the Highveld, winter is the best time to get stuck into any exterior repairs, and that includes fixing up and painting the exterior of your home. It is a project that comes around every 5 to 7 years or so, or sometimes a bit longer than that if you used good quality paints the last time you did any exterior painting.
For me, it has been almost 10 years since the exterior was painted, and it has held up pretty well over that time. Now though, the cracks are starting to show, I can see damp spots in certain areas, and walls have become dirty. I do believe in using good quality paint for the exterior, one that will cover up and not fade and won't need to be repainted for as long as possible. When you live in a double-storey house, it's no fun climbing up and down ladders all day!
To make it easier for anyone who is giving the exterior of their property a much-needed makeover, here are a few materials and supplies you will need to get the job done properly and as quickly as possible:
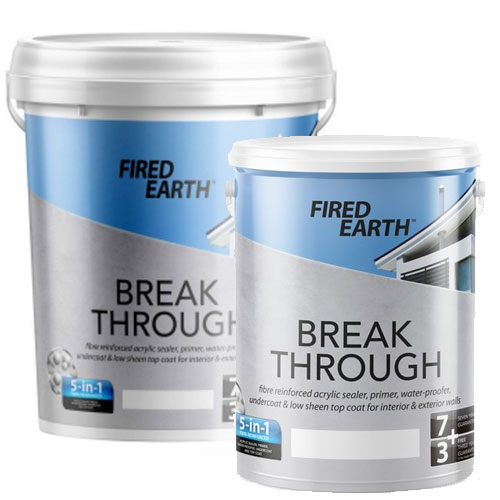
For this exterior renovation, Fired Earth Breakthrough was applied. This paint product is a flexible, reinforced sealer that primes and serves as a waterproofing agent. The product can be used for waterproofing plaster, concrete, brick, fibre cement or sound previously painted prepared surfaces. You will find more information on this product here.
1. Dealing With Damp
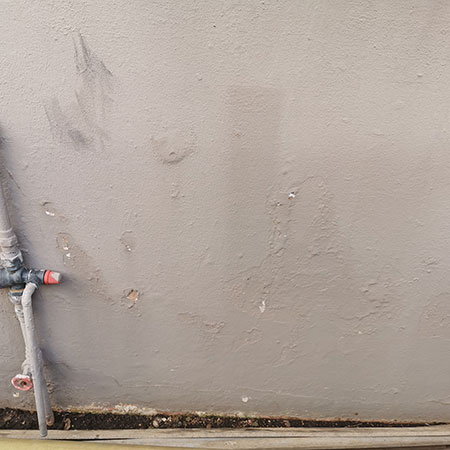
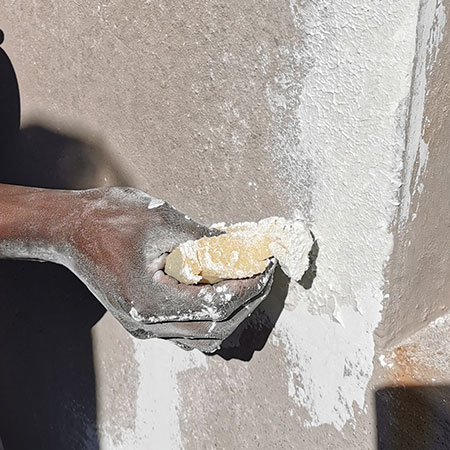
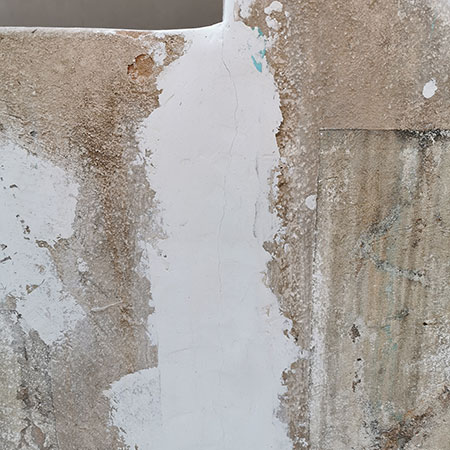
When you decide it is time to paint the exterior of your house the first thing you need to do is make a close inspection. You are looking for problems that need to be rectified before you apply the paint. In my case, I have an area where damp or peeling paint has occurred which is close to the outlet pipe on the pressure valve. It's not a new problem and you can see areas where paint layers have peeled off and been touched up, waiting for the time when the next major painting job was to be done.
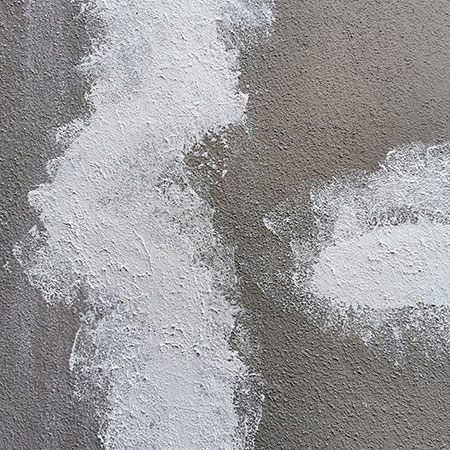
If you discover any signs of damp, efflorescence (white dust) or peeling paint, you need to rectify the problem and treat these areas with a quality damp proofing product.
YOU WILL NEED: Damp proofing product or Fired Earth Breakthrough (see details above).
ACTION NEEDED: Remove all layers of paint until you get down to the plaster. If the plaster is still in good condition and not sandy, you can simply apply the damp proofing product onto the surface. If the plaster has gone to dust, you will need to re-plaster these areas before applying damp proofing product.
2. Cracks In Walls
Cracks are, unfortunately, the bane of every homeowner's life. No matter how hard you try to get rid of them, they keep coming back. That's why it is important to use a quality exterior paint that has flexibility and strength to ensure that cracks, after being filled, don't reappear immediately or a couple of years down the line.
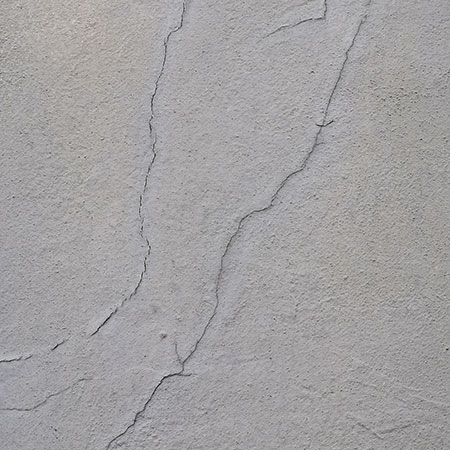
Fine hairline cracks will always appear on exterior and interior walls. These cracks are caused by minor movements in the ground and are not something you need to worry about. If you use properly treat and fix small hairlines cracks, they should stay fixed until the next time you need to tackle the exterior of your home.
The best remedy for all cracks, hairline and small, is to get to the root of where the problem lies - the plaster underneath. Minor ground movements cause cracks in the plaster finish and this then shows on the paint finish. If you simply paint over these cracks, chances are they will reappear after about a year and you will be back to square one.
If you are going to the expense and trouble of giving the exterior of your home a renovation, take the time to fix and repair these cracks the right way.
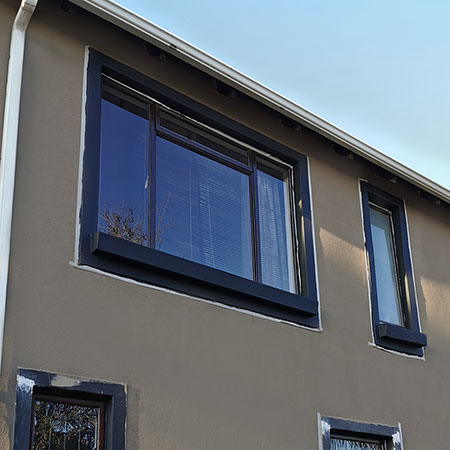
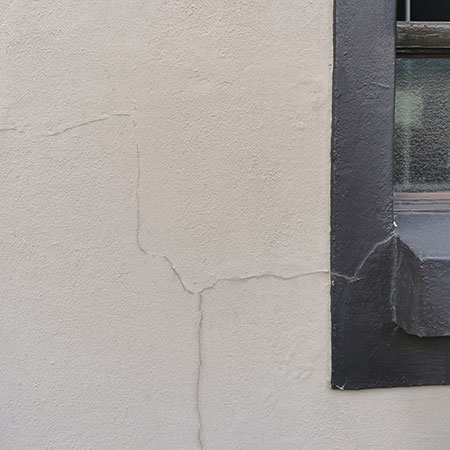
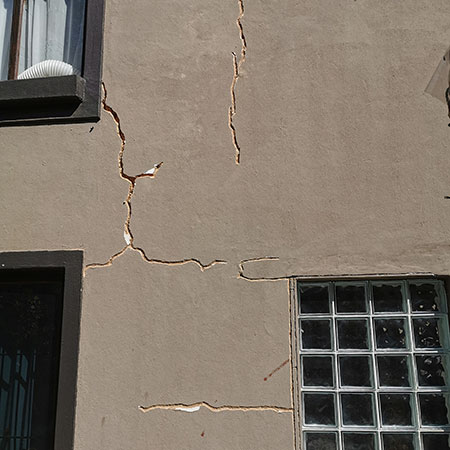
ABOVE and BELOW: Cracks will often occur around window frames and at the corners of door and window frames. These areas (doors and windows) are soft spots and tend to be more affected by cracks than larger surfaces.
The first step is to chase out all the cracks, even fine hairline cracks, using a hammer and bolster chisel. The idea is to make a 'V' shaped channel into the plaster along the crack line. Once you have done that, clean out the dust so that you can apply exterior crack filler in layers.
It is important to layer the crack filler and not just apply a thick layer so that each layer has time to dry before applying the next layer. If you apply a single, thick layer of crack filler, the product at the base of the crack will not dry properly.
Once the crack filler is layered on and dry, sand smooth. If you need to match surround plaster finish, use a sea sponge to dab crack filler onto the surface of the fixed crack. This will make the filled crack less obvious.
YOU WILL NEED: Exterior crack filler, product or Fired Earth Breakthrough (see details under Painting below), stepladder or extendable ladder, 80-grit sandpaper, sea sponge, hammer and bolster chisel, paint scraper.
ACTION NEEDED: Use a hammer and bolster chisel to shape cracks into a 'V' shape deep into the plaster. Clean out dust and apply exterior crack filler in layers. Sand smooth once dry and apply texture if you need to match surrounding plaster finish.
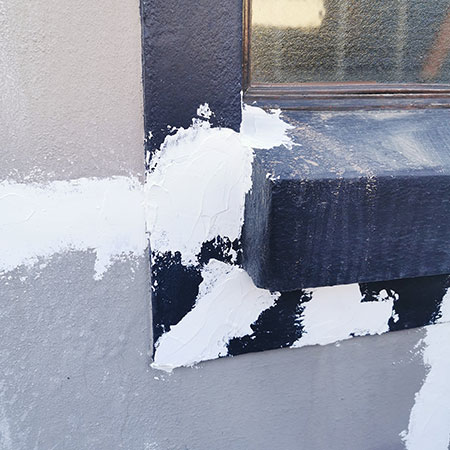
ABOVE and BELOW: After filling cracks, use crack filler and a sea sponge to match the surrounding plaster finish.
3. Expansion Gaps In Walls
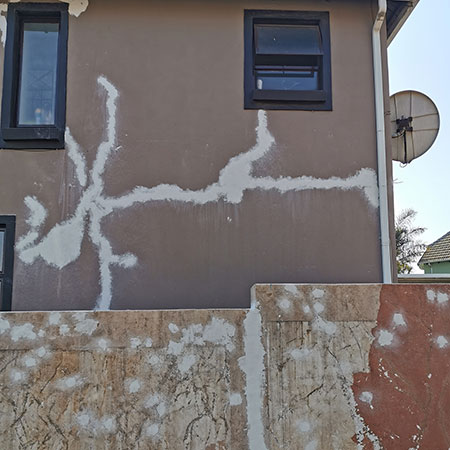
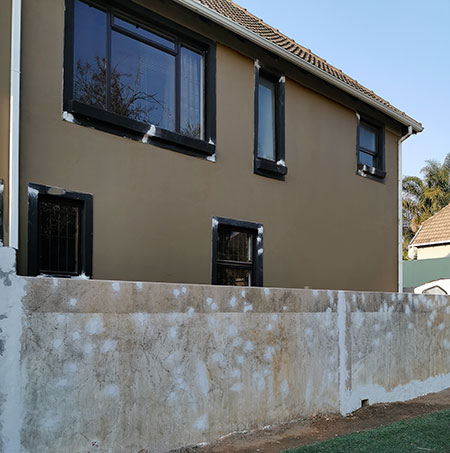
When you are revamping the exterior of your property, this normally includes perimeter walls as well. My front wall was covered with ivy for many years and I decided to remove this. Underneath, the expansion joints between wall sections needed filling in, as you can see from the images below.
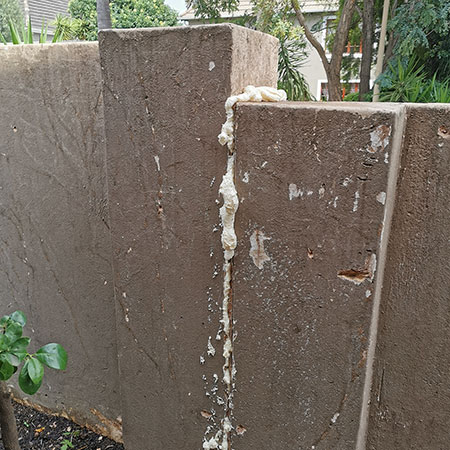
Some walls require expansion joints that will allow for ground movement. The expansion joints mean that the entire wall will not fall in the event of extreme movement. Over time, these expansion joints can widen and you will need to fill these with a product that continues to allow for expansion, such as a polyurethane foam as was used in this instance.
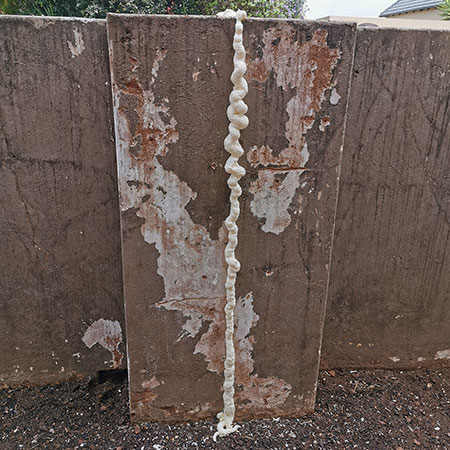
The polyurethane foam was sprayed into the gap and left to cure before the excess cut away with a sharp utility knife. After that, you can apply an exterior crack filler to blend to the surrounding plaster. Please note that I would normally apply a waterproofing membrane over the top of the foam, before adding the crack filler, but was not able to find any stock. In lack of this, I will probably see cracks occurring in a year or two, at which time I will use the membrane and paint again.
4. Painting Walls and Trim
Renovating the exterior of a house normally involves more than just painting walls. You may also want to print gutters and downpipes, fascia board, timber roof support beams, gates and so on. For these items, you can visit your nearest Builders store to see what's on offer, or pop onto the Builders website to do some research on the products you need to compare brands.
With all the products you need on hand, check the weather before you begin. You want to start painting when the ambient humidity is as low as possible... dry. If there has been rain the day before, wait another day before you start painting. Also, check that the weather will be clear and dry for however long you think it will take to complete any painting.
YOU WILL NEED: Quality paint product, paint rollers, assorted paintbrushes, masking or painter's tape, stepladder or extendable ladder, drop cloths.
ACTION NEEDED: Use a hammer and bolster chisel to shape cracks into a 'V' shape deep into the plaster. Clean out dust and apply exterior crack filler in layers. Sand smooth once dry and apply texture if you need to match surrounding plaster finish.
Whatever additional jobs need to be done, always do the essential preparation to ensure a professional and long-lasting finish.
Painting a home exterior doesn't have to be a difficult or long project if you have all the tools and materials you need on hand, and ensure you have the best products to do the job. Set up a schedule of what needs to be done, what you need to do it, and when it needs to be finished by and try to stick to that as much as possible.