
Don't Apply Too Much Chalk Paint!
I have had quite a few readers contact me for tips on using chalk paint, after their own chalk paint projects have turned out looking not so good.
08/09/2019
For the DIY painter and decorator, chalk paint is probably one of the best inventions of the 21st century. I can go on and on about how easy it is to apply to furniture, how it requires very little preparation before applying, and how it gives fantastic results. All that is true - if you apply it correctly.
As with any paint product, there is a wrong way and a right way to apply a painted finish and I wanted to show a few tips on what to avoid when using chalk paint and how to achieve a great looking painted piece of furniture that isn't covered with drips and runs or excess paint along the edges.

After receiving several enquiries from readers wanting to know how to ensure their chalk painted furniture turns out looking great, below I'm sharing a few tips I myself put into practice when painting furniture with chalk paint. Most of these tips can be applied to any type of paint that you use for painting your furniture, so take a look below.
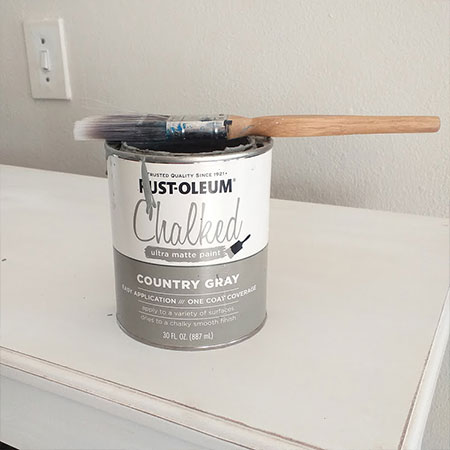
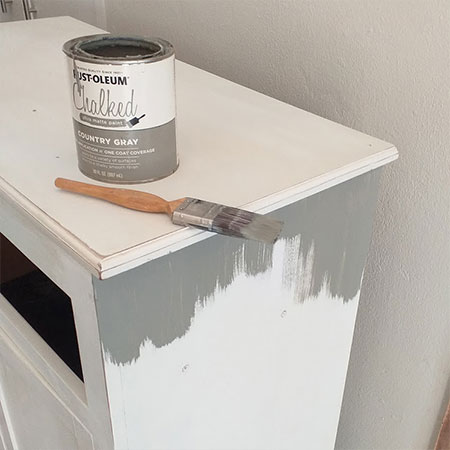
Firstly, I am using Rust-Oleum Chalked ultra matte paint for this project. It is exactly the same as most other chalk paint brands and I can buy all the different colour variants at my local Builders Warehouse, which makes it a convenient product for me to use.
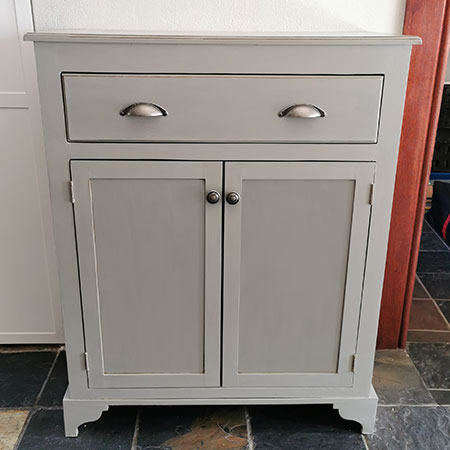
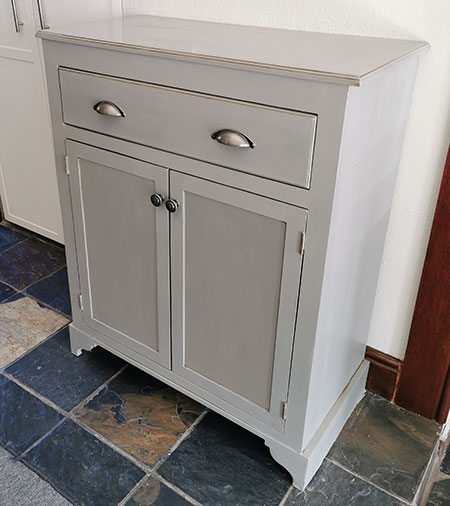
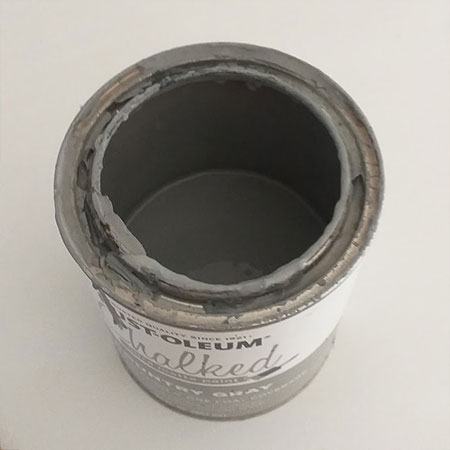
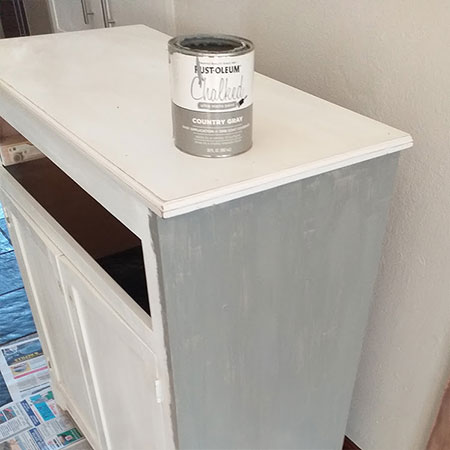
Secondly, I am going to show how I only used just under a quarter tin of Rust-Oleum Chalk paint to paint an entire cabinet, well, almost an entire cabinet since I ran out of paint before I could paint the doors! Anyhoo, what I want to show is that you don't need to slap on coat after coat of thick paint to transform your furniture with chalk paint.
HERE'S HOW:
1. Preparation for applying any type of chalk paint only requires that the piece be clean and lightly sanded. Use a 120-grit sandpaper over the entire finish and then wipe clean.
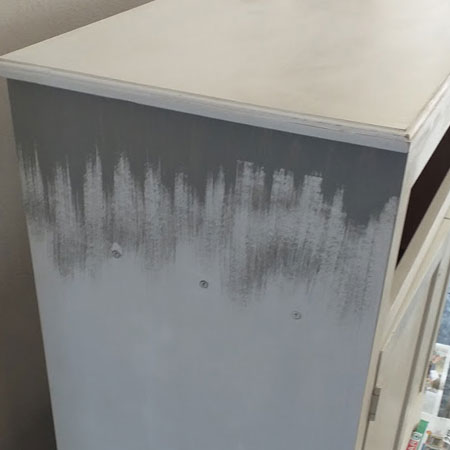
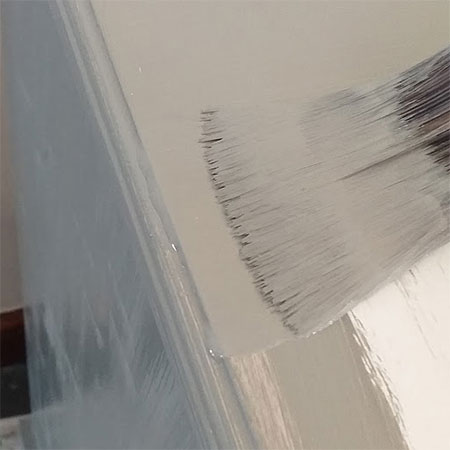
2. Taking into consideration that chalk paint dries quickly, When applying over large areas such as sides as below, I usually start at the top and work my way down. Apply a line of paint all along the top of the side section to cover this area completely. Let this area dry and then work your way in strokes from the top the bottom.
3. Applying that top line first means that you don't have to worry about trying to get a perfect finish when applying individual strokes. You've already applied a solid line of paint and now it is easier to work in strokes all the way down the sides - blending in the downward strokes as you work your way down. I always start on one side and while letting this dry I repeat on the other side.
GOOD TO KNOW: Always think about the orientation of the piece you are painting. If you were painting the sides and you applied the paint from side-to-side rather than top-to-bottom, it would look strange to have brush strokes running in the wrong direction.
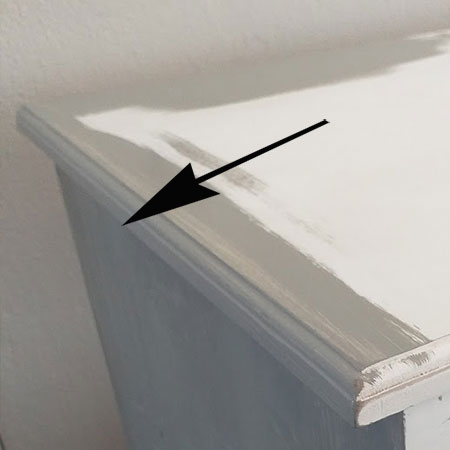
4. When you are applying chalk paint to detailed edges, such as the routed edges around the top shown below, paint these first and let them dry. With the edges painted you can concentrate on painting the top for a perfect finish.
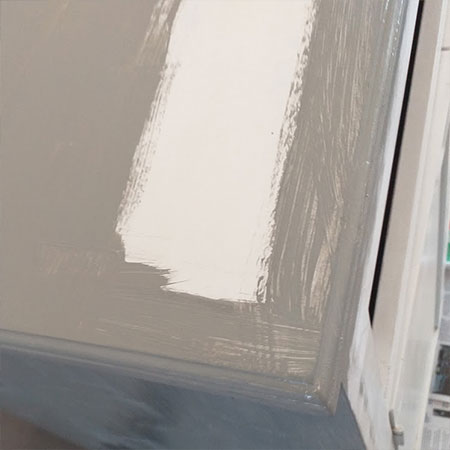
GOOD TO KNOW: Too many tend to apply the paint from the edge in, but this is not a good idea. When you work from the edge in you leave a lot of paint around these edges. It is much better to stroke the brush from the inside and outwards so that you don't leave excess paint behind.
Finishing Touches
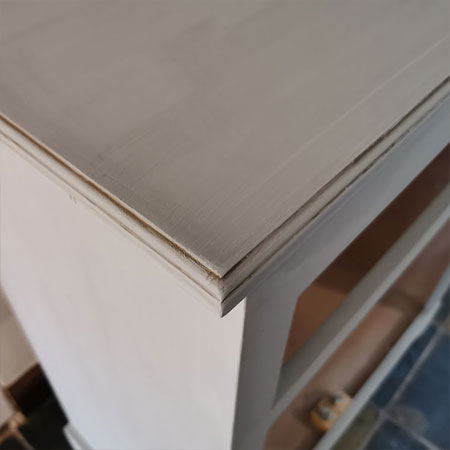
Applying a decorative glaze lets you easily bring in a faux vintage or antique effect. These type of effects look absolutely fantastic when used with chalk paint and add detailing that makes the piece look more authentic.
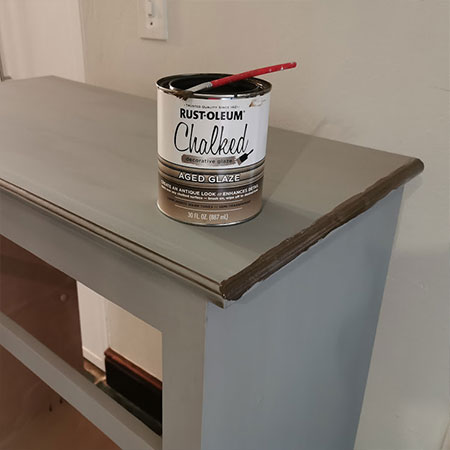
I prefer to use an Aged Glaze when using chalk paint. This product is super easy to apply. Simply paint on with a small paintbrush and then wipe off with a damp cloth. If you prefer a darker effect, repeat the process until you are satisfied with the final result.
Applying a chalk paint top coat or matt sealer over the painted finish is a must. By it's nature, chalk paint is very absorbent and if you don't apply a protective finish it will be impossible to remove greasy fingerprints or dirt and the finish will soak up any stains. Whatever protective finish you apply, follow the manufacturer's recommended instructions for proper application.
