
Add this Rustic Light Feature to your Dining Room
It can be difficult to select the perfect light fitting for a dining room, but this raw beam feature adds a rustic touch to any setting.
13/06/2020
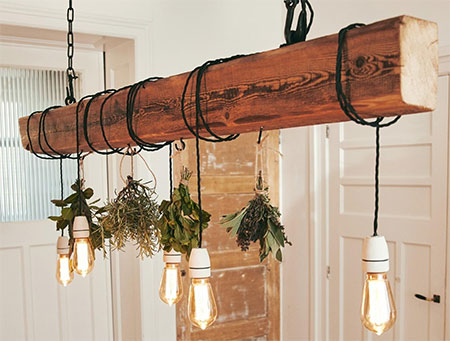
It's so easy to add a rustic touch to a dining room or dining room simply by using a reclaimed pine beam. Or you can buy a pine beam at your local Builders Warehouse and rough it up to make it look aged. The only other items you will need for this project are shown below and most you can purchase at any Builders store. Once your beam has been mounted, you can add a more rustic touch by hanging dried herbs from the light fitting.
This beam light feature is also a great idea for an outdoor patio or covered deck. However, do make sure to use wiring and fittings that are suitable for exterior use.
YOU WILL NEED:
Reclaimed wood beam or PAR pine laminated beam
Fittings for lighting
Ring bolts [2]
Metal hooks and chain for mounting
Cup or steel hooks
Sanding sponge, coarse
TOOLS:
Drill / Driver plus assorted bits
Reciprocating or NanoBlade saw
Clamps
Tape measure and pencil
HERE'S HOW:
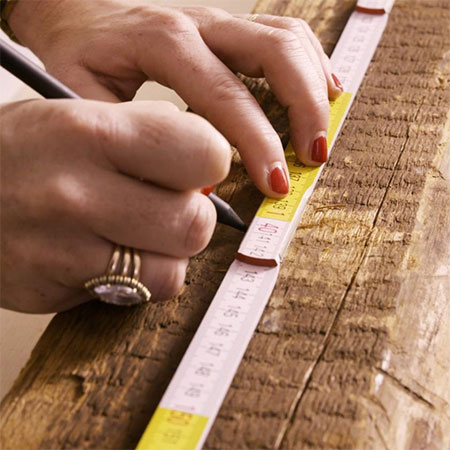
1. The beam used in this project is a pine beam 1400 x 100mm dimensions. Anything larger than this will be too heavy. Determine the length of the beam and mark for cutting.
2. Cut the beam to the required length.
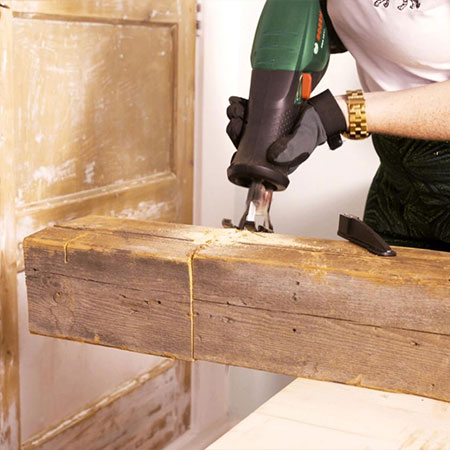
3. Use a coarse sanding sponge or sander to remove any splinters or rough edges. You don't want to sand too much to retain the aged appeal of the beam.

4. Decide the distance between the holes to be drilled for the ring bolts; a distance of 300mm in from each end should be sufficient. Use a drill bit smaller than the size of the ring bolt to make it easier to secure the bolt in the timber.
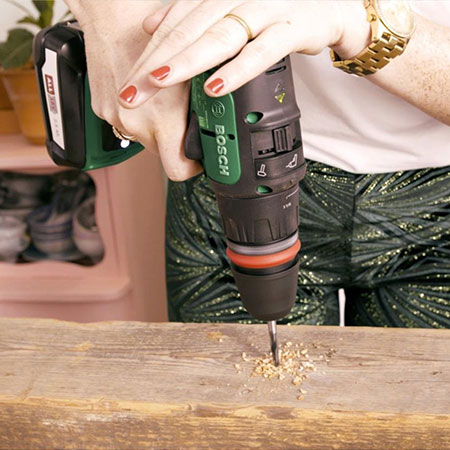
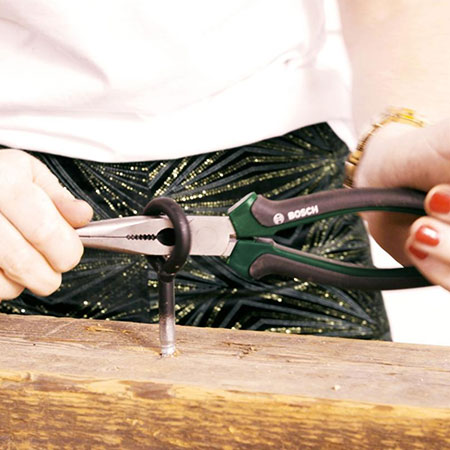
5. Tighten the ring bolt as far as you can. Use a pair of ring-nose pliers if you find it difficult to turn the ring bolt. These bolts must be able to hold the weight of the beam.
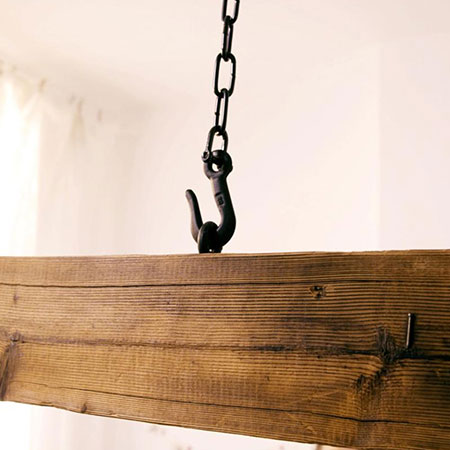
6. Attach a hook and length of chain to each ring bolt. The length of the chain will be determined by the height you want the beam to sit at. At the other end of the chain, add a hook that can be screwed into a secure ceiling beam. If you're unsure about this, ask for professional assistance.
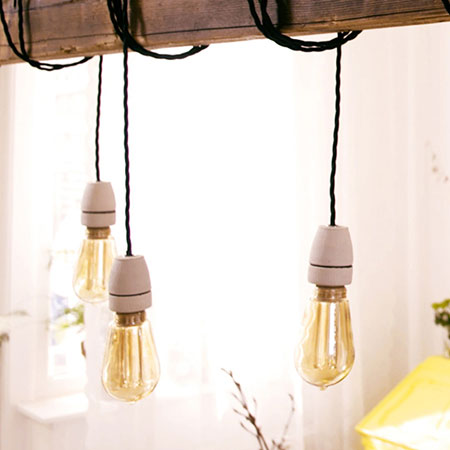
7. Now you can add the light fittings and wrap these around the beam. How many lights you add is up to you. Each bulb should have a long length of wire attached that can be joined and wired into the ceiling fixture or power source. If in doubt, have an electrician wire this up correctly for you.
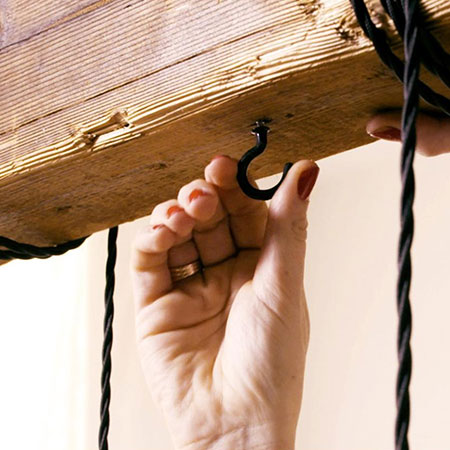
Add even more rustic appeal to your beam light feature by screwing in some cup hooks to hang a selection of dried herbs.
