A Bright - Light - Idea For Your Kitchen
Busy putting finishing touches to my kitchen renovation and not finding the right light for the room, decided to look at affordable lighting options I could work with.
09/04/2021
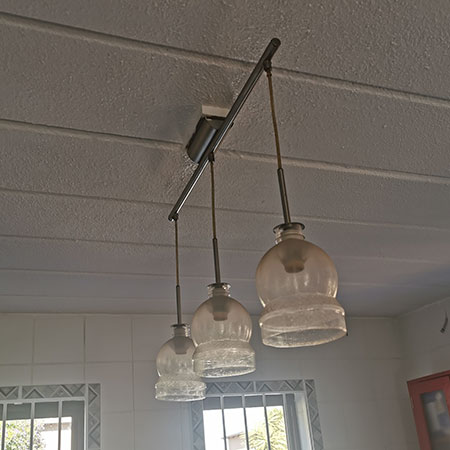
I have been living with the same {awful} kitchen light for many years and just haven't had the time to get around to rectify the situation. Since I'm now putting finishing touches to my kitchen renovation, I wanted a simple square or rectangular light fitting that would light up the kitchen. Good luck with that! After searching for months, I finally stumbled upon something that could work if I did a few modifications to fit the light to my concrete slab ceiling.
I have put up with an ugly kitchen light for so long and just glad to be rid of it!
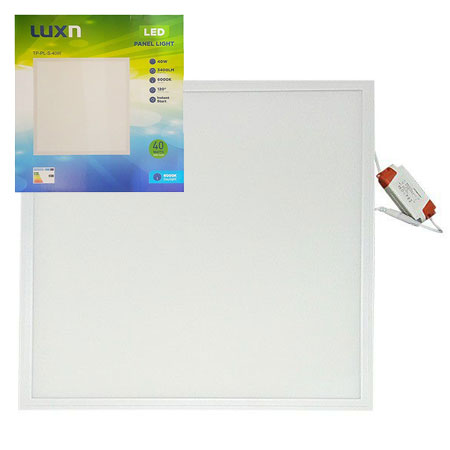
The light that I finally found is a ceiling panel light, one of those that normally fits into a commercial tiled ceiling, but it looked just perfect for the project I had in mind. I'd already decided the kitchen needed a bright light, not one that created shadows everywhere, and this light is perfect. At 6000K, which is close to daylight brightness, I wouldn't have to worry about dark corners and shadows making it difficult to see what I was doing.
As someone more practical than frilly, I didn't want a fancy-looking light fitting, just one that would be bright enough and easy to fit. This gave me the idea to look at ceiling panel lights and I'm so glad that I did. The light is 600 x 600mm square and very lightweight and just needed a modification to secure to my concrete slab kitchen ceiling.
The ceiling panel light I purchased from Takealot.com is 600 x 600mm and 6000K [daylight] at only 48W and a cost of just under R500.
MAKING THE FRAME FOR YOUR PANEL LIGHT
To make a frame for any ceiling panel light, measure the width, length and height of the panel itself. With these measurements, you can determine the size you need to make the surrounding frame.
The frame for the ceiling panel light consists of [2] sides and a front and back as well as a support piece on the top. Both sides have a slot or groove routed out that is 10mm up from the bottom edge of the sides and 6mm deep/high. The size of the slot is based on the thickness of the panel light.
INSTALLING CEILING PANEL LIGHT
Step 1
Switch off the power at the main Distribution Board. You don't want any surprises when working with electricity in the home.
Step 2
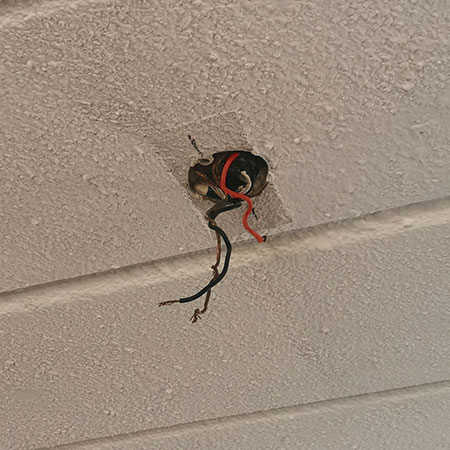
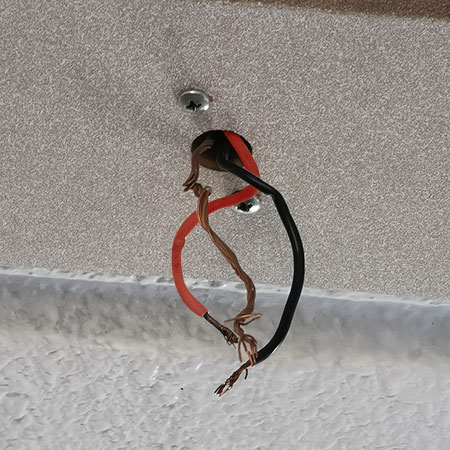
Remove any existing light fitting. You should find a red [L] and black [N] wire as well as a copper [earth] wire. Check that the wires are in good condition and that there has been no overheating [melted or black areas] and no tears in the cables.
Step 3
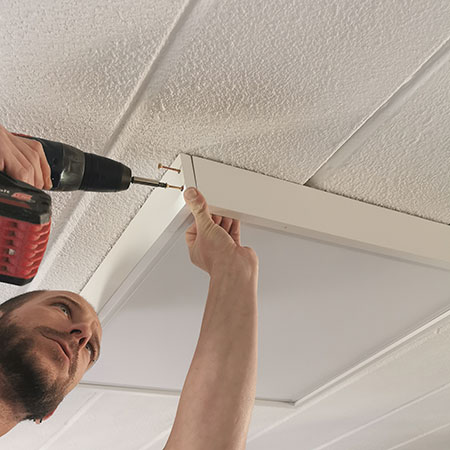
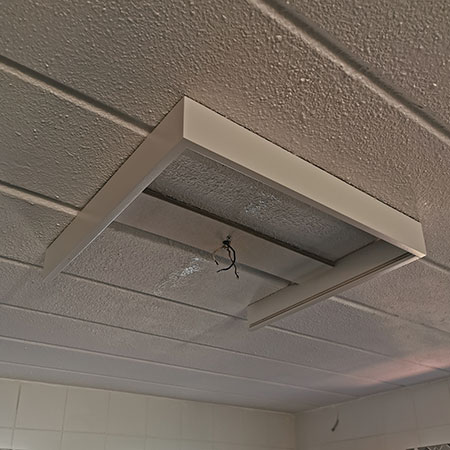
Because I have a concrete slab for a ceiling in the kitchen, I wanted a light fitting that would be able to screw into the same holes already in the fitting. Drilling into a reinforced concrete slab is not an easy project and not one that I wanted to have to do. The frame for the panel light has a support on the top that has a hole that we drilled through for the wires as well as the ability to line up the screws with the existing fitting in the ceiling - no drilling required. Thank goodness!
Step 4
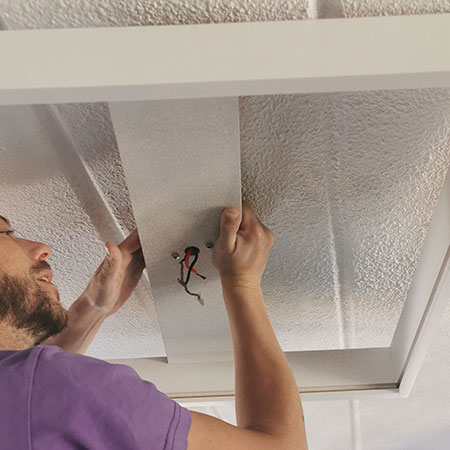
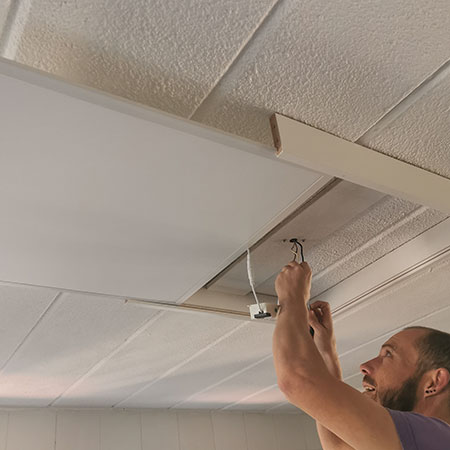
After threading through the wires from the ceiling fitting, the support was screwed to the ceiling.
The frame for the ceiling panel light is now secured firmly to the ceiling. Note the open [back] end for sliding the panel light into position.
Step 5
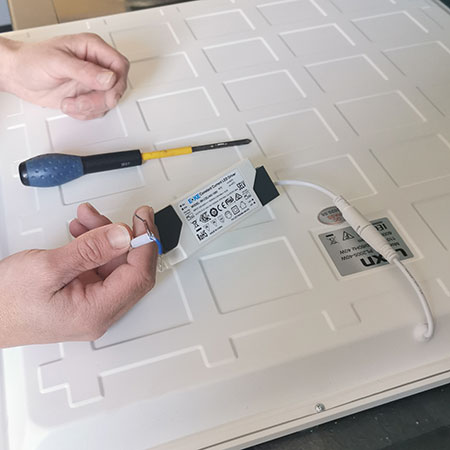
At this stage in the fitting process, you need to take a look at the wires on the ceiling panel light. The ones on this panel are brown [L] and blue [N] - the same as you would find in any household plug. All you need now is a connector block to join the two sets of wires together, with the [L] wires and [N] wires joined in the connector block.
Step 6
Slide the ceiling panel light into position along the slots that were routed out in Step 1 above. This will allow you to join the old and new wires together. Triple check that the wires are firmly locked into the connecting block before sliding the panel light fully into position.
Step 7
Now you can attach the back panel to finish off the framed ceiling panel light.