How to make a Canvas Frame
When my son got married, he had some of his wedding photos transferred onto canvas, and now he needs to make the frames for the canvas sheets.
13/06/2019
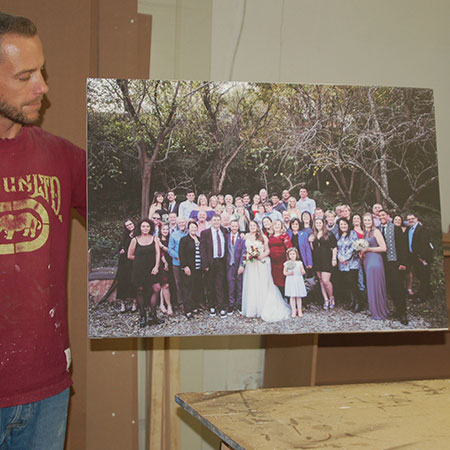
After having some of his wedding photos transferred onto canvas, my son now needed to mount the canvas on to a frame. I'm sharing this project with you because this is any easy way to make your own canvas frames and save quite a bit over buying canvas already mounted on frames.
HERE'S HOW:
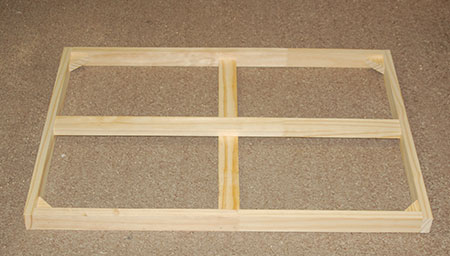
The frame that you need to make is a basic frame using 19 x 44mm PAR pine that you can buy at any Builders store and it only costs around R35 per 1.8 length,, so quite affordable for making your own frames.
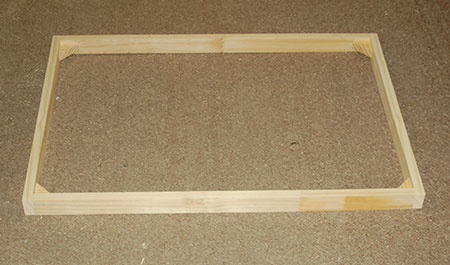
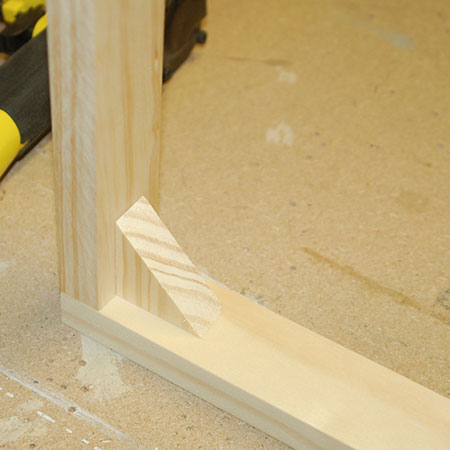
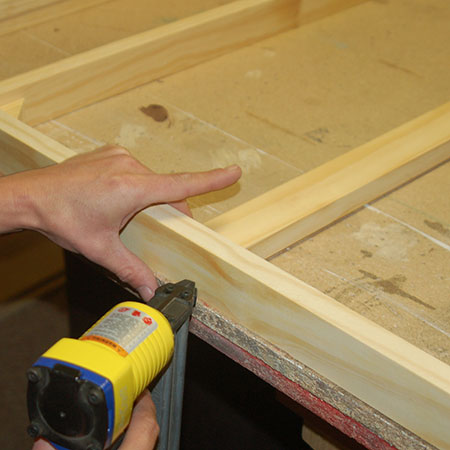
When making the frame, you need to reinforce the corners, and it is easy to do this by cutting a few corners on a mitre saw, or with a jigsaw. These corners are then glued into the frame to give it the support it needs.
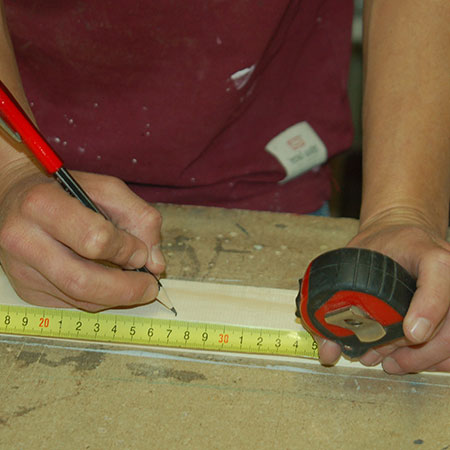
As well as adding reinforcing to the corners, you also need to add stretchers along the width and length. To do this, use a tape measure to determine the centre of both the width and length of your frame and make a mark. When mounting the stretcher bars use this as your guide for securing in the centre.
Cut the stretchers to the correct length to fit into the frame.
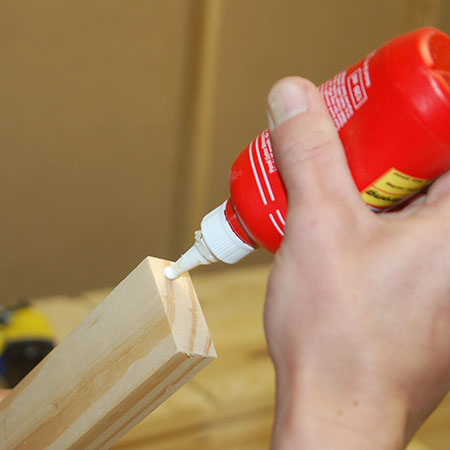
Once cut these can be glued and nailed in place. To secure the stretcher bars I grabbed my pneumatic nail gun - love this tool!.
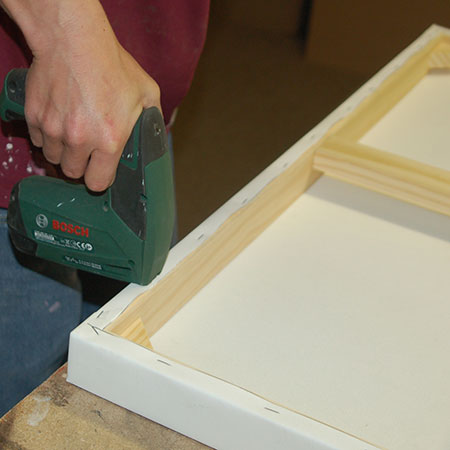
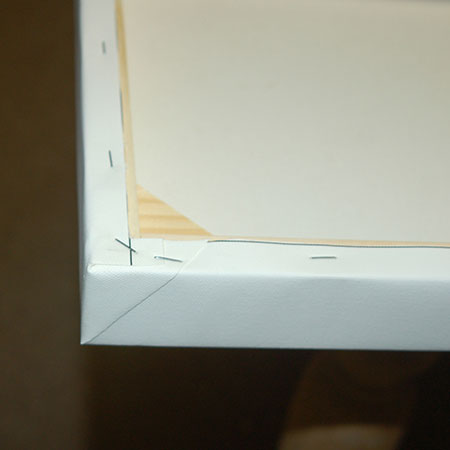
Now that the frame is completer, it's time to add the canvas. The canvas is secured onto the back of the frame using my Bosch Tacker heavy-duty stapler. This tool is great and ever since I developed arthritis, I can still staple my projects without any effort.