
How to make a Duvet Cover
With spring just a month or so away, I am thinking that it's about time to splurge on a new duvet but these days even duvet covers are expensive, so.... yup, once again it's time to make my own!
With spring just a month or so away, I am thinking that it's about time to splurge on a new duvet. The problem for me is never finding what I want and settling for the next best and then I hate it a month or two down the line. And these days even duvet covers are expensive. So.... Yup, once again it's time to make my own!
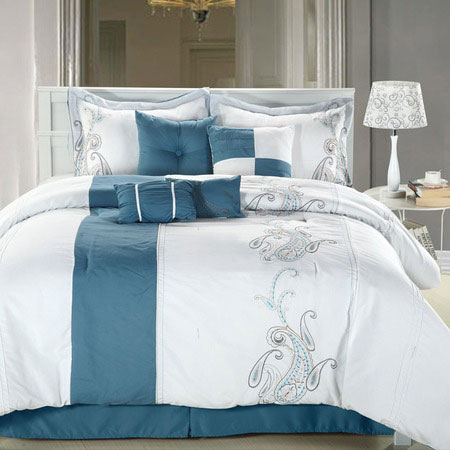
This is 'my love' duvet cover and matching bedding. Plain white with just a splash of bold colour and a delicate pattern. Think I can find one like this? Not a chance!
When I actually sat down and thought about it, I wondered why it took me so long to get round to making my own duvet covers. Nearly every night hubby and I fight for the duvet because it just never seems to be large enough to cover us both!
If I make my own duvet cover it will be large enough, I can use natural cotton to make the cover AND I am going to put ties in place of press studs or buttons. To create the beautiful design on the duvet cover I am going to use spray paint, because I have discovered just how simple it is to be able to spray paint almost any design onto fabric.
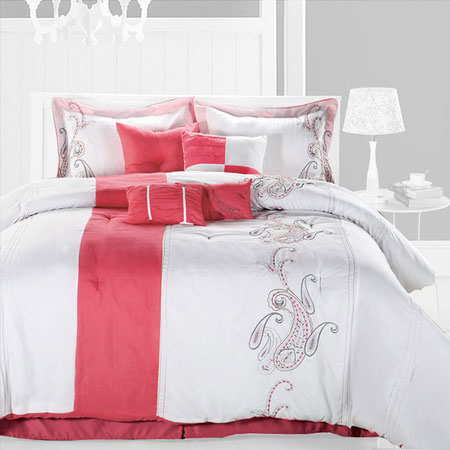
Now that I have decided to make my own duvet cover, all I have to do is make up my mind on the colour I want for the strip. Decisions, decisions...
Making a duvet covet is, dare I say, quick and easy. I have previously made a duvet cover for the kids out of a pair of cotton curtains, so making them out of fabric is just as simple. To show you how easy it is to make a duvet cover I'll show you how to make a basic cover to start off:
YOU WILL NEED:
Cotton fabric - just slightly larger than the size of your duvet*
Matching thread
Tape measure
Scissors
Sewing machine
Pins
*Make the duvet cover to the size of your duvet and remember to add 2cm all round for seams.
HERE'S HOW:
1. Cut your fabric to size. Remember to add 2cm seam allowance all around. You don't need to allow extra for the opening, as this project will have tie closures. If you want to add buttons or press studs, add extra for a larger seam around the opening.
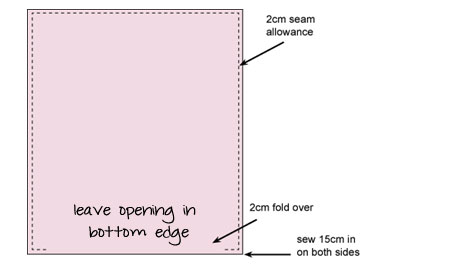
2. On the bottom run zig-zag stitch along the edges of both pieces and then fold a 2cm hem - facing out - at the bottom edge.
3. Right sides facing, sew around three edges of the cover, and in 15cm on the bottom edge. Run a zig-zag stitch around the 3 closed edges.
4. Turn the fabric right side out.
You have almost completed your duvet cover. Was that easy or was it easy!
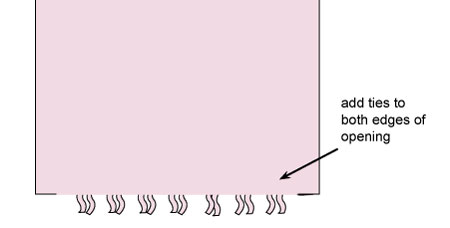
5. Hand-sew (or machine sew) ties to the bottom opening, spaced at a distance of around 10cm apart to close the duvet cover. As mentioned above, you can always add buttons or press studs if you prefer.
6. As a finishing touch and also to add strength to my duvet cover, I like to go around the edge again with a running stitch about 5mm in from the edge, but this is optional.