
Vinyl Wrap for Old Rusty Refrigerator
Do you have an old refrigerator you want to keep, perhaps as a backup fridge or as an extra refrigerator for cold drinks?
14/09/2021
I stumbled upon this great idea to upcycle an old refrigerator on facebook. Charne Bothma came up with the clever idea to upcycle an old and rust-spotted fridge by having a custom self-adhesive vinyl wrap made to fit her refrigerator. This is a great way to take something ugly and make it look almost brand new, and with the cost of a refrigerator these days if you have one that still works - why get rid of it when you can use it as a backup fridge or just to store cold drinks in.

When working with a self-adhesive vinyl wrap, and if you want the wrap to last as long as possible, there are a few tips to keep in mind for the preparation and installation of a vinyl wrap and we discuss these points below.
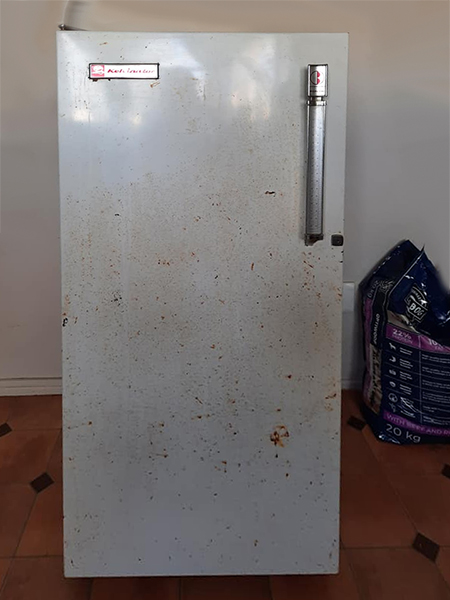
As you can see from the image below, the old refrigerator wasn't in good condition on the outside, but the motor and condenser still worked well, so it was a pity to have to throw it out. Rather than spray the exterior with spray paint - a finish that doesn't always look great - adding a self-adhesive vinyl wrap lets you customize your fridge with assorted printed designs, patterns or just plain colours.
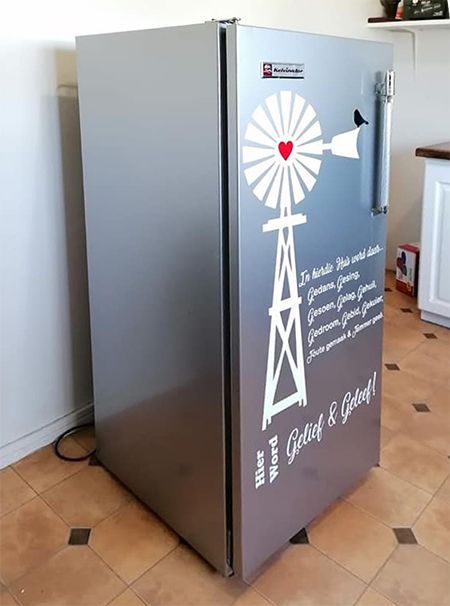
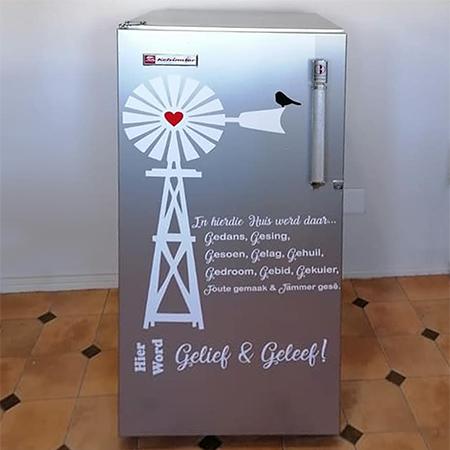
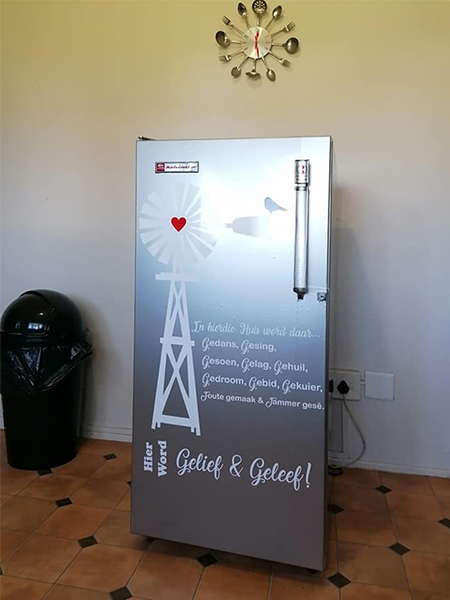
To makeover her refrigerator, Charne selected a wind pump design and custom wording to cover the front of the fridge door, and plain vinyl panels in the same background colour for the remaining areas to be covered. Find a supplier that will work with you on cutting all the sections to size for easy installation in your home.
For those interested in ordering a custom self-adhesive vinyl wrap for a refrigerator, or any appliance for that matter, simply enter 'self-adhesive vinyl wrap for refrigerator' in the search bar and you will find several suppliers of custom vinyl wraps.
How to Install and Care for Self-Adhesive Vinyl Wrap
After measuring up all the panels on your refrigerator, pass these on to the supplier to have your choice of designs printed and sent to you. Before you apply these onto your appliances, prepare as follows and stick to the care routine to extend the lifespan of your vinyl-wrapped appliances.
- Appliances must be absolutely clean and free from grease or grime. Wash down with a soft scouring pad and degreaser or sugar soap before rinsing and drying. If required, sand smooth any rough areas.
- Depending on the type of vinyl sticker you purchase, you will either remove the protective backing from the vinyl or apply with application tape.
- You must be careful after removing the backing since the self-adhesive is very sticky. Ensure that the adhesive sections do not stick together because you won't be able to separate them without destroying the vinyl.
- Be sure to line up the self-adhesive vinyl on the various appliance sections, working from one side to stick the vinyl onto the surface being covered.
- Have a squeegee on hand to run over the vinyl - working from the centre outwards - to remove all trapped air bubbles. If you need to, you can lift around the edges to let trapped air out.
- Make sure that the vinyl is firmly secured around the edges by going over this again with a squeegee.
- Any cleaning or wiping down of the vinyl should be done with mild dishwashing detergent and a soft cloth. Be careful when cleaning around the edges - try not to get these areas wet.
Information courtesy of eyecandydecor.co.za