
Brand New Kitchen for Under R20,000!
This is my kitchen renovation from scratch to finished at a cost of well under R20,000 and completely do-it-yourself!
27/10/2021
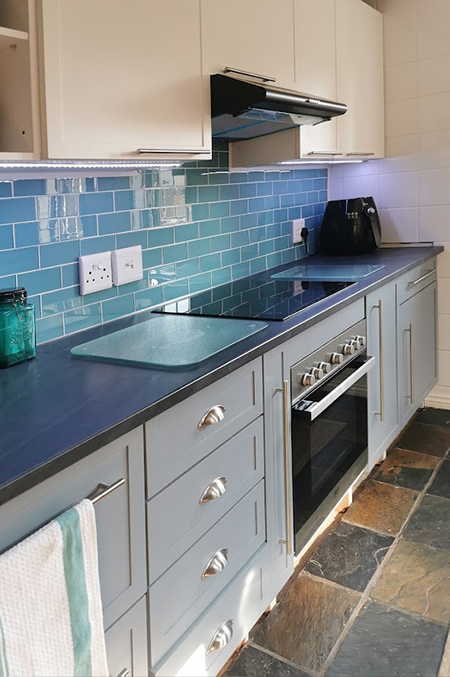
This is the before [below] and after [above] of my DIY kitchen renovation, where the original kitchen was ripped out and replaced with brand new cabinetry, countertops, tiles and assorted fittings and fixtures. I have included a breakdown below of how the cost came in under R20,000, as well as links to the various projects that involved assembling various cabinet components.
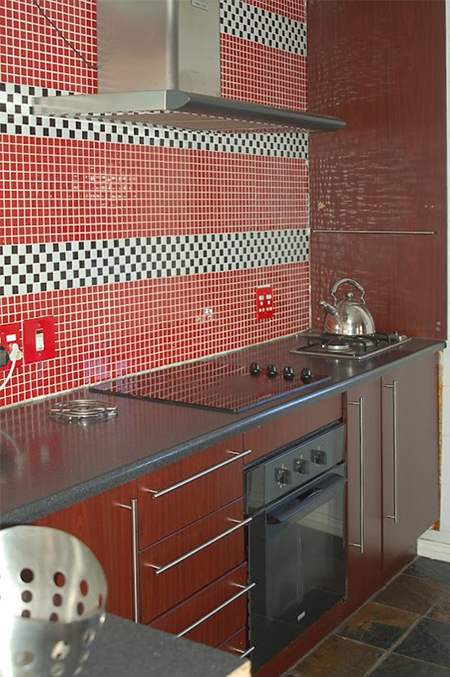
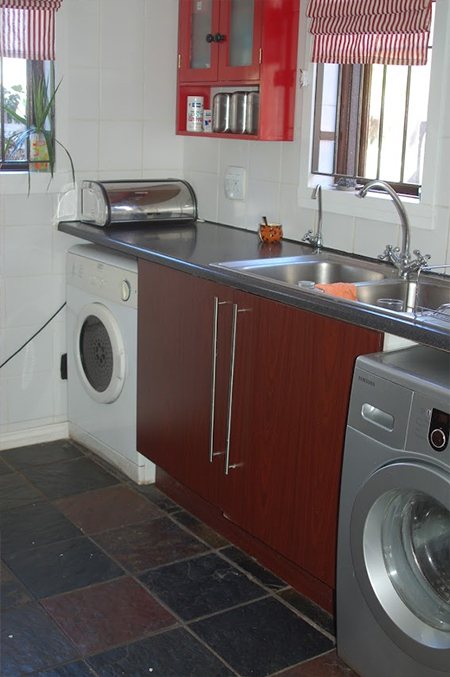
The before, I can admit, is horrendous. Not all my mistake, but more that the sponsors for the original kitchen design (approx. 12 years ago) requested that I use certain products. Don't judge, but if someone offers you products to do the job for free - who is going to complain!
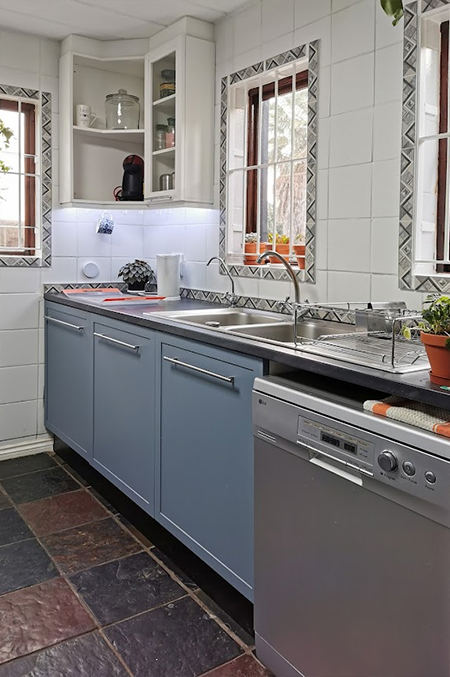
It was not possible to have full-size before and after photographs because the kitchen design sits on two opposite walls. For the purpose of this article, I needed to show the two sides as separate. This is also how the kitchen was renovated in steps. The washing side of the kitchen was renovated first, including relocating the tumble dryer and washing machine into a new laundry space, while the other side was done later as time became available.
Splitting the kitchen renovation into separate projects allowed me to chop and change my mind as the project moved forward. I had a specific plan in mind but wanted to make sure everything would be to my liking, and I did change my mind quite a few times!
DIY Kitchen Cupboard Assembly
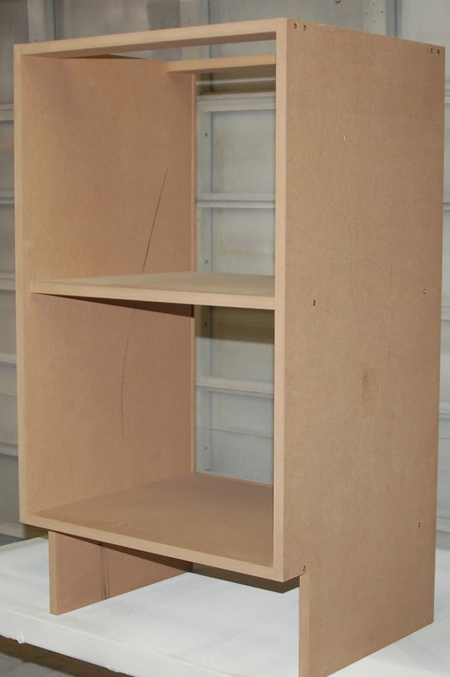
All the cupboards fitted in the new kitchen were made from scratch using 16mm SupaWood. I have used this same method often and it is what we do as part of our DIY-Divas.co.za kitchen workshop. The reason I use 16mm SupaWood for the construction is that it is easily painted and gives a super-smooth finish and SupaWood is far more durable than chipboard or particleboard.
Click here for information of making kitchen cupboards.
Click here for information on making a drawer unit.
The Process of Renovating the Kitchen
Step 1 - The Design
No matter what project you start, the first thing you need to do is to have a plan or idea of what you want. For me, the easiest way was to use SketchUp to map out the size of the kitchen, including windows, power points, plumbing, etc.
Using SketchUp is far better than an online kitchen planner as it allows you to layout a kitchen to the millimetre. You can design custom cupboards to fit into awkward or unusual positions and plan everything out before you even start the renovation.
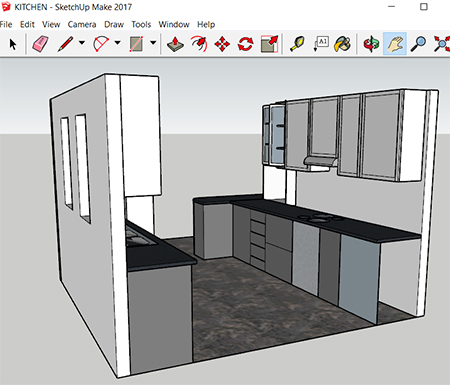
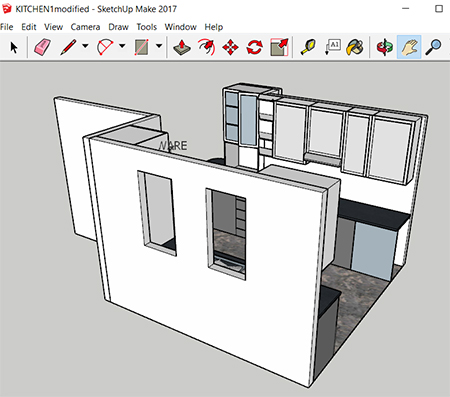
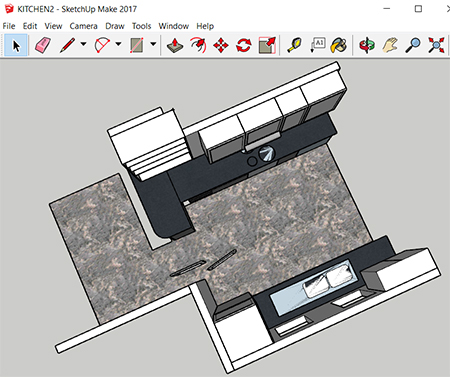
With SketchUp you can move all the components around, get a 3D view and work your floorplan to the best possible arrangement. Plus, if you download SketchUp Make 2017 version - it's free.
You can also use SketchUp to design your kitchen cupboards and cabinets so that you know that everything will fit into place at the final fitting. This is important if you are altering the existing floorplan as you will need to be accurate with measurements to get it right.
Step 2 - Assemble the Cupboards
As mentioned above, the kitchen renovation was done in stages, with the sink side of the kitchen being first on the list. The reason for this is that, at the same time, I was moving the appliances into a laundry nook that was previously a pantry and you will find details for this later on.
Click here for more info on Shaker design for your kitchen renovation.
With all the cabinet diagrams done in SketchUp it was time to start the assembly process.
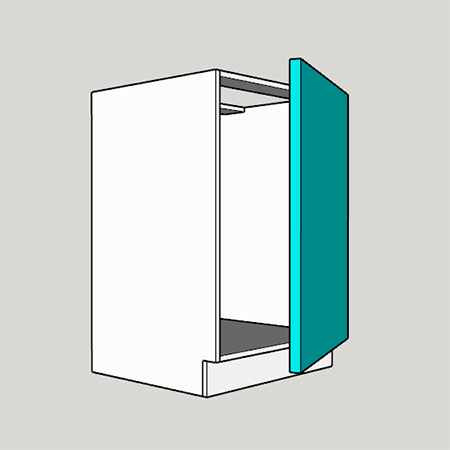
Cupboard assembly is easier than you might think. With a diagram in hand, you can order all the materials you need to be cut to size and then all you have to do is to assemble them.
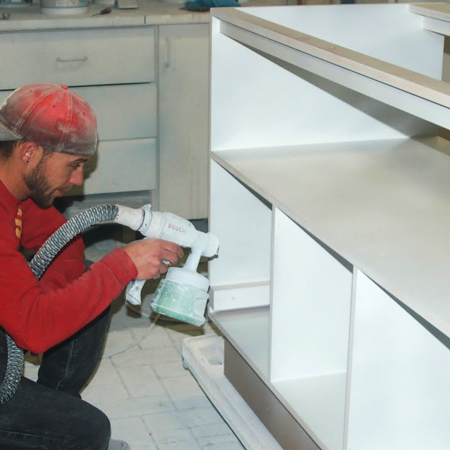
After assembly comes the sanding and painting. As usual, we used the Bosch PFS 2000 spray gun to paint all the assembled cabinets inside, outside and the doors. You will love using a spray gun as it makes the painting go faster and much easier, plus you get a professional finish if done right.
GOOD TO KNOW: All the kitchen cupboards were fitted with soft-closing hinges.
Spray painting undersink cupboard with a Bosch PFS 2000 spray gun.
The kitchen cupboard assembly that sits underneath the sink was designed to feature a pullout drawer for 2 recycling bins and pullout drawers under the sink for organised cleaning supplies and materials. Because everything was custom made you get to decide what you need.
Click here for instructions on making the undersink cupboard.
The design of the kitchen is in the Shaker style that is both trendy and a practical option to DIY. After assembly and before painting, 3mm strips were glued around the door for Shaker style doors.
Click here for more info on Shaker design for your kitchen renovation.
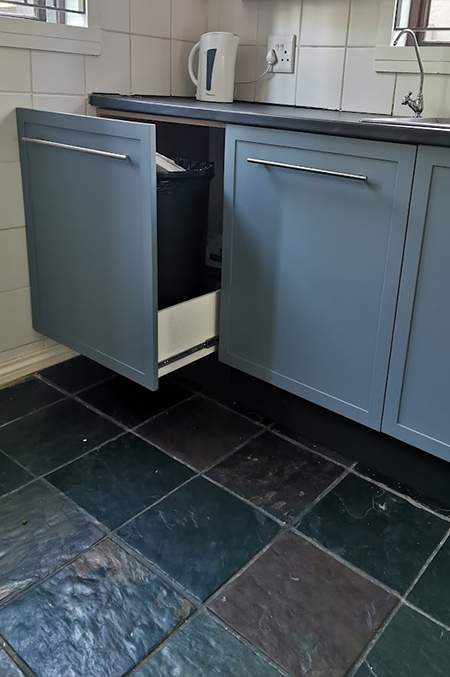
With the cupboards on this side of the kitchen complete, to finish off the area a new countertop was installed, and a new kitchen tap fitted. All the appliances previously situated on this side of the kitchen were placed in the new laundry room (more on this below). The next step was to focus on the other side of the kitchen.
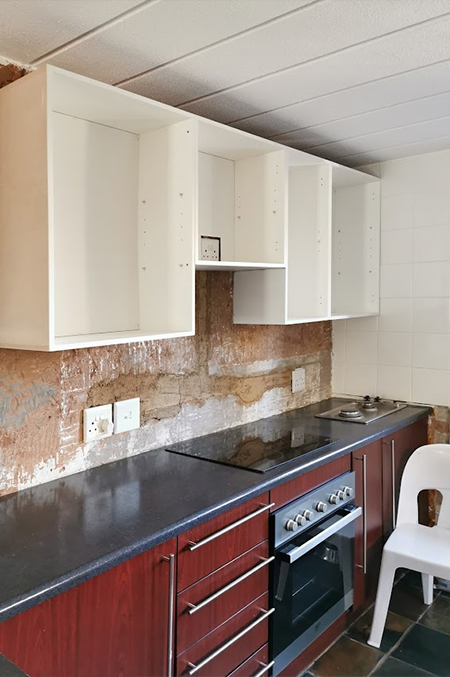
The tiles on the kitchen splashback were removed in order to mount the assembled wall cupboards. The decision was made to start on the wall and work down to the floor units, installing the new kitchen backsplash in the process. You will see from the image below that a row of tiles was left at the bottom of the splashback and this was to allow fitting of the new countertop. After which, the backsplash was finished.
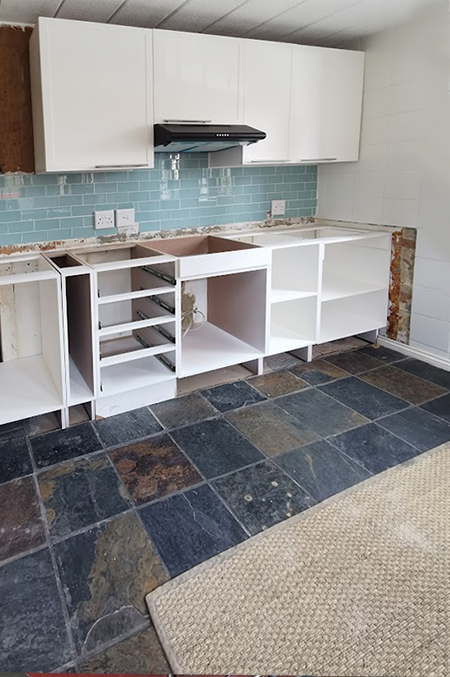
Step 3 Finishing Touches
From this point onwards, it was simply a matter of installing the floor units and fitting the countertop. Since everything was pre-assembled and painted, it was a quick process and the kitchen was only out of use for a single day.

To complete the installation of the kitchen, new appliances were installed and LED lighting strips mounted underneath the wall cupboards.

Cost of Kitchen Renovation
10 sheets of 16mm SupaWood - Builders R6750
5 sheets of 12mm SupaWood - R2950
2 sheets 3mm SupaWood - R1500
2 x Plascon Polvin 5L, storm grey - Builders R620
1 x Plascon Polvin 5L, white - Builders R598
1 of Duram water based enamel - Builders R159
6 of Glass tile splashback - CTM R630
Formica Lifeseal Countertop, raven slate - Builders R780
Fibre cement board kickplate - Builders R170
Glass, cut to size - Builders R500
Assorted fittings, handles, hinges, drawer runners, etc. - Gelmar R1200
Mosaic tiles, zig-zag CTM R1600
LED lighting - Builders R600
TOTAL COST FOR KITCHEN RENOVATION: R18,057.00
Kitting Out the Laundry Nook
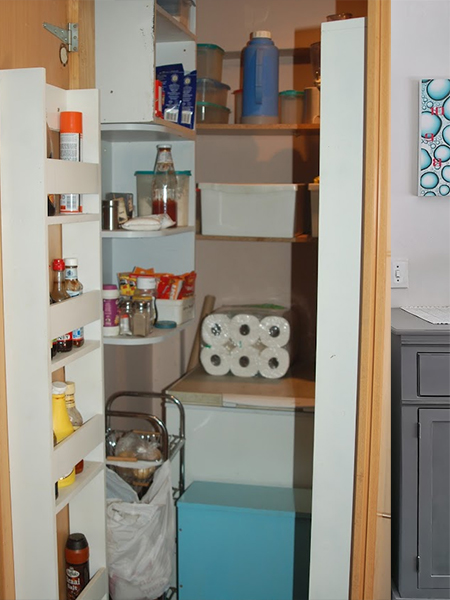
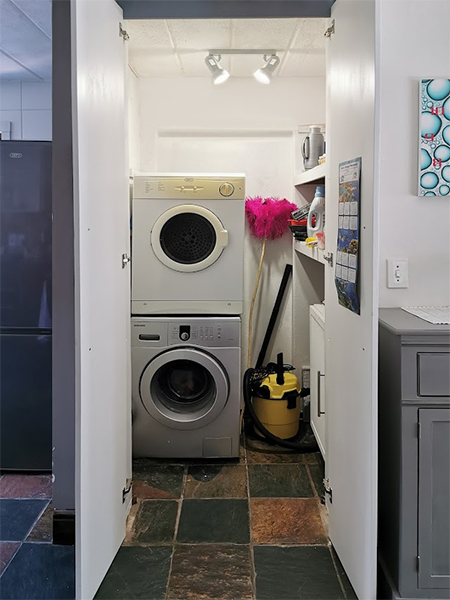
What was originally a pantry was converted into a laundry nook. Plumbing and electrical were installed professionally and the tumble dryer and washing machine stacked up and supported via steel brackets. Using this space for a laundry room freed up additional storage space in the kitchen. The pantry was relocated into another area in the kitchen with the assembly of a pullout pantry.
Click here for more info on converting the pantry to a laundry room.
Click here for more information on making the pullout pantry.
Links Within this Article
Click here for information of making kitchen cupboards.
Click here for information on making a drawer unit.
Click here for more info on Shaker design for your kitchen renovation.
Click here for instructions on making the undersink cupboard.
Click here for more info on converting the pantry to a laundry room.
Click here for more information on making the pullout pantry.