
Repair dips and bumps in paving or driveway
Two years ago I made changes to the driveway at my front entrance. To do this a large shrub had to be removed. After heavy rains last summer a dip started to appear in the paving that needed to be repaired.
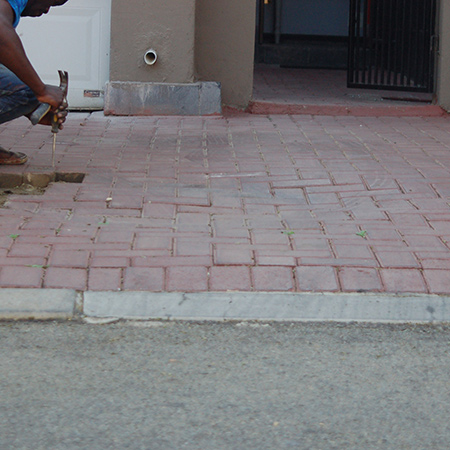
The collapsed area could have been caused by not removing the deep root system of the shrub, which then decayed and dried out, leaving space that had to be filled one way or another. With heavy rains the soil dropped and caused the paving to sink. The water flow from an overflow pipe also contributed to the damage, causing the paving to drop even more.
This damage could have been prevented by ensuring proper removal of organic material (root system) and re-directing the flow from the pipe. They do say that foresight is better than hindsight, and this couldn't be more true in this case. When you are installing DIY paving be sure to take all factors into consideration.
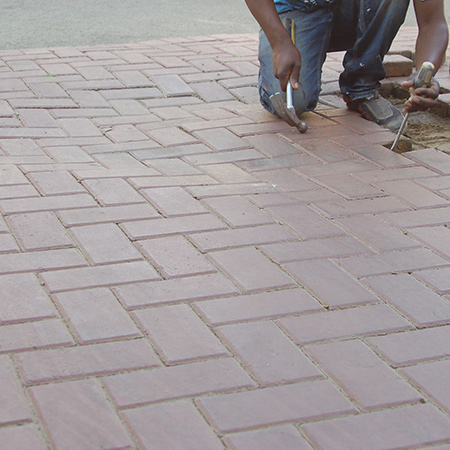
Repairing the dip in the paving meant that the paving bricks around the area had to be removed. A flathead screwdriver allows you to lever and lift out the first paving brick.
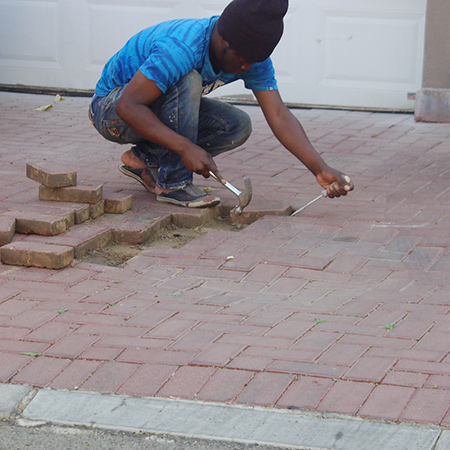
Once the first brick has been removed it's simply a matter of removing all the other paving bricks to allow you to level out the area.
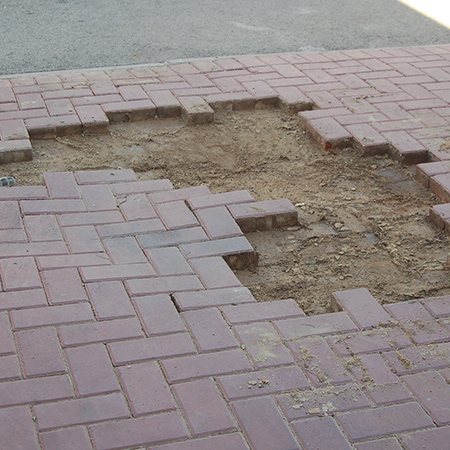
After removing all the paving bricks, soil is packed into the area to level it out. This then needs to be compacted using a manual or mechanical tamper. For a small area you can tamp down the area using a heavy hammer, but it is recommended that you hire a mechanical tamper for larger areas.

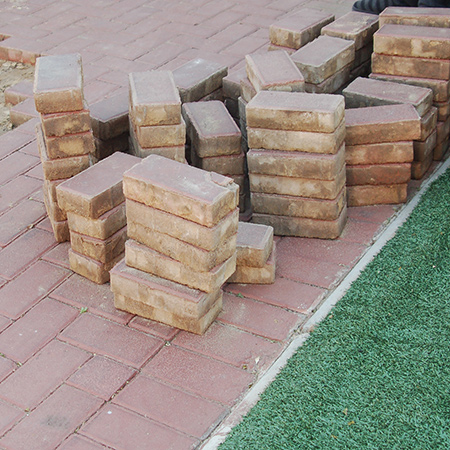
GOOD TO KNOW: If you are going to be re-using the paving bricks, clean them off and stack neatly to one side.
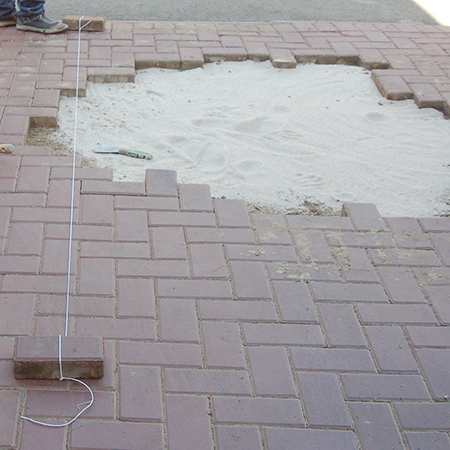
After compacting the soil used to level the area you need to fill with a 20mm thick bed of sand. Coarse river sand is the best sand to use for bedding pavers, as it allows for proper drainage and beds the bricks nicely. You can buy 40kg bags of various types of sand at your local Builders Warehouse.

Lay down a level using string and a couple of pavers. This will ensure that when bedding the replacement bricks you maintain an even height with the existing paving.
Bed the pavers using a rubber mallet, making sure that each paver sits flush against the adjoining paver. Follow the original layout and work from one side to the other until you manage to fit all the pavers back in place.
GOOD TO KNOW: It is important that the pavers sit tightly against each other if you want them all the fit back in place. It's a bit like assembling a jigsaw puzzle. As long as you remove excess sand from around the edges and keep the bedding sand level, you will be able to complete the puzzle.
After laying the bricks, spinkle a combination of fine sand and cement over the top and brush into the joins. Repeat the process until there are no visible gaps. Lightly wet the surface with a spray nozzle set on fine spray.
