Replace sagging or damaged ceilings
Over time, ceilings can sag or be damaged by leaks in the roof and need to be replaced. This is a task that can be done as a DIY project, or you can call in a reputable ceiling installer.
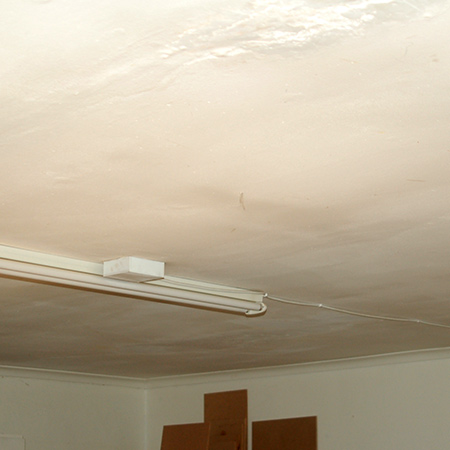
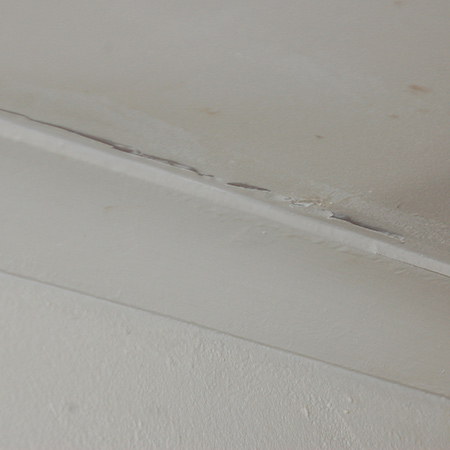
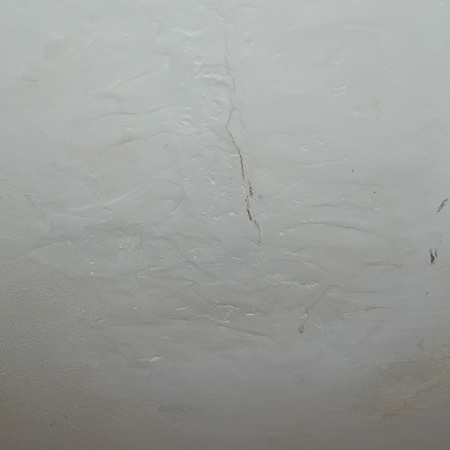
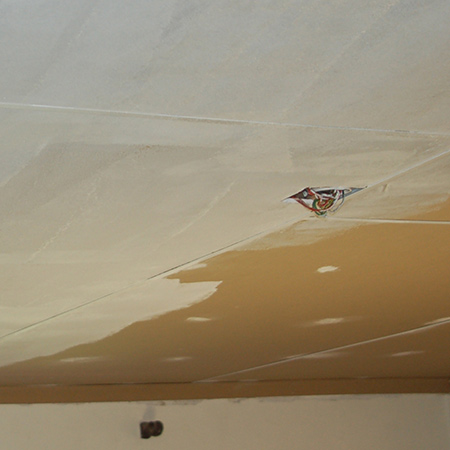
In this home, the seamless ceiling had been damaged by leaks in the roof. The ceiling boards had started to sag and there were areas where water was absorbed into the boards causing them to swell and where the seams between the boards had cracked.
In many instances, you can simply screw sagging boards back in place. But where battens or beams have become wet and bowed, or the battens / beams have bowed under the weight of the ceiling, it is in your best interest to remove the ceiling and replace the damaged ones.
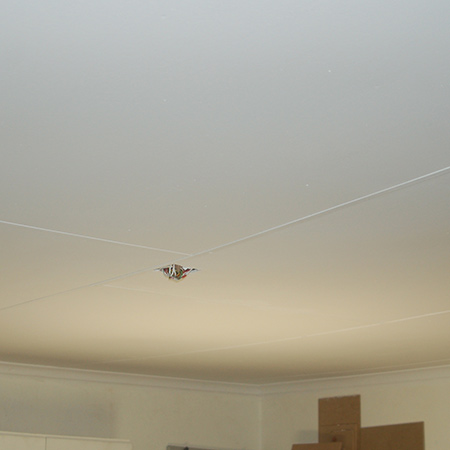
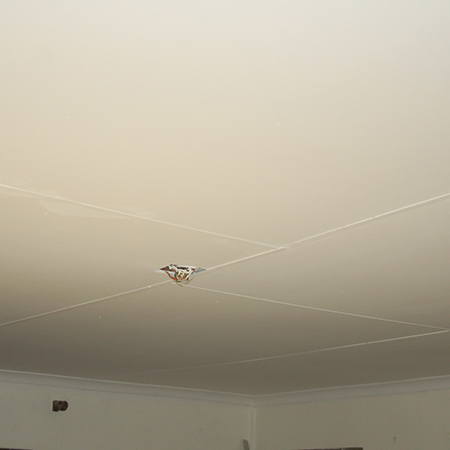
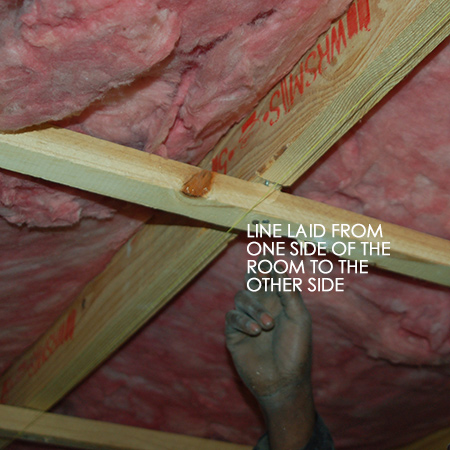
In this particular instance, after ripping out the old ceiling it was noted that the battens were not bowed but simply needed to be refastened to the upper cross beams. A string line was placed from one end of the room to the other to ensure that the beams would be horizontally straight, and thus the ceiling would be flat.
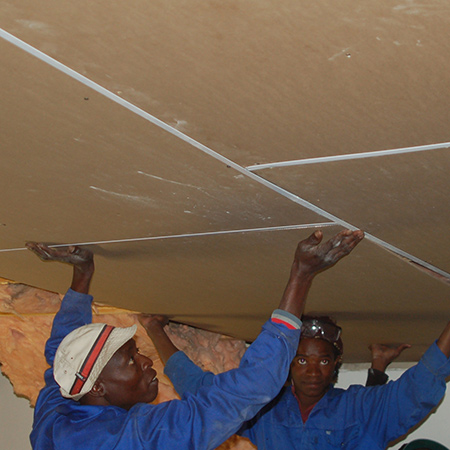
While this installation can be done as a DIY project, it's not a job that can be done without assistance. When fitting the new ceiling boards you need a couple of guys to help hold the boards. If you would prefer to have the job done by a ceiling installer, and you are wanting a strip ceiling, budget for around R300 per square metre for the installation.
A seamless ceiling will obviously cost slightly more than this. If you plan on doing this as a DIY job, the cost will come in about 30% cheaper for a strip ceiling, but unless you have some serious plastering skills under your belt a seamless ceiling is best left to the experts.
This ceiling was originally seamless, but the homeowner opted to replace this with a strip ceiling. The reasoning behind this was 1) it was cheaper, 2) it would be easier to effect any future repairs and, 3) the original installation was not done properly and cracks were appearing along the seams from day one.
You can buy 6.4mm thick Gypsum ceiling boards and H-strips (Bishop / Bischoff strips) at your local Builders Warehouse, as well as any timber needed if battens or beams have to be replaced.
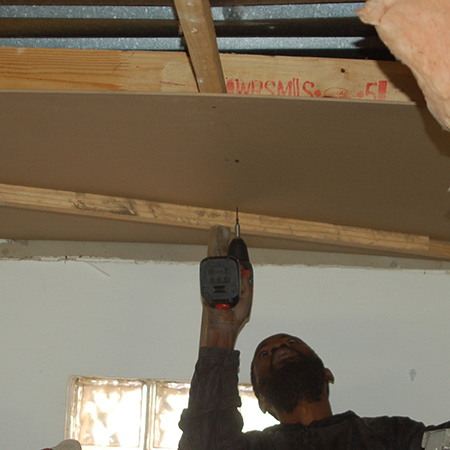
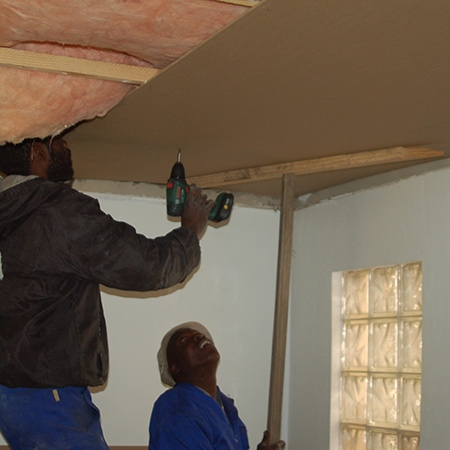
With the old ceiling removed and any bowed or loose beams or battens fixed, installing new ceiling boards can be done. Start at a corner of the room, or at a point where the new ceiling boards need to match up with an existing ceiling. Ideally, you want to start with full boards and leave cut boards for the edge on the opposite side.
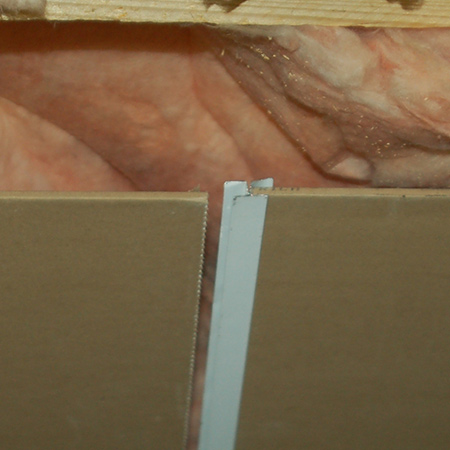
The first board is secured to the ceiling battens with chipboard screws into battens. You need to place the screws towards the centre on open sides, in order to be able to fit H-strips to the open sides and then secure additional boards in place. The H-strips join all the boards together, so make sure that boards are firmly fitted into the strips before securing new boards to the ceiling battens. This is the part where you will need help in holding the boards up and fitting into the H-strips.
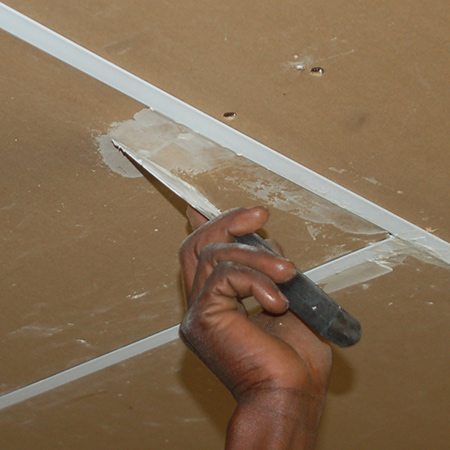
After fitting all the ceiling boards in place the holes can be filled with a read-mixed flexible crack filler. This type of filler is less susceptible to cracking and falling out later on.
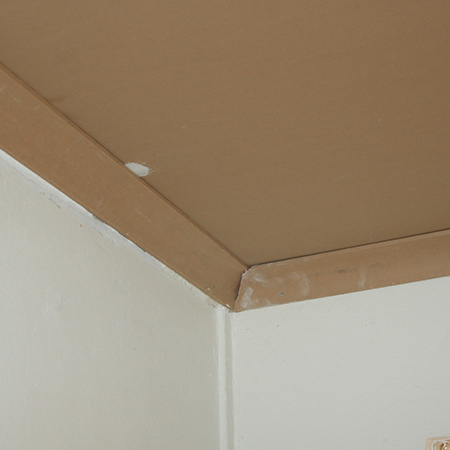
The next step is to add cornice around the room. Gypsum cornice can be attached to the walls using concrete nails or a construction adhesive. For polyurethane cornice, use an adhesive specifically formulated for this product. Any solvent-based adhesive will melt the polyurethane. Whatever adhesive you use, read the package and follow the instructions.
Prime the finished ceiling with a solvent-based primer, or primer specifically for plasterboard. This is best done in the late afternoon, so that the primer can be left overnight to dry.
Once dry, paint over the primed ceiling with a high-cover acrylic paint. Allow drying time between coats, as you will need to apply a minimum of two coats. Apply the paint with a roller, using a paintbrush around the edges.