Establish a one metre veggie garden
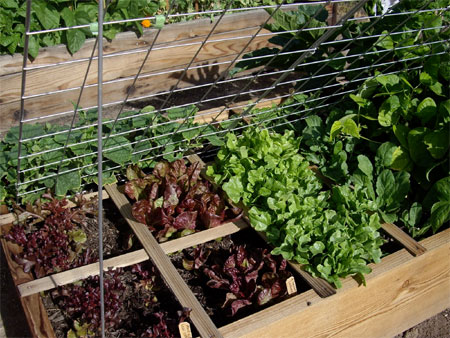
During July of this year I finally made the concerted effort to get into my garden and start establishing a small garden to grow my own veggies and herbs. It's only a one metre square section, as you can see below, but what I have done is to add shutterply boxes so that I can add on vertically to get more into the small space.
My little square of veggies and herbs is an assorted lot of lettuce, cabbage, spinach, cauliflower and beetroot, which I actually bought by mistake thinking it was spinach! In the herb section I think that there's a bit of everything that I normally use.
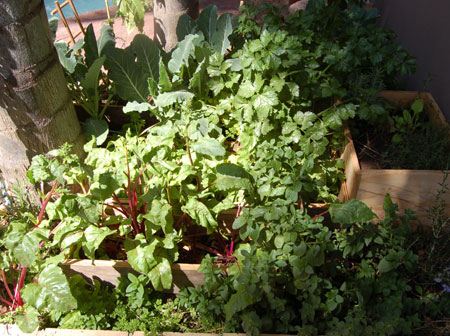
Just goes to show that you don't need a large space to grow big! A small veggie patch is an easy way to harvest a succession of fresh produce from the smallest of spaces, and as you remove veggies you re-plant for the next crop.
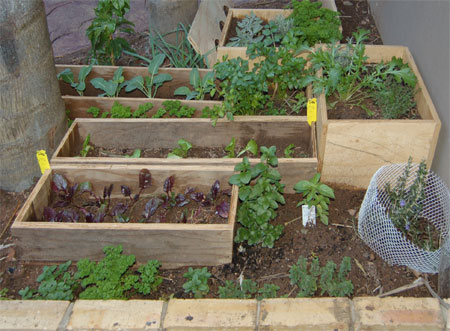
A metre square garden can be confined to a small space and the shutterply boxes are built to various depths, depending on the type of veggies being planted. You will obviously need deeper boxes for root vegetables such as onions and carrots, while the compact size of the boxes make it easy to weed, water and fertilize
Filled with soil, each raised bed is then planted with a single type of vegetable or herb. Spreading plants such as cucumbers and squash can be trained to grow up a frame or trellis.
Here’s how to build a one square metre veggie garden:
1. Because most vegetables and herbs grow best in sun, find a spot that receives at least six hours of sunlight daily. Ideally, choose a location handy to the kitchen that is close to a water source, too.
2. To build the frame, have all your shutterply - or reclaimed timber - cut to the sizes of the boxes you want. Mine are 400(w) x 500(l) x 400 or 600mm high. Screw the front and back to the sides edges to create the box.
3. Spread newspapers or landscape cloth on the ground to help suppress weeds. Then, fill the box with a mix of equal parts topsoil and compost
4. Plant one type of vegetable or herb in each box, siting tall ones at the back - on the shady side - so they don’t block the sun. This is one mistake that I made, planting celery towards the middle and blocking sunlight to one box of cabbages, and where the cabbages are now still quite small. If you are planting seeds, consult packet directions to determine spacing requirements, and thin out seedlings as they grow.
5. When winter crops have been harvested, replace them with a summer vegetable, and vice-versa, topping up and enriching the soil with compost and organic fertilizer.