Make a garden table on a budget
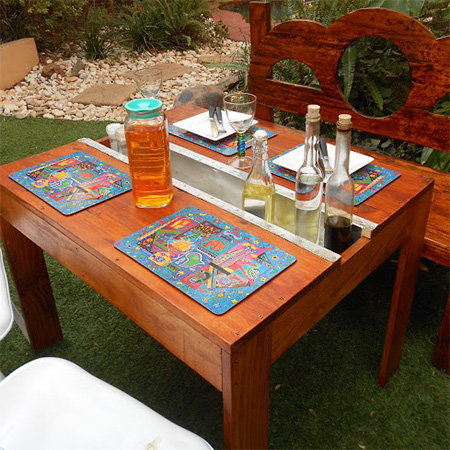
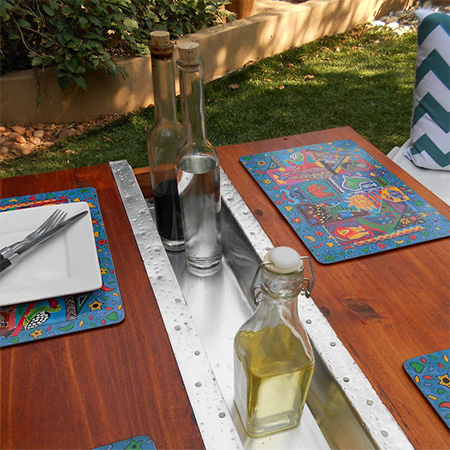
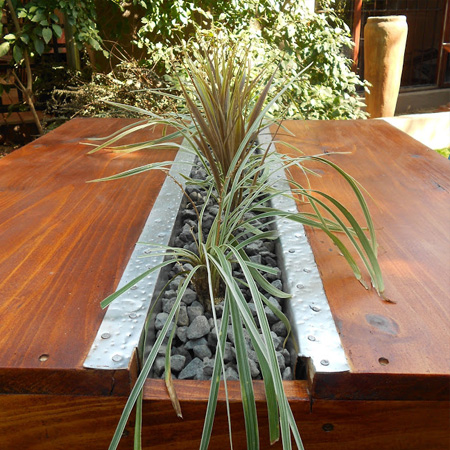
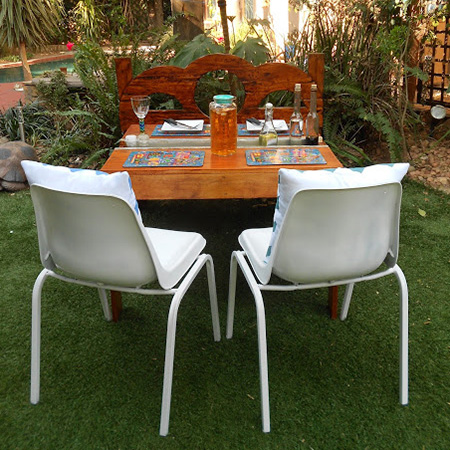
Making your own garden furniture can be expensive, but this pine garden table has an aluminium channel that sits in the centre and can be used to hold condiments or filled with planted herbs.
Laminated and PAR pine are one of the most affordable wood products to use for making your own furniture. You will find a wide selection of pine products at your local Builders store, and it's simply a matter of picking out the best pieces and making sure these are properly sealed once the project is finished.
We always recommend the Woodoc range of interior and exterior sealers for all our wood projects, because Woodoc is a product that offers excellent results and maximum protection, ensuring that your projects stay looking good for longer.
YOU WILL NEED:
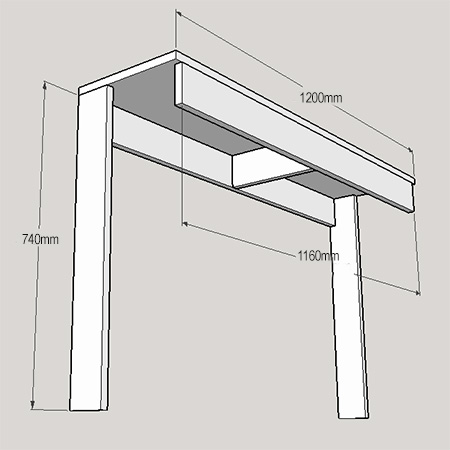
1 of 305 x 2400mm laminated pine - cut to 2 of 1200mm
6 of 96 x 1800mm PAR pine cut to lengths:
- - 4 of 96 x 1160mm PAR pine - front aprons
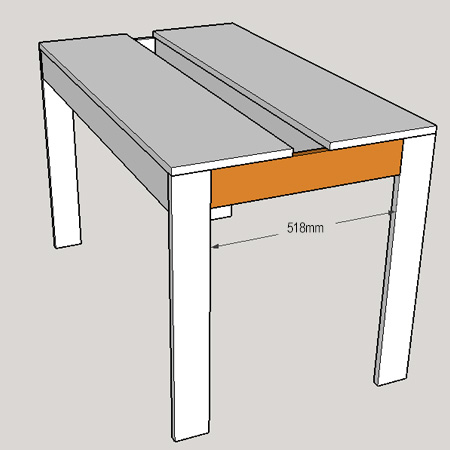
- - 2 of 96 x 518mm PAR pine - side aprons
- - 2 of 96 x 265mm PAR pine - supports
- - 4 of 96 x 740mm PAR pine - legs
Offcut or block of wood for shaping aluminium channel
4 x 35mm cut screws
Wire nails
Woodoc 50 or 55 exterior sealer
Steel wool
Aluminium sheet 330 x 1200mm
Mineral turpentine
Lint-free cloths
Masking tape
TOOLS:
Drill / Driver plus assorted bits
Jigsaw plus clean-cut blade
Orbital sander plus 120- and 240-grit sanding pads
Hammer
Paintbrush
Tape measure and pencil
OPTIONAL: Dremel DSM20 and cutting disc for aluminium
You can buy all your supplies at your local Builders and aluminium sheet is available from www.laser-cutting-online.com.
HERE'S HOW:
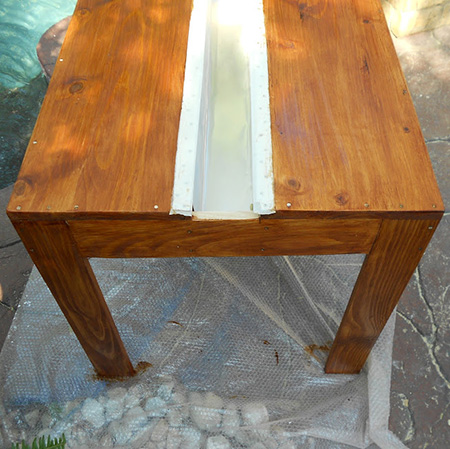
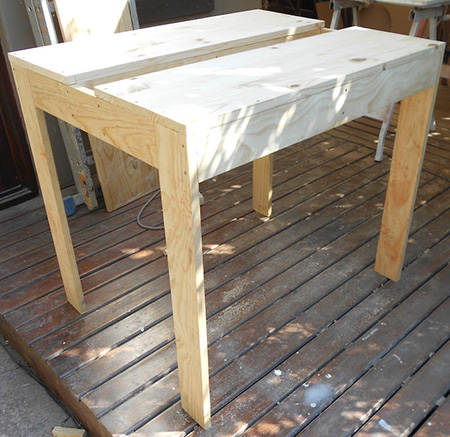
The table is made up of two sections joined together to allow for fitting the channel between the two sides.
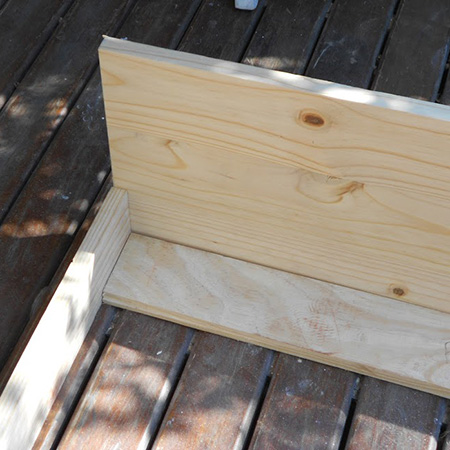
1. To make the sections drill through the top to attach the legs with two screws. Apply a bead of exterior wood glue along the top of the front apron and then drill through the legs to secure the apron with two screws.
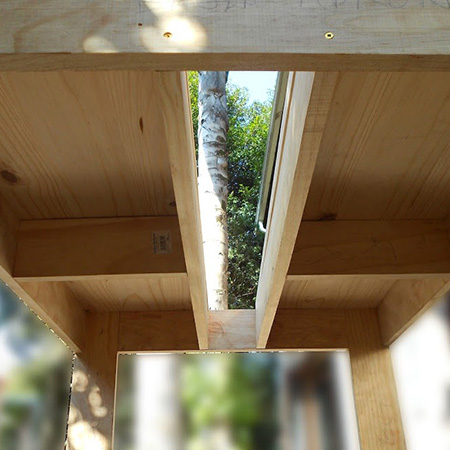
2. Drill through the top to attach the centre apron. These screws will be hidden from sight once the centre channel is added. For added strength a support is added to the centre of both side sections. Use exterior wood glue to secure the support in place.
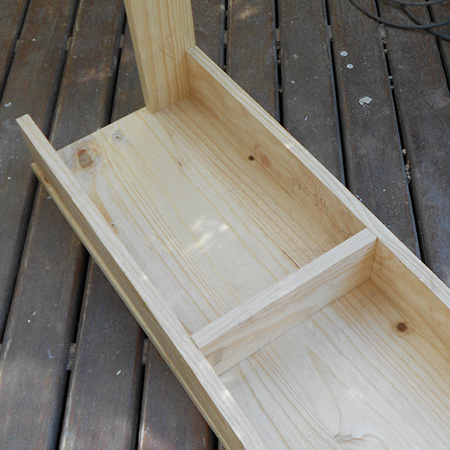
3. To complete assembly of the table the side apron is screwed onto the edges of the side sections in the centre. The edges that butt against the legs can have a bead of exterior adhesive applied along the edge, or you can use a pockethole jig to attach.
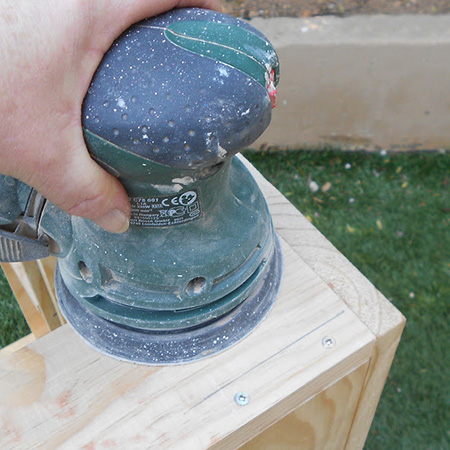
4. Sand all the sections with 120-grit sanding pads to remove any uneven edges and then sand the entire table with 240-grit sanding pads.
Aluminium channel
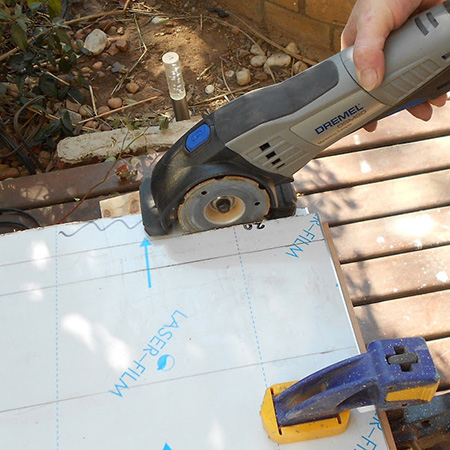
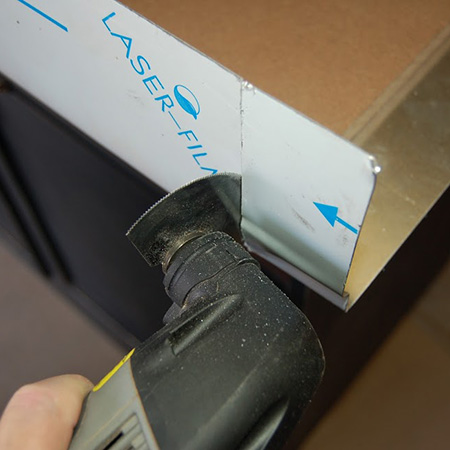
There are various tools you can use to cut the aluminium sheet for the centre channel. Aluminium is a very soft metal and can be cut with a Dremel DSM20, a Dremel MultiMax or a jigsaw with a steel-cutting blade.
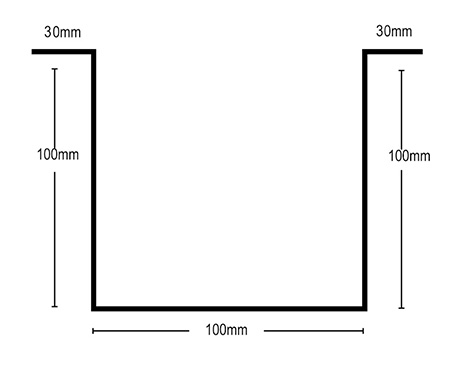
5. The total width is 360mm (2 x 30mm lip, 2 x 100mm sides, 1 x 100mm bottom). Use a tape measure and pencil (or permanent marker) to mark these measurements onto the aluminium sheet. The length is 1200mm, which allows 20mm at both ends to fold up a flap.
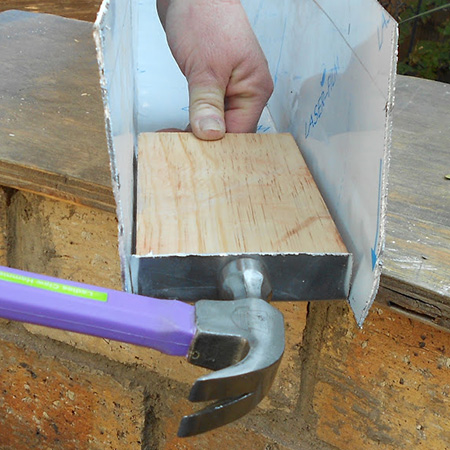
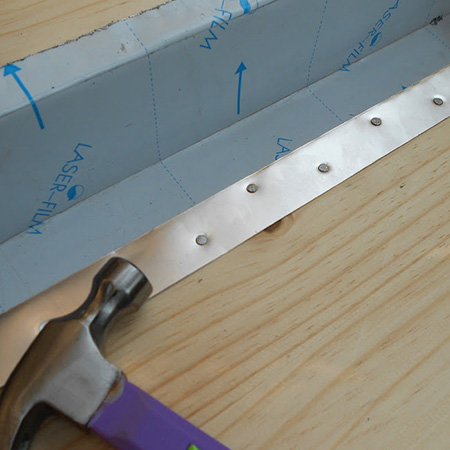
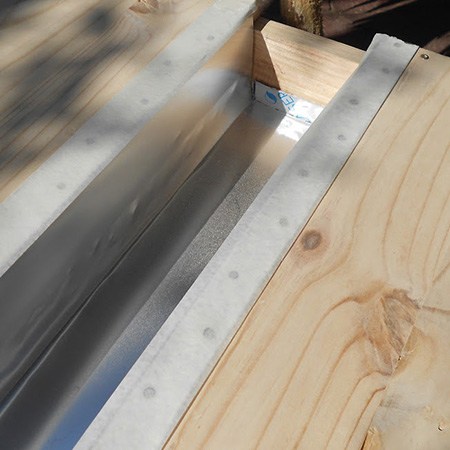
6. Use a hammer and block of wood to shape the aluminium channel to fit into the centre of the table.
7. Slot the channel into the centre of the table and attach to the edges using a hammer and wire nails.
8. Place a strip of masking tape along the top edge of the aluminium channel to protect while you apply Woodoc 50 or 55 exterior sealer.
Finishing
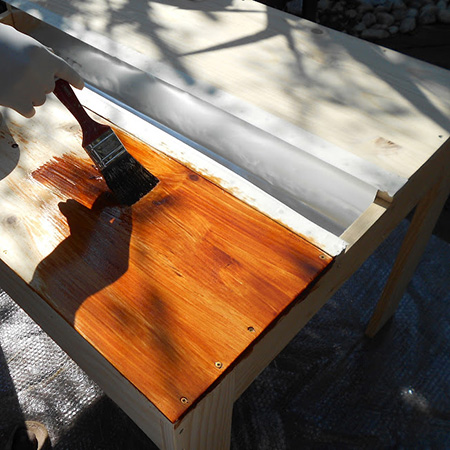
Apply Woodoc 50 or 55 exterior sealer in your choice of wood tint. Woodoc 55 offers to ultimate protection if you live at the coast. Follow the manufacturer's recommended guidelines for application on the tin.