
Pave your outdoor area
Pave outdoor entertainment area with inexpensive cement brick and then paint in your choice of colour.
The new outdoor area is designed to provide more open space for seating and raise the level of the ground to allow for water drainage problems.
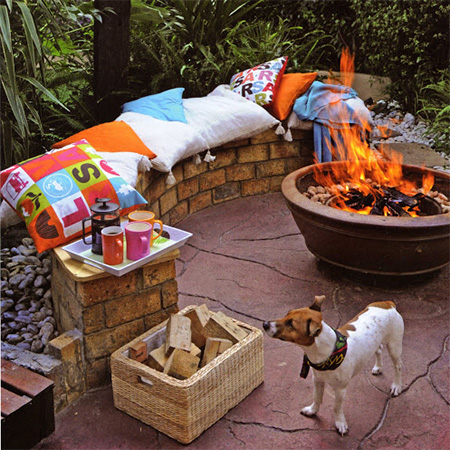
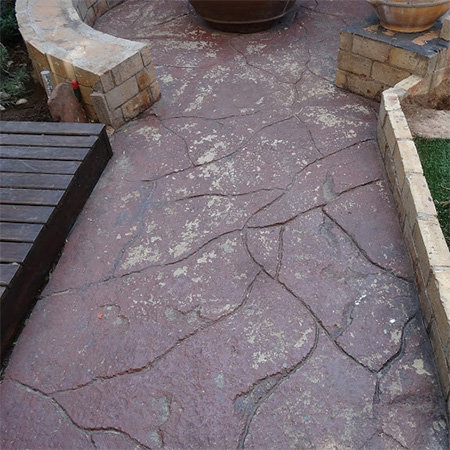
It has been about five years since I built the fire pit and seating area in the back garden. This was one of those projects of mine, of which there are many, that was never quite completed. The idea was there, but the motivation wasn't. With a new plan to build an outdoor sofa to have a more comfortable place to relax outdoors I needed to knock down the brick seating, remove the concrete slab and lay paving.
The concrete slab was poured when the pool was installed almost 15 years ago. Over the years I have regularly painted the concrete to keep it looking good, but I have decided that paving the area will be less maintenance.
The first step was to knock down the brick seating, which was built on top of the existing slab.

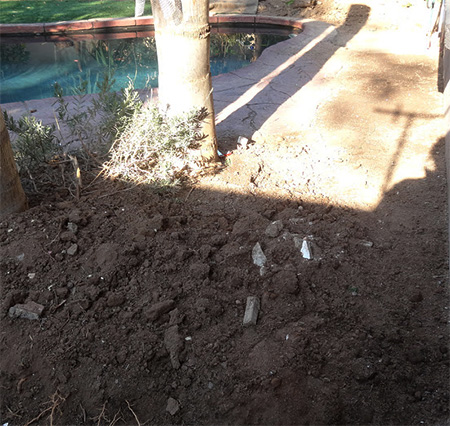
Removing the concrete slab was next and this was done with a pickaxe. All rubble was removed and the site levelled out as much as possible. The new paving will be at a slightly higher level than the slab in order to have better water run off away from the house.
Previously, the water used to collect in a huge puddle outside the garden door and with some of the heavier rains we almost ran the risk of flooding. Now the paving will raise the level and direct the water away from the house to allow it to flow around the property and into storm water drains.
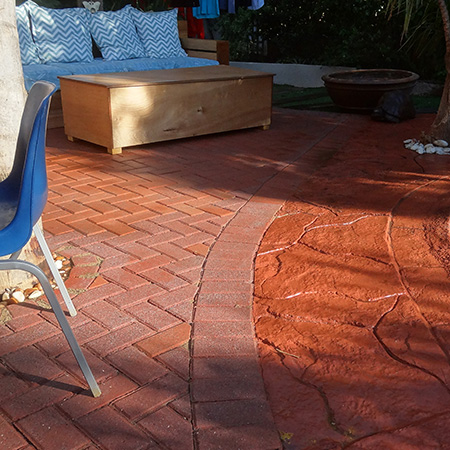
Rather than go to the expense of removing the concrete slab surrounding the pool it was decided to cut a line about one metre away from the pool and butt the new paving up against this edge. I used an angle grinder to cut a clean line that curved around the pool. It was only later on that I realised that the paving would actually be higher than the concrete slab around the pool, but you will see how I solved this dilemma below.
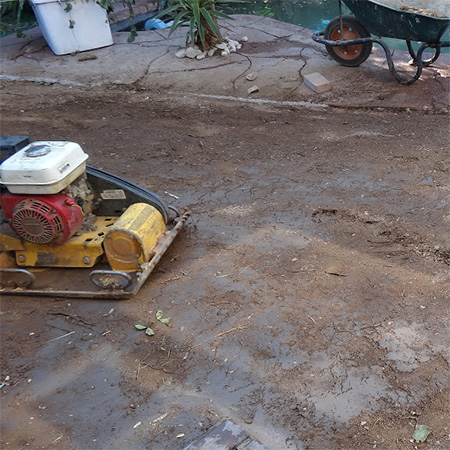
After checking the levels to ensure that the height sloped away from the house and at an angle to direct water to the side of the property, the soil was compacted and more soil added and compacted until the correct height was achieved. To check the level as you work, have a couple of long straightedges - I used 3 metre long steel bar - with a spirit level on top to make sure the paving would be higher against the house but also direct water flow in the right direction by sloping slightly to the side.
GOOD TO KNOW
When raising the height of ground on the exterior of a house make sure that you are not going to raise it above the height of the DPC (damp proofing course), as this could lead to serious problems with damp and moisture in the brickwork.
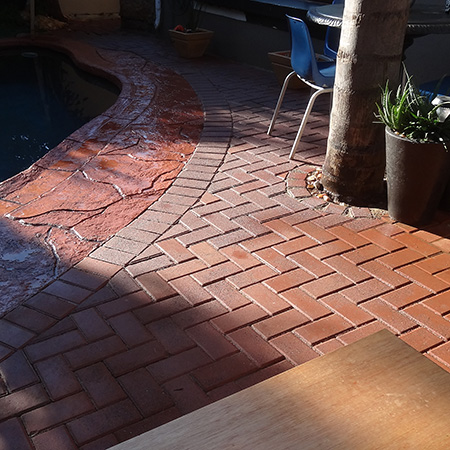
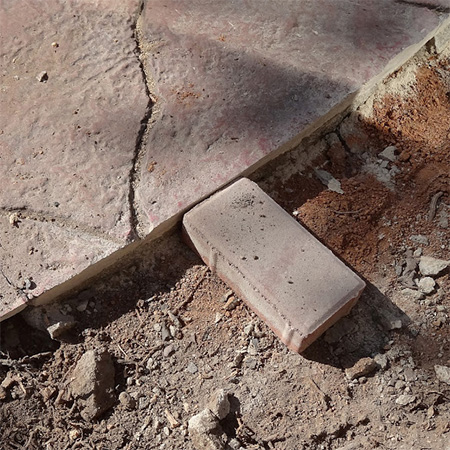
After compacting the ground a layer of fine river sand was laid over the top of the compacted ground as a bed for the paving bricks. The outer edge of bricks that form the border around the pool were laid first.
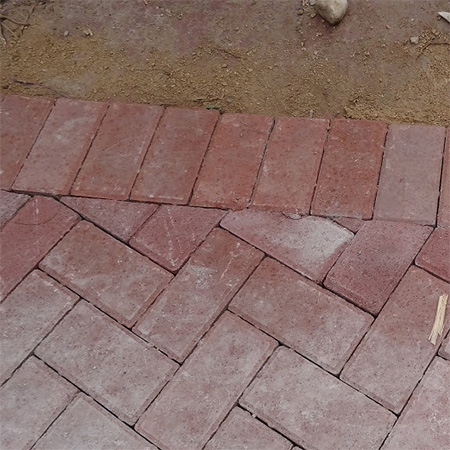
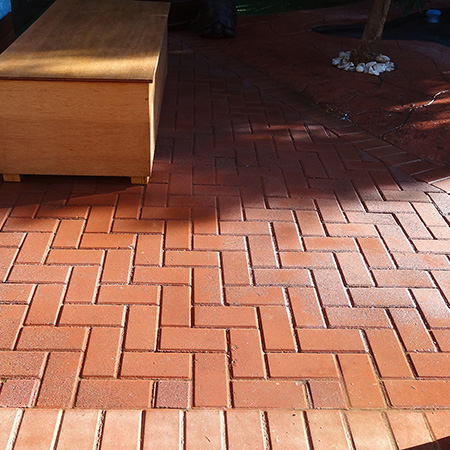
Working away from the walls of the house paving bricks were laid in a herringbone pattern. I chose this pattern because it is the easiest to lay and also allows you more flexibility with the design if you stray off the line a bit here and there. After laying the main areas, bricks were cut using an angle grinder to fill in the gaps.
Fine sand was poured over the top of the paving bricks and repeatedly brushed over the surface until all the gaps between the bricks were filled in. I repeated this process a couple of days later to be absolutely sure that all the gaps were filled to capacity.
GOOD TO KNOW
If you are laying paving for the first time, do some research before you begin to acquaint yourself with the best methods for your particular situation. The Internet is filled with information.

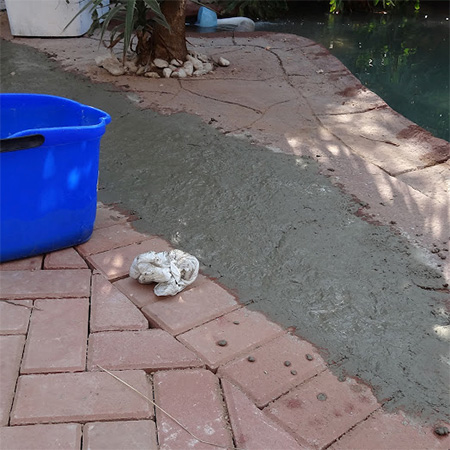
Since the paving bricks needed to be higher there was a difference in level between the paving bricks and existing pool surround. To solve this problem a layer of concrete was added to fill in the difference in height and merge the two levels together.
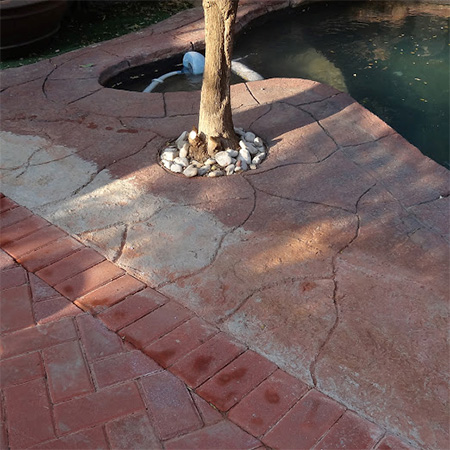
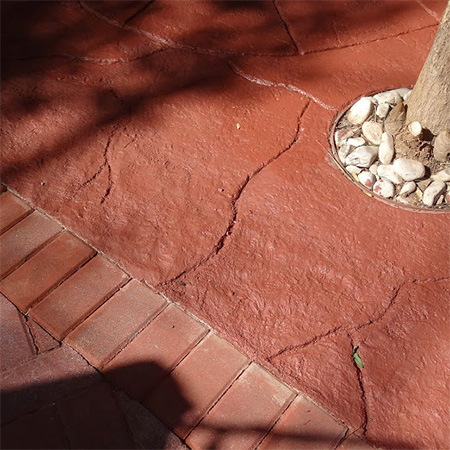
After a couple of days the concrete was painted with Prominent Paving Paint in a terracotta colour that almost matches the colour of the new paving bricks.
To further ensure that drainage and water run off would not be a problem in the future, a concrete gutter was placed between the bricks and the wall of the house. The paving allows water to flow into the gutter, which then directs the water flow away from the foundations. During December we had more than a few downpours and the system works like a dream!
