Build a flat-screen TV unit or cabinet
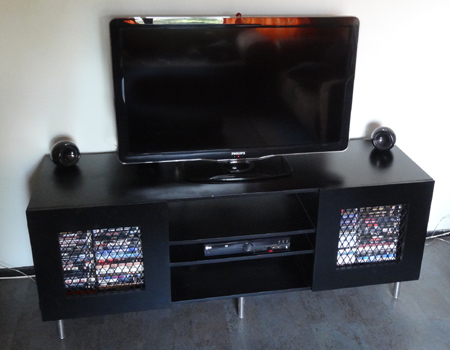
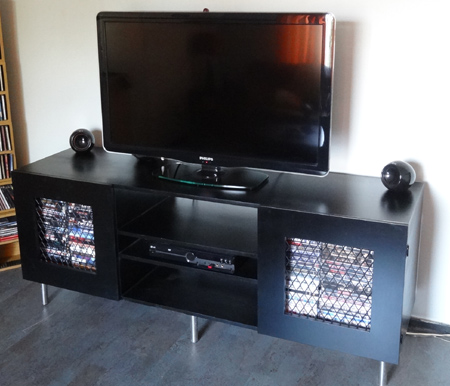
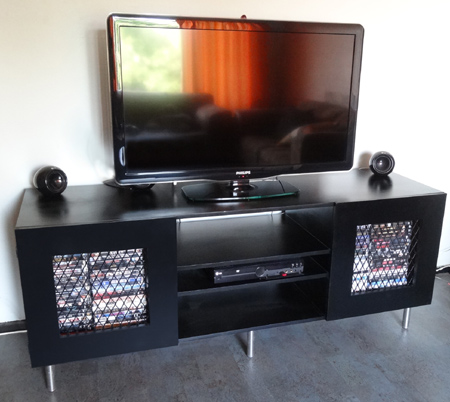
I have wanted to replace my TV unit for quite some time and finally got round to doing it this week. The new TV unit is a modular shape that is fairly simple to assemble, and I added some steel mesh to the doors.
YOU WILL NEED:
QTY |
W |
L |
MATERIAL | ITEM | ||
2 |
450 |
1600 |
16mm supawood * | top/bottom | ||
4 |
450 |
468 |
16mm supawood | sides/uprights | ||
2 |
500 |
500 |
16mm supawood | doors | ||
2 |
450 |
600 |
16mm supawood | shelves |
Steel mesh for doors (at a steel merchant)
Cable pins
4 of medium butt hinges and small screws
2 roller catches for doors
Wood filler
120- and 240-grit sanding pads
2 of Rust-Oleum satin canyon black spray paint
Small tin white acrylic PVA
6 of brushed satin legs or feet
TOOLS:
Drill/Driver plus assorted bits
Countersink bit
Orbital or Random Orbit sander
Angle grinder or Dremel MultiTool and cutting disk
Gloves and goggles
Corner clamps
Hammer
Paintbrush
Tape measure and pencil
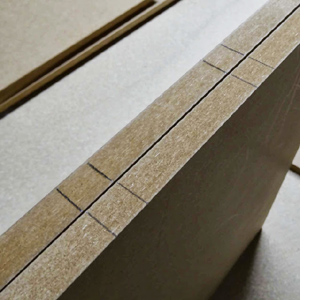
*Make sure to specify SupaWood when ordering your timber, as some inferior alternatives are not as smooth. SupaWood is sold at Builders Warehouse.
HERE'S HOW:
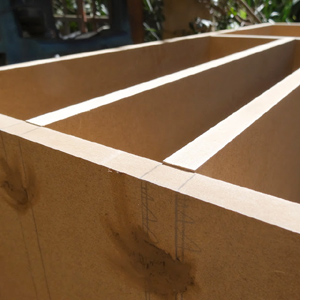
1. On the centre uprights I'm not defining measurements, as these need to be mounted to accomodate your audio or media units.
Use a tape measure and pencil to mark for two shelves on both sides of the uprights.
GOOD TO KNOW
I also like to draw my line onto the front and back edge of the shelf. This makes it easier for lining up when you are working on your own.
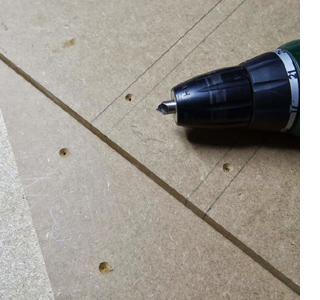
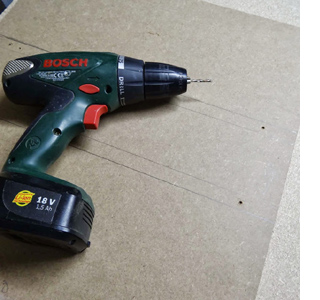
2. One at a time, place a shelf against the mark and drill two 2mm pilot holes; countersink before attaching the shelf with 3 x 30mm screws. Repeat this for the second shelf.
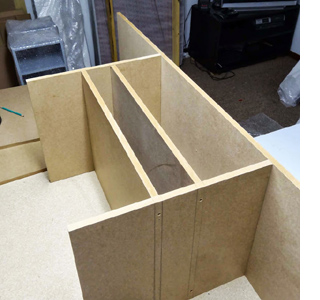
3. On both sides of the top and bottom, measure in 485mm and draw a line. Use this line to place the centre section. Drill through the top into the centre supports with a 2mm wood bit; countersink and use 3 x 30mm screws to attach.
4. Using the same measurement as for mounting the top, place and attach the bottom section. Drill through the base into the centre supports with a 2mm wood bit; countersink and use 3 x 30mm screws to attach.
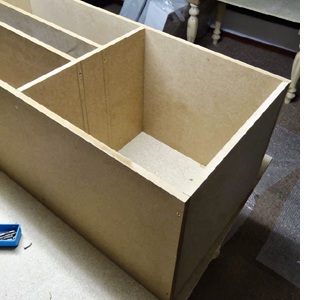
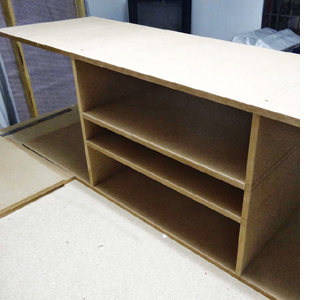
5. The step in the assembly process is to attach the two side pieces. Use a corner clamp to hold in position while you drill a 2mm pilot hole through the top and bottom into the sides. Countersink these holes before screwing together with 3 x 30mm screws,
6. Fill all the drilled holes with wood filler and let this dry before sanding. You also need to sand any edges that aren't perfectly flush. Don't just sand at the edge, sand along the entire piece so that it is perfectly straight and even along the length.
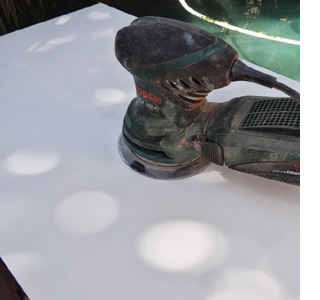
7. Before spray painting I always apply a primer coat of acrylic paint. This just makes the supawood less absorbent and I use less spray paint to cover. After letting the paint dry, you can sand with 240-grit sandpaper using an orbital or random orbit sander for a silky smooth finish. Wipe clean to remove all traces of dust.
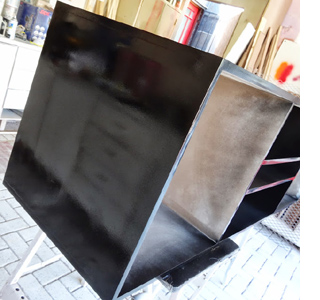
8. I used Rust-Oleum 2X satin canyon black for the entire cabinet. Only apply light, even coats over the surface, spraying from top to bottom and left to right. Overlap each stroke so that the paint blends for an even finish.
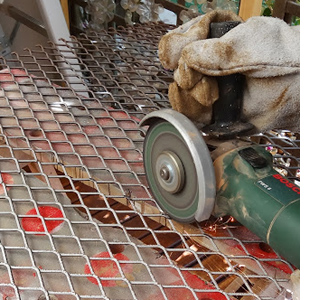
9. I used steel mesh for the doors rather than chicken wire. I wanted a more contemporary look for the TV unit. I started off cutting with my angle grinder, but it took forever, so...
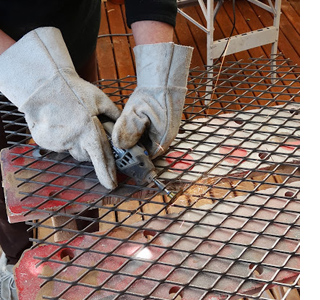
... I used my Dremel MultiTool and a cutting disk to finish off. It was much easier and faster to cut the steel mesh to the sizes required for the doors.
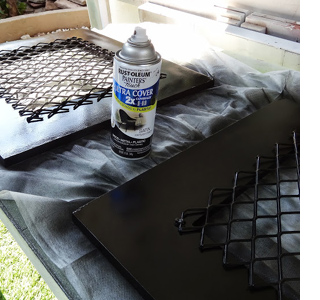
10. The doors are solid pieces of supawood with a centre square cut out to allow for the steel mesh. I spray paint the mesh and door with two coats of Rust-Oleum 2X satin canyon black and then attached the mesh to the back of the door with clips before spraying on a final coat of spray paint.
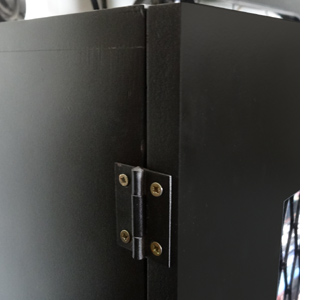
11. I wanted the doors to sit perfectly flush with the front of the cabinet, so mounted the hinges on the outside. The hinges were also painted with Rust-Oleum 2X satin canyon black. Looking at them now, I will probably change these in future with a nicer looking hinge, but they are fine for the time being.
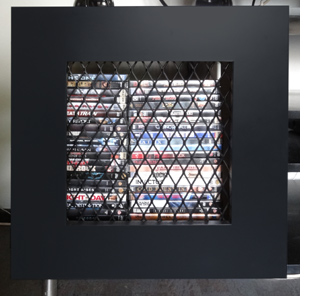
12. I prefer the wire mesh as opposed to glass, chicken wire or a solid door, but you can choose your own option for the doors. Solid doors would also look nice.
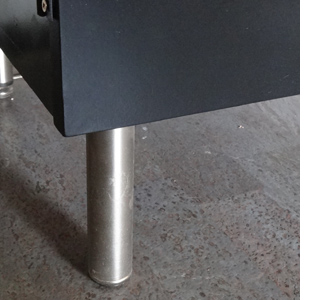
13. Adjustable cabinet legs in a satin chrome were mounted at the sides and in the centre. You need a centre pair of legs so that the unit doesn't bow under the weight.

14. Roller catches were installed on the doors. I don't intend to put handles on the doors - I like the way the look without handles, and opening and closing is easy enough without them.