
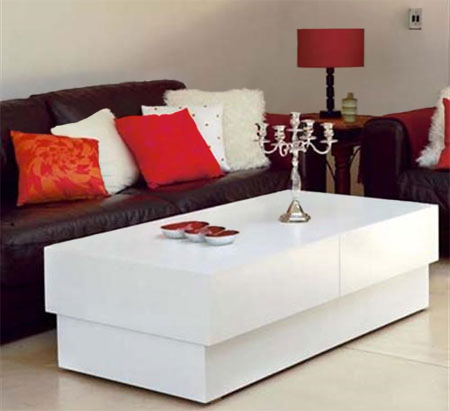
Build a storage coffee table
Home magazine shows you how to construct a simple coffee table with a concealed storage space.
Builders Warehouse shopping list
16mm Supawood cut to the following sizes:
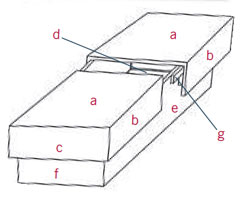
A - [2] 700 x 700 - lid tops
B - [4] 700 x 200 - lid sides
C - [2] 668 x 200 - lid ends
D - [1] 1368 x 630 - base bottom
E - [2] 1368 x 368 - base sides
F - [2] 630 x 368 - base ends
G - [8] 600 x 50 x 16mm - spacers/sliders
25mm and 30mm chipboard screws
Wood filler
Universal primer
Enamel paint
Pencil and tape measure
Drill/driver plus 3mm drill bits
Countersink bit
G-clamps
Paint scraper
Sander and 180-grit sandpaper
Paintbrush
Foam roller
HERE'S HOW:
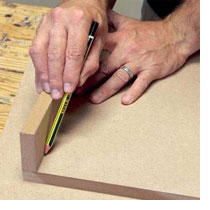
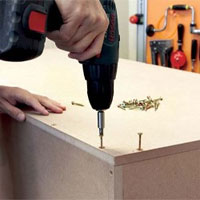
1. Use an offcut piece to mark lines 16mm in from the edges of each short side of all the lid sides (B). Do the same for the base sides (E). These markings serve as guides for where you will drill the pilot holes.
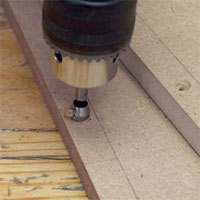
2. Drill three or four equally spaced 3mm pilot holes along each of these edges. TIP: Place a piece of scrap wood underneath so you don't damage the bench. Placing scrap wood under each hole also stops the bottom of the board from exploding outwards. Use a countersinking bit to drill a depression (as shown) so that the screw heads can be driven slightly below the surface.
3. Place the lids ends (C) at right angles to the side sections (B) and drill corresponding pilot holes, using the holes that you drilled in step 2 as guides. Do the same with the base ends (F) and base sides (E). You should now have [2] 700 x 700 x 200mm three-sided lid frames and [1] 1368 x 630 x 368mm four-sided base frame.

4. Assemble the base box sides and lid frames using the 30mm chipboard screws. Drive the screws below the surface so that the holes can be filled later.
5. Countersink pilot holes in the two lids (A) and the base bottom (D). Position a lid top (A) over one of the lid frames and screw it in place. Do the same with the other lid top and frame. Position the base bottom (D) over the base frame and screw it in place to finish the box that forms the base of the table.
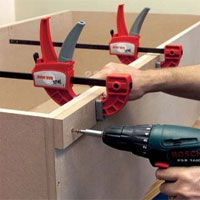
6. Clamp a spacer (G) onto the top edge of a long side of the base box (flush with one end), as shown, and screw it in place using the 25mm chipboard screws. Screw another spacer (G) onto the top edge of the base box flush with the other end. Repeat this on the other side of the box.
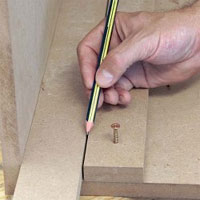
7. Use the 25mm chipboard screws to screw the remaining four spacers (G) about 50mm down from the top inside edge of the lid tops - one on each side (inside) of the two lid frames - and flush with the front. Leave an extra slight gap (as indicated by the pencil in the photograph) to allow adequate movement and smooth sliding of the lids.
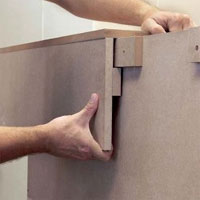
8. Place the lids in position (as shown) and check that these slide smoothly.
9. Fill all the holes with wood filler and allow it to set before sanding flush with surrounding area.
10. Paint the entire unit (both lids and the base box) inside and out with a universal primer.
11. The coffee table can now be finished with an enamel overcoat in any colour. We chose white semi-gloss enamel to complement our décor setting. Use a foam roller to apply the paint, as it provides a much smoother finish.