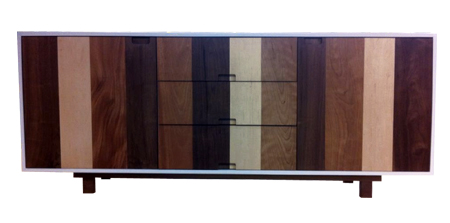
Contemporary server or cabinet
I came across this project on instructables and thought it looked amazing. Although we don't have access to the same woods that they do overseas, you can quite easily use Pine or Meranti for this project and stain the panels in various wood tints using Woodoc Gel Stain.
The original has walnut, maple, mahogany and cherry woods and you can buy these from various suppliers - but bear in mind that exotic and hardwoods are fairly expensive, which is why I recommend using more affordable woods and staining them.
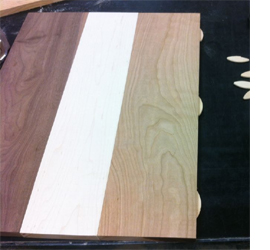
Whatever wood you are using to assemble the unit, these all need to be cut to the same size lengthwise and have varying widths that will be that of the finished component. For example: Make the doors and drawer fronts all 600mm in length x 600mm wide.
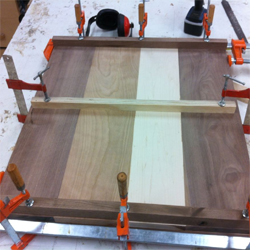
There are various methods for joining the pieces together and it all depends on what tools you already have, what you are prepared to buy, or who you can steal (borrow) them from. These strips are joined using a biscuit joiner. Dowels are another option, as is using a pockethole jig.
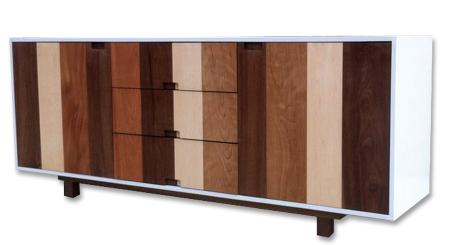
After joining, clamp firmly until the glue has set. The cabinet frame can be made out of 16mm plywood, 16mm SupaWood or Bison- or SupaPly. It's a pretty basic design that works perfectly with the style of the completed cabinet and, after finishing with a white gloss if you use plywood or SupaWood, gives it a contemporary look.

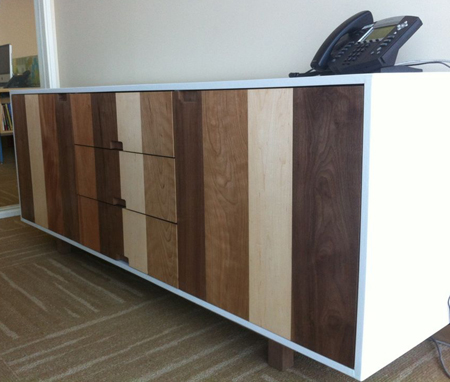
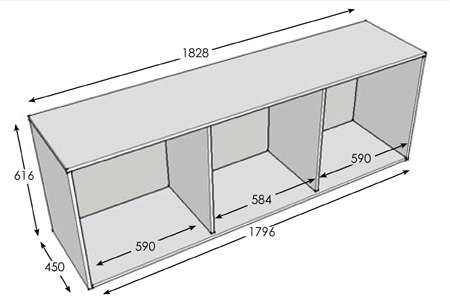
You can adjust the measurements to make the cabinet to your own specifications. The diagram and measurements below allow for doors and drawers that sit flush with the frame of the cabinet. The centre supports are mounted 16mm from the front edge and both doors and drawers overlap these supports by 8mm (inner side on each door and both sides of drawer fronts. Use edge trimming to finish off any visible cut edges.
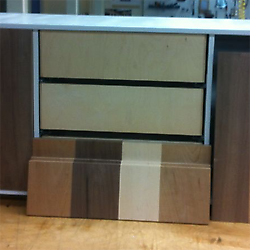
The cabinet is mounted on a basic frame to lift it off the floor and complement the look of the finished design. There are no rules here - you can make any style of base that you want.

Use a Forstner or MAD bit to drill out for the concealed/Euro hinges that will be mounted onto each door. Allow a 5mm gap between the hinge hole and the edge of the door.
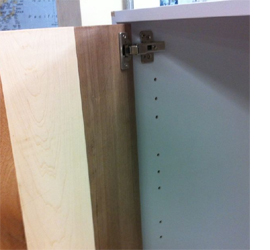
Before mounting the doors, if you want adjustable shelves in the cabinet, drill the holes for these now. Finish off the doors by mounting the hinges and attaching to the cabinet frame.
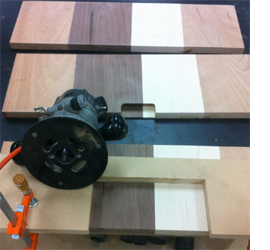
Use a router and cutting bit to rout out for the handles, or if you prefer, add handles to each drawer front. You will also rout out for handles in the doors - or replace with decorative handles of your choice.
Construct the drawers using 12mm SupaWood and use drawer runners / slides to fit into the centre section of the cabinet. Have some double-sided tape handy to help with mounting the drawer fronts onto the frame, so that everything is perfectly straight and lined up before attaching the drawer fronts by screwing through the inside of the drawer frame.
Finish off the entire cabinet in your choice of finish. You can use linseed oil, antique wax, varnish or any other finishing that you prefer.