Make a DIY flat screen TV stand
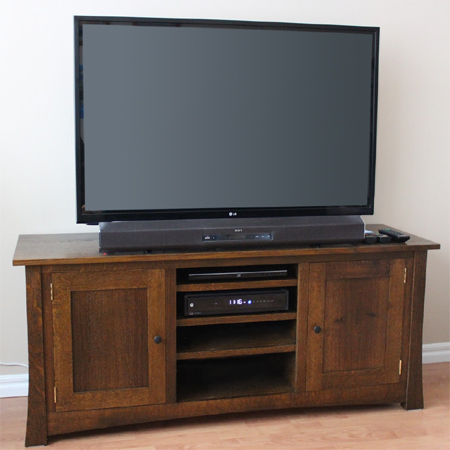
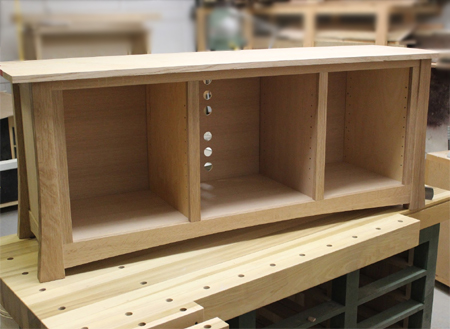
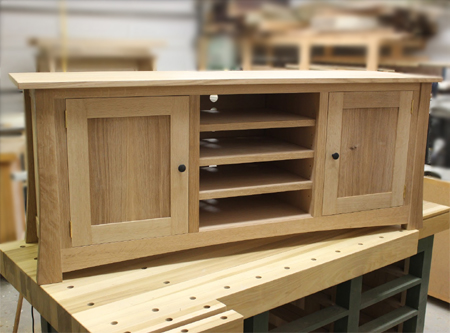
This Shaker or Shabby Chic style TV stand is large enough to have a flat screen TV on the top and has plenty of storage for all your media. Make the entire unit out of birch or pine plywood.

This particular project is going to be a stand for our new flat screen TV. TV stands are more like credenzas and I've had some ideas in my head about what I would do for a while now. I thought about doing this as a proper piece of furniture with traditional joinery, but I figured it was more modern piece with a modern purpose and it would be a lot easier with plywood and simple joinery - and a lost faster ! The TV stand is made using birch-faced plywood - see below - but you can easily substitute this with pine plywood, which is more affordable.
YOU WILL NEED:
QTY |
MATERIAL | ITEM | |||
2 |
400 |
1200 |
18mm plywood | top/bottom | |
4 |
400 |
500 |
sides/centre supports | ||
1 |
50 |
1200 |
top panel | ||
1 |
100 |
1200 |
bottom panel | ||
4 |
50 |
468 |
side/upright faces | ||
4 |
see below* |
side cross panels | |||
4 |
see below* |
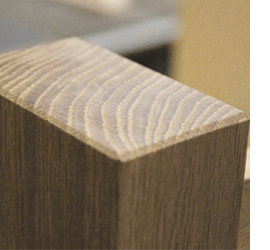
pine or meranti | legs | ||
*Because it's not always easy to come across certain sizes of PAR pine, the legs can be 44 x 44mm, 55 x 55mm or 55 x 20mm pine. The side cross panels are cut to fit.
Panel pins
3 x 35mm and longer screws for attaching legs(*)
Wood filler
Wood glue
3mm Masonite backing board - cut to fit and holes drilled for cables
4 of 6mm long butt hinges and small screws
TOOLS
Drill/driver plus assorted bits
Countersink bit
25mm spade bit
Jigsaw with clean-cut blade
Pockethole jig, biscuit joiner or dowel centres
Orbital sander plus 120- and 240-grit sanding pads
Wood chisel
Hammer
Tape measure and pencil
Stapler and staples to attach backing board
Clamps
Your choice of finishing
You will find all the items listed above at your local Builders Warehouse store.
HERE'S HOW:
NOTE: It is better to sand all pieces before assembly.
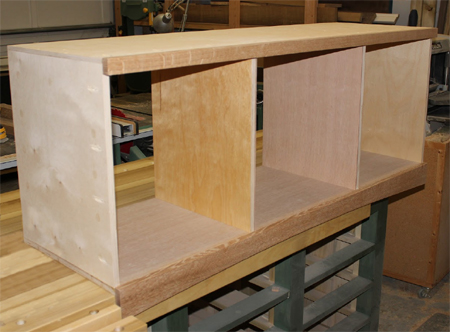
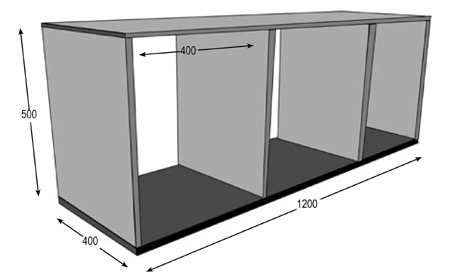
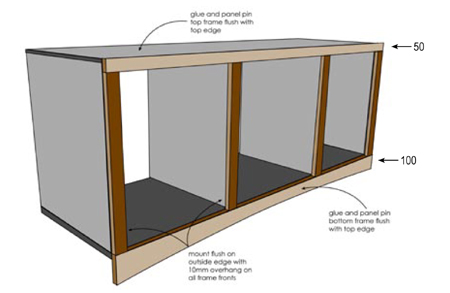
The design for this TV cabinet starts with a basic rectangular box of pine plywood joined together with a Kreg pockethole jig. You could substitute this with biscuit or dowel joints, or even mount brackets in the inside.
Next step is attaching the faces and legs. Cut the bottom section of the frame with a router or jigsaw to get the curved outline. The side and upright faces frames are glued onto the box and a couple of panel pins hammered in for added security.
The solid legs can be cut using a router table or jigsaw. Draw the outline onto the legs with a pencil until you are satisfied with the curve and then cut. Sand smooth. On both the top and bottom cross panels for the side drill pocketholes at all edges. These will be used to secure the legs. Glue and panel pin the side top/bottom cross panels in place.
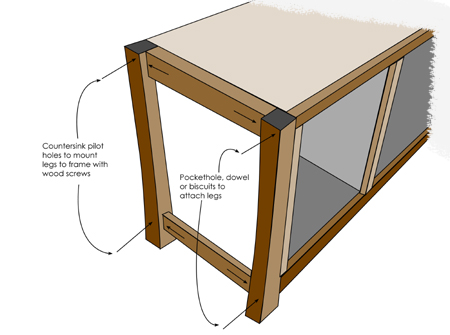
Countersink pilot holes at the top and bottom of the legs where they will be fastened to the side and front of the box. Add a small bead of glue and screw in place. Now attach the cross panels to the legs to firmly secure.
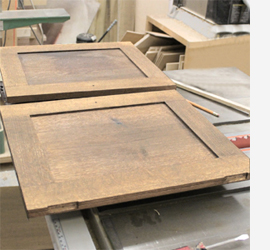
The doors are 9mm plywood backing with a 6mm frame surround glued onto the top. Clamp the doors overnight so that you have a perfectly glued join. Use a wood chisel to create a recess for mounting the hinges. Screw the hinges into the cut recesses and then mount the doors onto the cabinet. To finish off, use a spade bit to cut holes in the backing board for cables, cut to size and staple to the back of the unit.
Now you are ready to finish off your TV stand. This one is stained and waxed to match the existing furniture. But you can also paint the unit if you prefer a more distressed or Shabby Chic piece.