
Build an outdoor table and benches
If you're planning on entertaining during the festive season and won't fit all your guests around that small outdoor patio set, you need to make this large outdoor dining table and bench set. The table is large enough to seat all your guests in comfort.
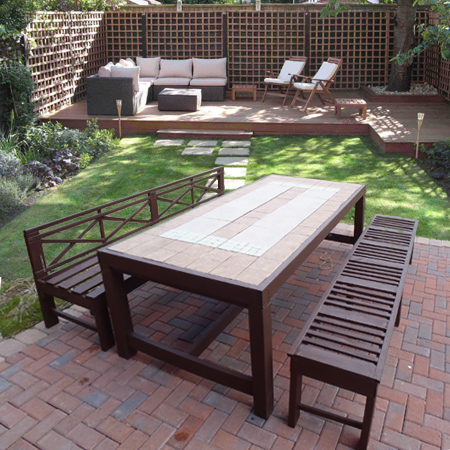
Made from PAR pine available at your local Builders Warehouse, the table has a tiled top that protects and makes for easy cleaning.
Make the table
This table seats 10 people comfortably, but you can make the table smaller or larger as required.
YOU WILL NEED:
4 of 100 x 100 x 760mm PAR pine - legs
32 x 67 PAR pine cut to length for the table top frame and braces
Tiles
12mm fibre cement board
Wood glue
4.5 x 50mm screws
TOOLS:
Drill/Driver + assorted bits
Countersink bit
Jigsaw, tablesaw or router
Orbital sander + 120-grit and 240-grit sanding pads
Plascon Wall & All
Paintbrush
Plascon Bonding Liquid
Cement-based tile adhesive
Tiling tools
HERE'S HOW:
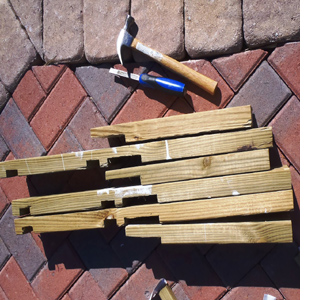
It is better to sand all the pieces once cut and before assembly. Use 120-grit on rough-finished wood. If you don't plan to paint your outdoor set, sand again with 240-grit sandpaper.
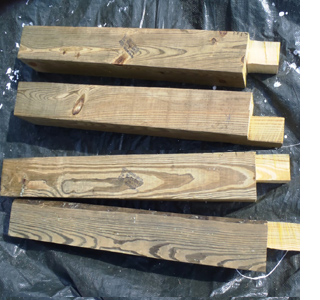
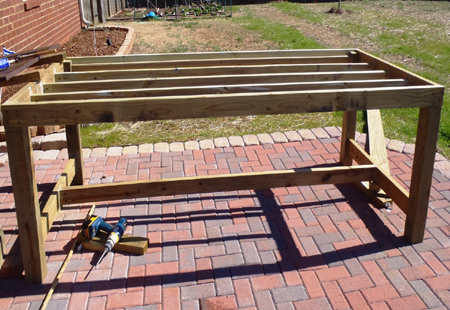
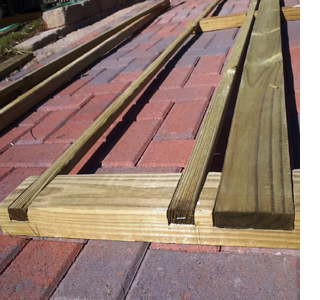
The legs for the table are made using 100 x 100mm PAR pine. At one end of each leg you will cut an 'L' shape for the frame top.
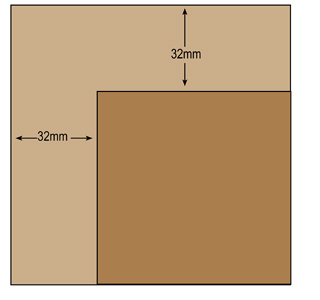
Cut out the L-shape to accommodate the top sides of the frame. The width of the wood for the frame is 32mm wide and 67mm deep. Plus you need to allow for the thickness of your tiles (approx 5mm), which gives a total cutting depth of 72mm.
GOOD TO KNOW
Adjust the cutting depth if the tiles you are using are thicker than 5mm.
Cut out the L-shape with a jigsaw or tablesaw, or even a handsaw.

ABOVE: You can see how the L-shape at the top of each leg allows for the frames to be fitted together.
Attach the long frames to the legs using exterior wood glue and 4.5 x 50mm screws. The screws for the long and short frames need to be staggered when joining to the top of the leg.
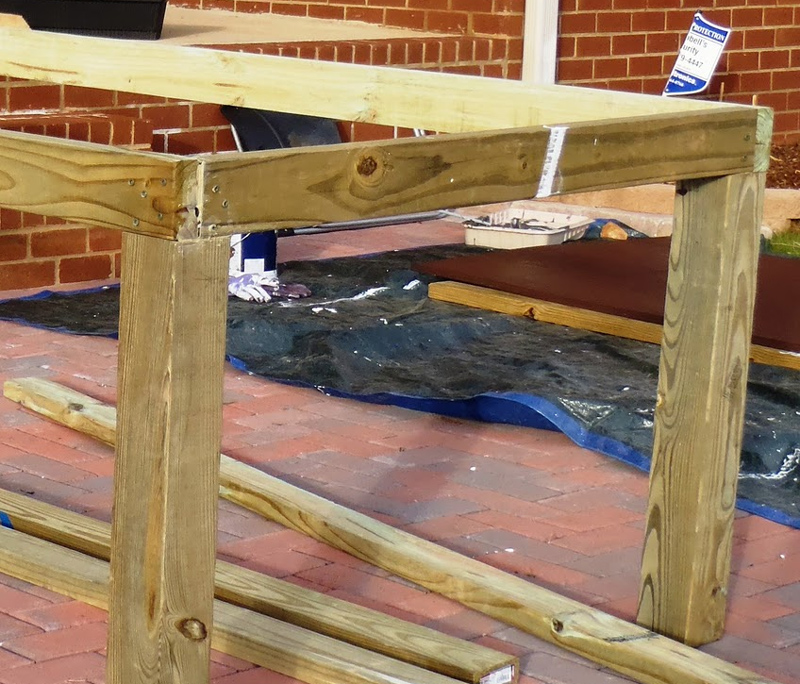
After attaching the long sides, attach the short sides in the same way. You may need to start off working with the long sides on the ground, and lifting up to attach the short sides.
With the top of the frame mounted, you can now add the top support braces. The top braces are mounted to allow for fitting of the 12mm cement fibre board that will serve as a base for the tiled top. Attach this 15mm down from the top edge of the frame.
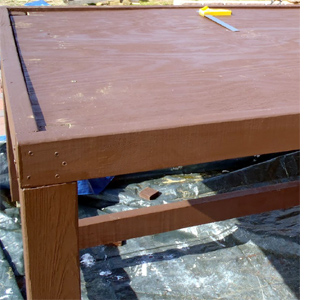
The fibre cement board needs to be cut to fit on top of the braces - as shown left. Use screws to secure the fibreboard to the braces. Before tiling the top, the table was painted with Plascon Wall & All because quite a bit of scrap timber was used that had been lying around and it saved time on sanding everything!
GOOD TO KNOW
Although the cement fibre board shown here is painted, rather apply Plascon Bonding Liquid. This ensures a good bond between the board and tile adhesive.
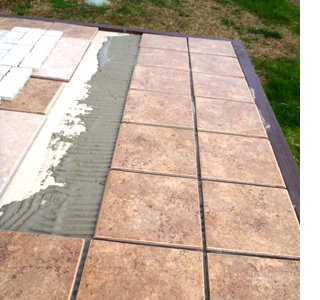
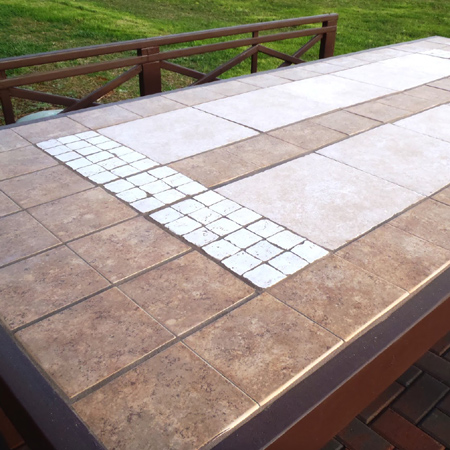
Start tiling around the outside of the tabletop. This way it's easier to have a neat finish and cut tiles to fit in the centre section for a decorative pattern. After tiling, apply grout to finish off the table top. It's also a good idea to apply grout sealer.
Make the bench seat
YOU WILL NEED:
44 x 67mm PAR pine for front / back legs
20 x 64/67mm PAR pine for seat back horizontal braces and seat front/side frame*
20 x 32mm PAR pine for the seat back horizontal braces*
See table for additional supplies and tools
*The width is variable depending on whatever PAR pine is in stock.
HERE'S HOW:
GOOD TO KNOW
It is better to sand all the pieces once cut and before assembly. Use 120-grit on rough-finished wood. If you don't plan to paint your outdoor set, sand again with 240-grit sandpaper.
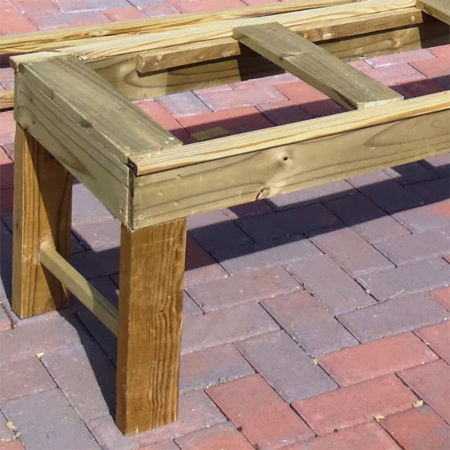
Starting with the legs for the backed seat, cut 3 of 44 x 67 x 760mm for the back legs, and 3 of 44 x 67 x 460mm for the front legs. Use a jigsaw or tablesaw to cut rebates 20mm deep in the legs to allow for fitting the various components. When cutting a slot in wood this is referred to a rabbet or dado.
These rebates allow for attaching the seat frame and back supports and create a stronger joint than using only screws.
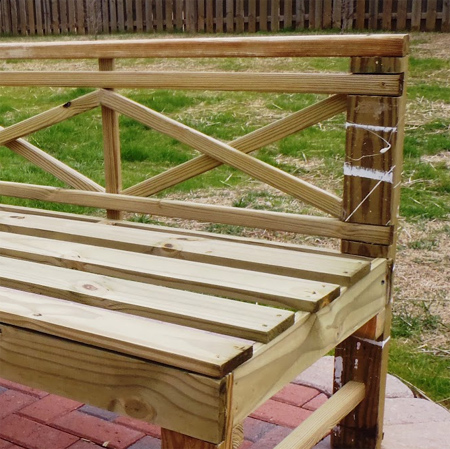
ABOVE: Here you can see how to seat back is assembled and joined together. Attach the horizontal braces using wood glue and 3.5 x 35mm screws. Pre-drill pilot holes and countersink at the back of the uprights to mount the horizontal boards.
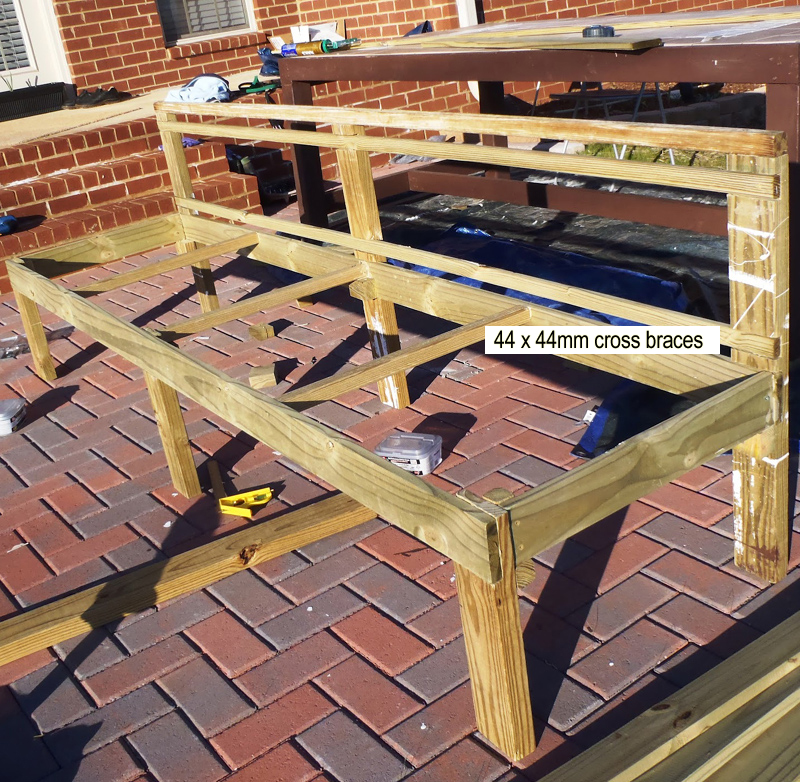
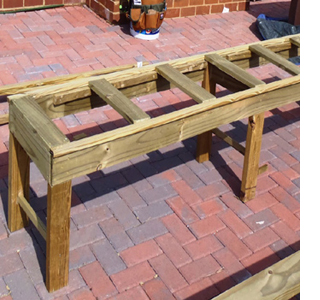
Now you can start assembling the seat part of the bench as shown above. Add 44 x 44mm cross braces along the length of the seat for support. Although not shown here, but you can see below, additional cross braces were added to the three leg sections.
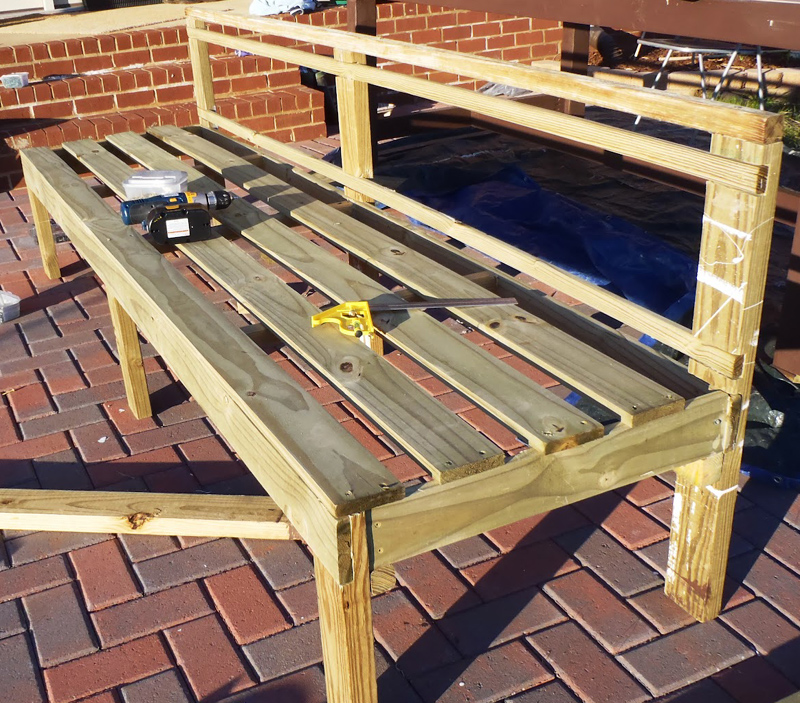
Attach 20 x 64/67mm seat slats to the frame using 4.5 x 50mm screws. Pre-drill and countersink holes.
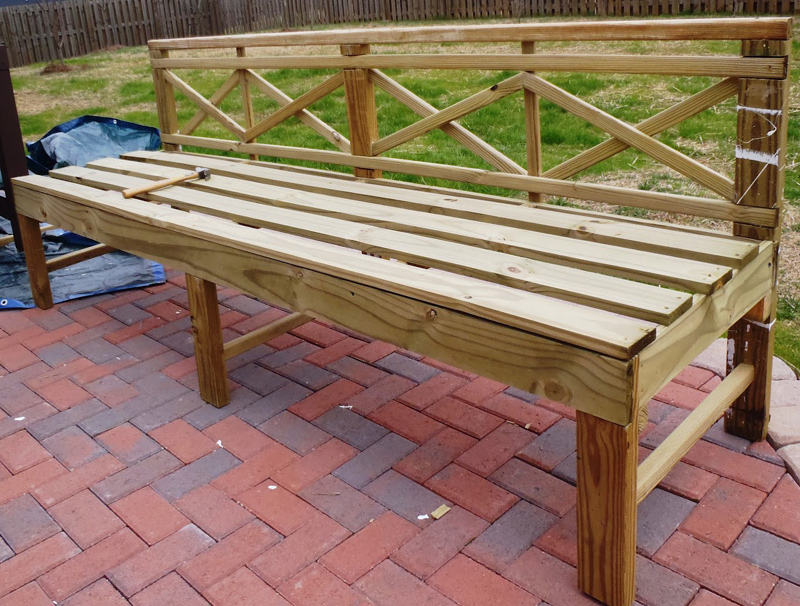
The final step is to add the X-supports to the back of the seat. These supports are cut at an angle (approx 30°) and screwed onto the front and back of the frame. Finish off by using wood filler on screw holes and sanding before painting.
Here's a pic of the finished bench seat after sanding and painting

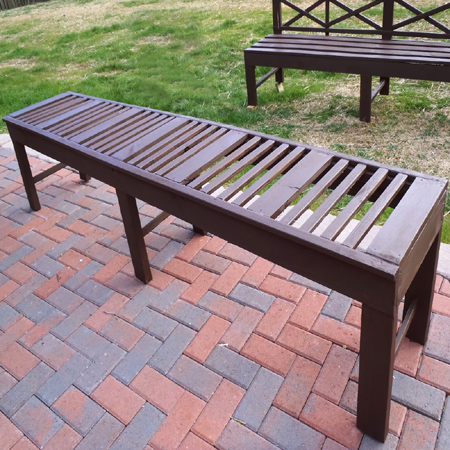
Make the bench
YOU WILL NEED:
6 of 44 x 67mm PAR pine for legs
20 x 64/67mm* PAR pine top frame
20 x 64/67mm* PAR pine for seat slats*
20 x 44mm PAR pine for seat slats*
See table for additional supplies and tools
*Optional: 32 x 32mm PAR pine battens - cut seat slats smaller if using battens and adding trim to front and back edge of bench (see below).
*The width is variable depending on whatever PAR pine is in stock.
HERE'S HOW:
GOOD TO KNOW
It is better to sand all the pieces once cut and before assembly. Use 120-grit on rough-finished wood. If you don't plan to paint your outdoor set, sand again with 240-grit sandpaper.

Cut 6 of 44 x 67 x 460mm for the front and back legs, with a rebate as shown for the bench seat above. Attach the 20 x 64/67mm top frame all the way around using wood glue and 3.5 x 35mm screws. Add 20 x 64/67mm cross supports at the top and 44 x 44mm between the legs
To add variation to the seat design of the bench, quite a few pieces of scrap wood were incorporated into the design. You can simply add seat slats on top of the frame, or you can attach a batten to the inside of the frame to allow for adding a decorative strip at the front and back and the mounting the seat slats onto the battens - as shown in this bench.
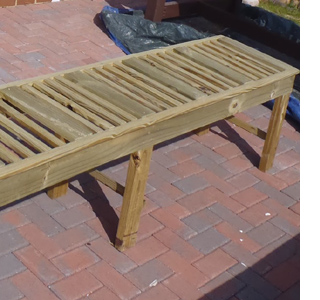
Fill in the gaps with 20 x 44mm PAR pine slats screwed to the frame (or batten). Finish off by using wood filler on screw holes and sanding before painting.
Now, the only thing left to do is to make up cushions for the bench seat or leave without - the choice is yours.