
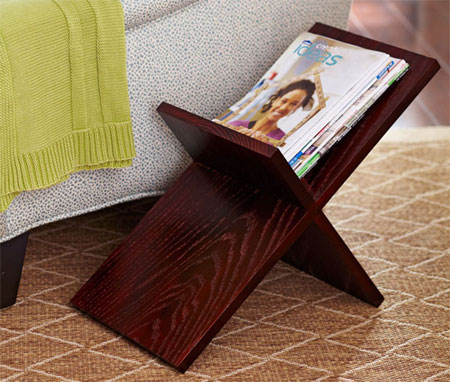
Super simple magazine rack
Here's a great project where you can use any offcuts lying around or have some laminated pine shelving or meranti cut to size.
YOU WILL NEED:
Drill/Driver and assorted drill/screw bits
3.5 x 30mm wood screws
Wood glue
Clamps
Tape measure
Masking tape
Pencil
Orbital sander with 120- and 220-grit sanding pads
Woodoc Gel Stain in your choice of colour
Woodoc Antique Wax or Woodoc 5 or 10 Interior Sealer
Paintbrush and steel wool if using sealer
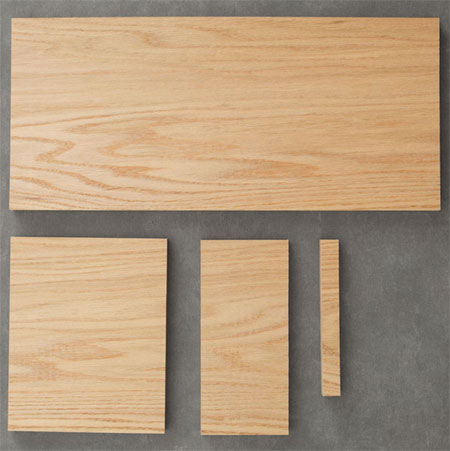
For this project you can use laminated pine shelving that is already 305mm wide, meranti, or have PG Bison SupaWood cut to size if you want to have a painted or other finish. Your local Builders Warehouse can cut all the pieces to size for you.
A |
1 |
19mm |
305mm |
630mm |
shelf | |
B |
1 |
19mm |
305mm |
230mm |
bottom support | |
C |
1 |
19mm |
305mm |
130mm |
top support | |
D |
1 |
19mm |
305mm |
40mm |
cleat |
HERE'S HOW:
Step 1
Sand the parts using first medium and then fine sandpaper. It is much easier to do this before all the pieces are assembled.
Step 2
On one side of the cleat, drill and countersink three evenly spaced 2mm pilot holes. Rotate the cleat to an adjoining face. Vary the spacing slightly and drill and countersink three 2mm pilot holes so that the sets don’t intersect each other.
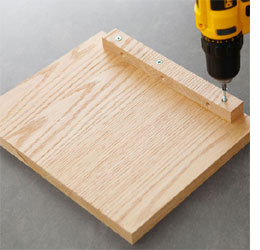
Step 3
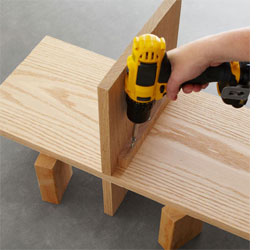
Glue and clamp one face of the cleat (D) to the underside of the bottom support (B) – centre it edge to edge with the cleat edge flush with the support end. After the glue dries, reinforce the joint by extending pilot holes from the cleat into the bottom support and driving 3 wood screws.
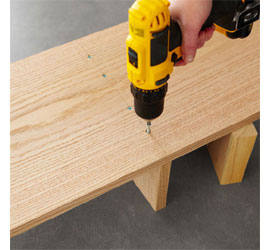
Step 4
Mark the top face of the shelf (A) 300mm from each end to find the centre 3/4". On two scraps with straight edges about 300mm long, cover one face and edge with masking tape. Clamp the scraps along your centre lines with one taped surface against the shelf and the other taped surface facing the opposite scrap. Glue and clamp the top support (C) to the shelf using the scraps as a guide to keep the support square. After the glue dries, support the shelf on spacers cut the length of the top support and drill four countersunk pilot holes through the back of the shelf into the top support. Drive wood screws screws to support the glued joint.
Step 5
Glue and clamp the bottom support and cleat (B/D) to the bottom of the shelf (A) with the support in line with the top support (C). After the glue dries, extend the cleat pilot holes into the shelf and drive 3 wood screws.
Step 6
Finish the completed rack and wipe away the dust. Apply Gel Stain and Antique wax or three coats of Woodoc interior sealer in accordance with the manufacturer’s instructions.